Rocket Piggy Bank
thingiverse
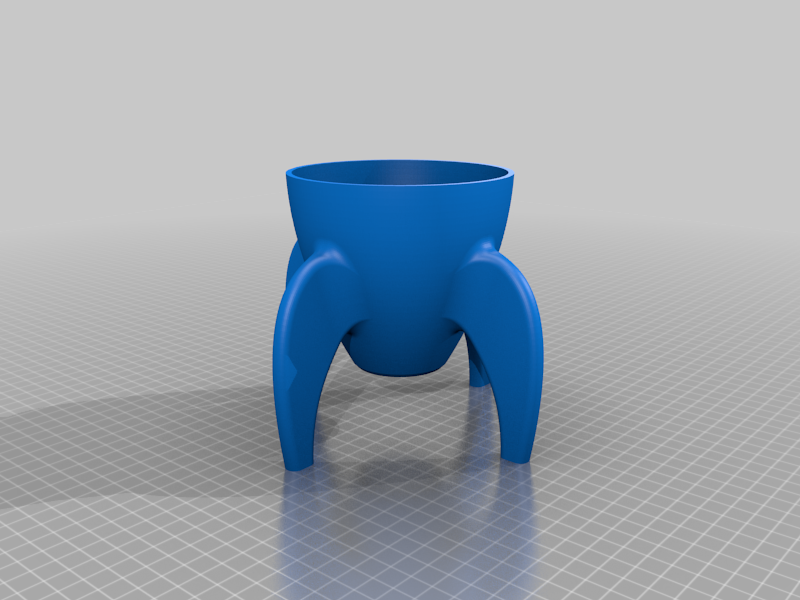
This is an upgraded version of a linked rocket piggy bank design. The original design has been enlarged and divided into multiple sections for easier printing with different colors. Each section is glued together after printing using 5-minute epoxy. Lettering Details: The name lettering was created by converting text to curves, then drawing the box and connectors around it. Curve boolean operations were used to combine these elements. The resulting curve was extruded into a solid 1mm thick shape. Assembly Instructions: First, heat the lettering with a heat gun until it becomes pliable. Then, mold it onto the side of the rocket until you are satisfied with the fit. Apply glue only to the letters and attach them to the rocket's side. Once dry, cut off any excess frame from the lettering.
With this file you will be able to print Rocket Piggy Bank with your 3D printer. Click on the button and save the file on your computer to work, edit or customize your design. You can also find more 3D designs for printers on Rocket Piggy Bank.