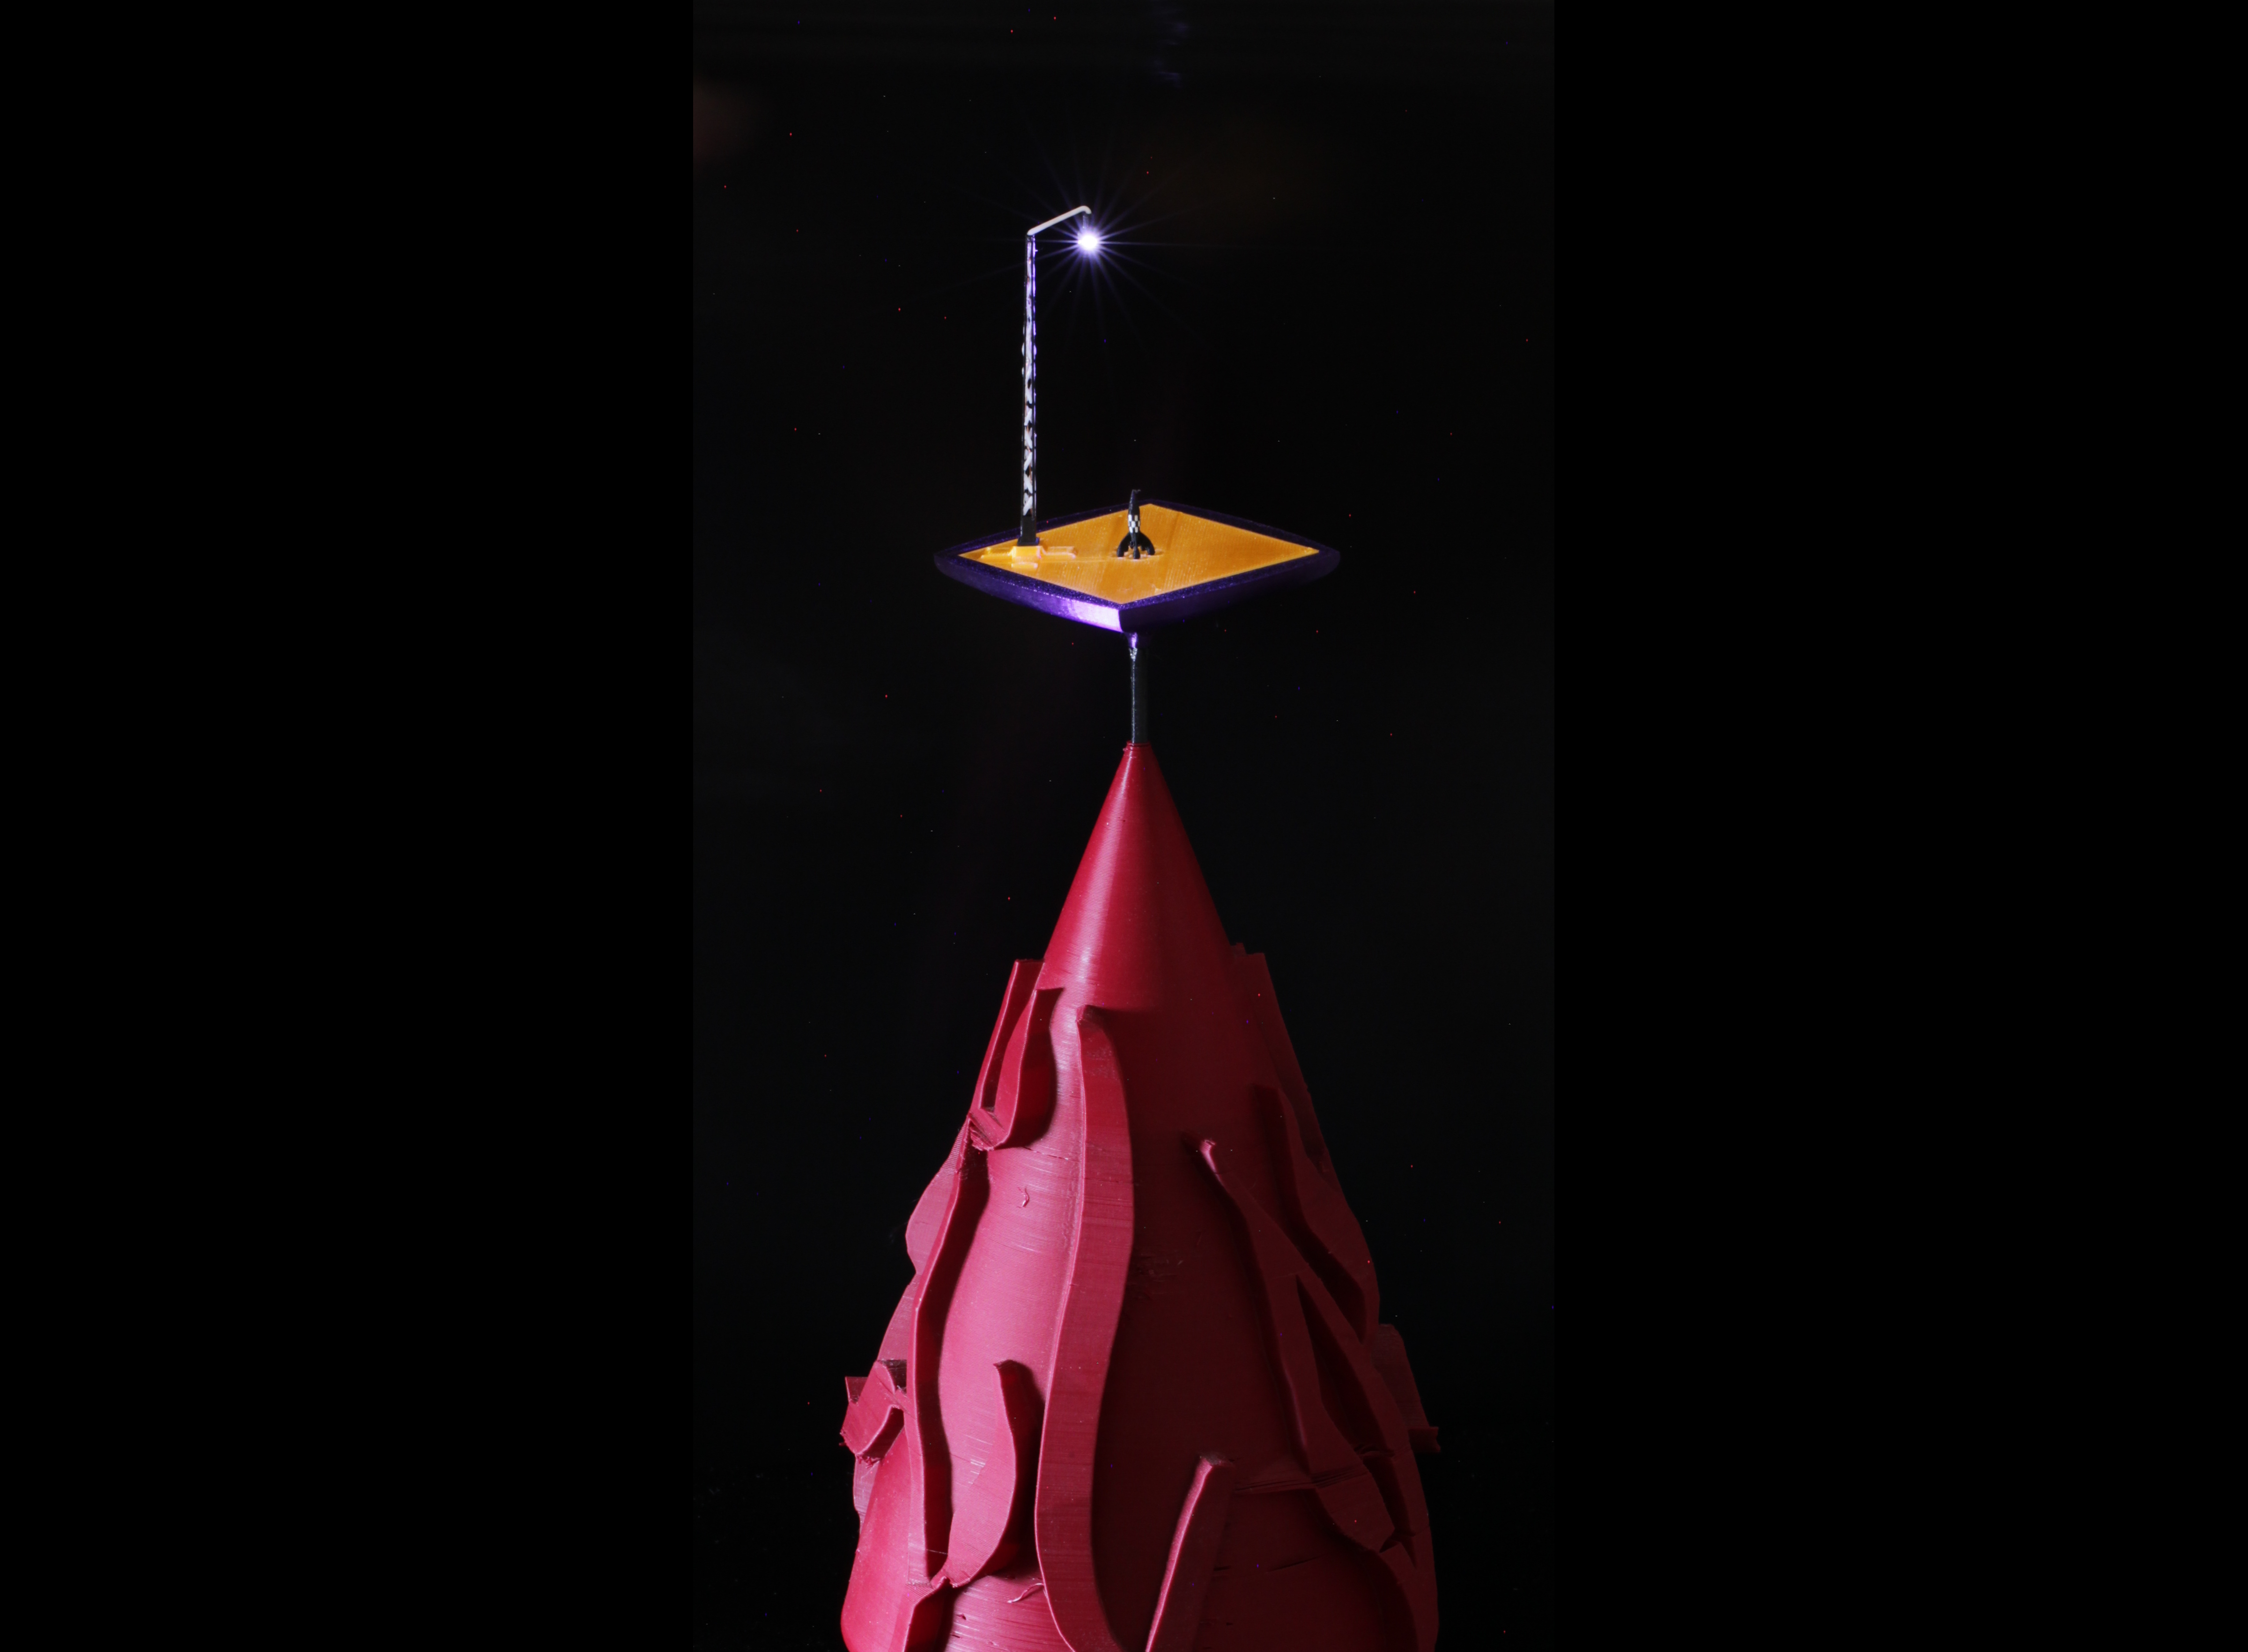
Rocket Art Nouveau LED Overkill
prusaprinters
<p>To be honest, consider once or twice or more before printing this item. It will take about 160 hours to print it, you will use more than 2kg of filament, and the only light it will bring is from a single LED.</p> <p>So why would you print it then? Well, because it is impressive. It will likely be both one of the biggest prints your friends have ever seen printed at home, and also it will likely be one of the smallest prints they have ever seen printed at home as well. And the little LED light makes it impossible to neglect that fact when the room is a bit dark.</p> <p>I have made all the designs for the included objects. All parts were designed using blender, freecad-daily, gimp and inkscape. If you would like to see my other designs, just search for "frimmel" at <a href="https://www.thingiverse.com">https://www.thingiverse.com</a>. Please be aware that my designs are generally CC non-profit. Please respect this decision.</p> <p>For details wrt to the choice of LED, wiring, soldering et.c. please read the printing instructions for the light post, for details wrt the rocket, please read the printing instructions for that item (at thingieverse). I will not repeat them here, however, they are important.</p> <h3>Print instructions</h3><h3> Parts to print </h3><h4>Small rocket (4 hours for 9 small rockets)</h4><p>The original is found at <a href="https://www.thingiverse.com/thing:3945407">https://www.thingiverse.com/thing:3945407</a>. However, I added a .3mf here especially for this purpose. You will get a few spare rockets, however, sometimes they will break when you remove the support - be very careful, use finger tips, pliers and <strong>no</strong> strength. <strong>Please note, this is a 0.15mm nozzle print</strong>!!!</p> <p>komplett3x3_3RUT_S10_xy0.15mm_z0.1113mm_PLA-PHA_PLA-PHA_PLA-PHA_PLA-PHA_PLA-PHA.3mf</p> <p>I used PLA (two materials, black and white in my case) for the print.</p> <h4>Large rocket (150 hours, 2011g of filament)</h4><p>Please print the following .3mf (you will find them at: <a href="https://www.thingiverse.com/thing:3945407">https://www.thingiverse.com/thing:3945407</a>). <strong>* Do not forget to read the printing instructions for "Rocket Art Nouveau" before you start printing </strong></p> <p>raket710_botten_med_support.3mf<br/> raket710_landningsställ_med_support.3mf<br/> raket710_rödaMMU_Nord_Nordöst_Sydöst.3mf<br/> raket710_rödaMMU_Syd_Sydväst_Nordväst.3mf<br/> raket710_stativ_överdelMMU_xy0.4mm_z0.3mm_PLA_PLA_PLA_PLA_PLA.3mf<br/> raket710_stativ_underdelMMU_xy0.4mm_z0.3mm_PLA_PLA_PLA_PLA_PLA.3mf<br/> raket710_topp_med_support.3mf<br/> raket710_vita_med_support_Nord_Nordväst.3mf<br/> raket710_vita_med_support_Sydöst_Nordöst.3mf<br/> raket710_vita_med_support_Syd_Sydväst.3mf</p> <p>I used two materials (PolyAlchemys Elixir and PLA). Technically, the modifiers can handle three materials, I use only two to reduce time consumption to merely 150 hours...</p> <p>A technical note: Don't try to slice the rocket from STLs using PrusaSlicer. You <strong>must</strong> use Slic3rPE as there (as I see it) is a bug (the developers might call it a modern thingie) where <strong>PrusaSlicer abandons the original coordinate system for split object</strong>. This means you cannot split objects into parts and use modifiers in the same coordinate system anymore - parts will misalign.</p> <h4>Antenna-platform for small rocket (1 hour)</h4><p>Print the following items. Please note that the antenna ("rördel") <strong>must be printed uusing PC</strong> as it is thin and hollow. A few copies of it will be printed, for two reasons: cooling during print and as spare if some print fails.</p> <p>raketplattform överdel_xy0.4mm_z0.2mm_ELIXIR_ELIXIR_ELIXIR_ELIXIR_ELIXIR.3mf<br/> raketplattform underdel_xy0.4mm_z0.2mm_ELIXIR_ELIXIR_ELIXIR_ELIXIR_ELIXIR.3mf<br/> raketplattform rördel_xy0.4mm_z0.3mm_PC_PC_PC_PC_PC.3mf</p> <h4>LED light post for N-scale and H0-scale railroad models (4 hours)</h4><p>Please print the complete item <a href="https://www.prusaprinters.org/prints/40610-led-light-post-for-n-scale-9mm-track-width-and-h0-">https://www.prusaprinters.org/prints/40610-led-light-post-for-n-scale-9mm-track-width-and-h0-</a> <strong>(don't forget to first read its instructions)</strong>. You will need all parts including the battery pack. Do the 0.16mm wires <strong>long</strong>. eg 60cm as they must reach down to the battery pack.</p> <h3> Assembly </h3><p>Please refer to the added pictures for an easy understanding of how to assemble the items. Basically, when you have the working lamp, the big "Rocket Art Nouveau", the small rocket (with 5 legs) and the antenna-platform parts, do as follows:</p> <p>First cut away the center bottom surface from the top cone of the big rocket - in order to get access to the interior of the top cone. Then use a 3.0mm drill and clean the antenna hole in the top cone, and extend the hole until you have an opening into the top cone interior. <strong>Do not use a motor for drilling - only drill by hand in order to avoid the material from melting, it will only take 10-20 seconds anyway</strong></p> <p>Now carefully push the light post wires through the little hole in the platforms upper deck, through the center hole of the lower deck, through the antenna (begin at the side of the antenna with a small widening) and finally down through the top cone (temporary attach the wires to a piece of filament might make the insertion into the cone easier).</p> <p>With great care, attach the lamp post into the holder at the upper platform deck (<strong>do not press on the lamp post - use your nails to push the lowest part of the lamp post into the holder</strong>). Now press the upper deck onto the lower deck and the antenna into the lower deck. Solder the two loose wire ends onto the two scrap metal parts that goes with the battery pack you printed. Add batteries, change polarity if the LED didn't light up.</p> <p>Lastly, just push the lamp holder into the top cone interior, and fixate it with a bit of sticky tape. It will light until batteries got drained, however, that's enough for a great party!</p>
With this file you will be able to print Rocket Art Nouveau LED Overkill with your 3D printer. Click on the button and save the file on your computer to work, edit or customize your design. You can also find more 3D designs for printers on Rocket Art Nouveau LED Overkill.
