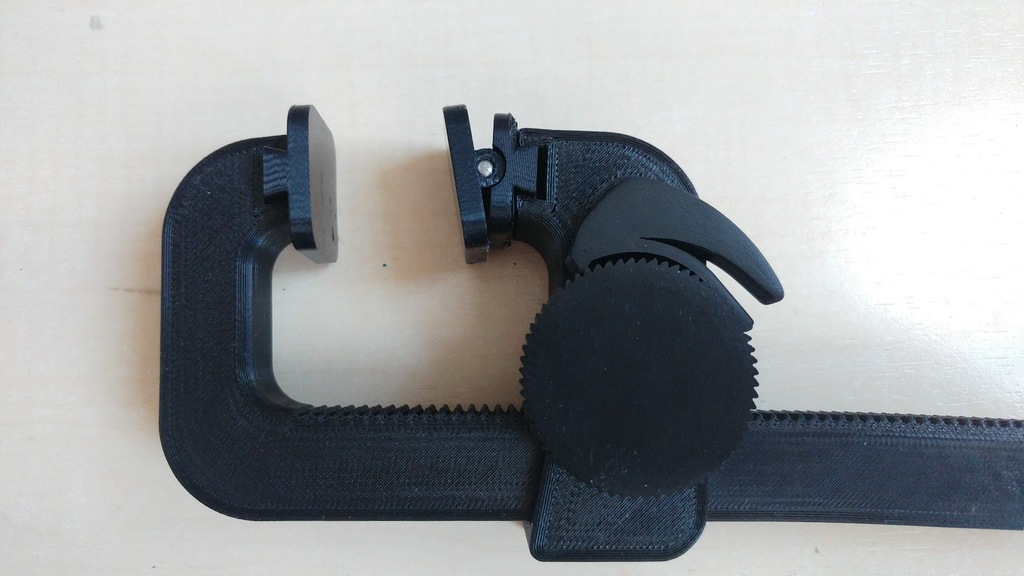
Rocker Pad for Quick Clamp
prusaprinters
<p>This is a two-piece hinged pad for <a href="https://www.thingiverse.com/thing:2477698">LoboCNC's Quick Clamp</a>, with 10° inclination range on both sides. It allows gripping of non-rectangular objects, and also compensates for slight deformations of the clamp, that causes the jaws not to be perfectly parallel to each other.</p> <p>There are two versions:</p> <ul> <li>One for a 2 mm peg</li> <li>One for a 3 mm peg<h3>Print Settings</h3> </li> </ul> <p><strong>Printer Brand:</strong></p> <p>Prusa</p> <p><p class="detail-setting printer"><strong>Printer: </strong> <div><p>i3 MK3</p></div><strong>Supports:</strong></p> <p>Yes</p> <p><p class="detail-setting resolution"><strong>Resolution: </strong> <div><p>0.15</p></div><strong>Infill:</strong></p> <p>50%</p> <h3> <br/> <p class="detail-setting notes"><strong>Notes: </strong> </p><div><p>Supports required just for the bottom part.</p></div> Post-Printing</h3> <p><strong>Connecting the Two Pieces</strong></p> <div><p>Use a drill bit (2 mm or 3 mm, depending on the printed version) to clear the holes of the hinges, where the peg goes. Cut a 2 mm or 3 mm diameter nail to make a 25 mm long peg, and push it carefully through the hinges to connect the two parts.</p></div></p></p> Category: Parts
With this file you will be able to print Rocker Pad for Quick Clamp with your 3D printer. Click on the button and save the file on your computer to work, edit or customize your design. You can also find more 3D designs for printers on Rocker Pad for Quick Clamp.
