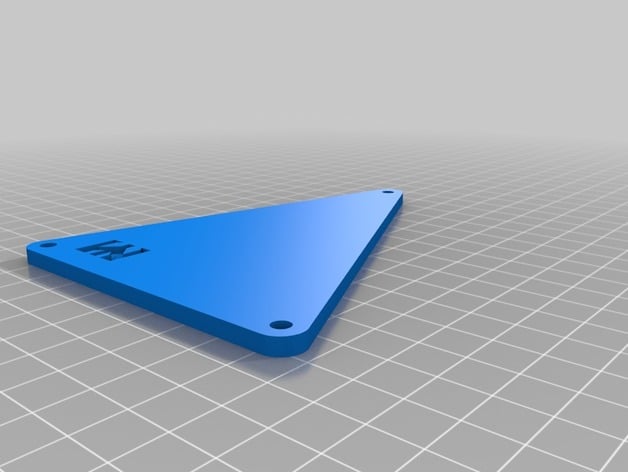
Robotic Linkage Toolkit (70pc)- Jansen, Klann, Ghassaei, Chebyshev's Lambda + more included
thingiverse
HOW THIS WORKS\nLinkages provided in cm from extremes of pivot centers for easy calculation. Linkage components are easily measured with precise increments of 0.5cm.\nPivots measure exactly 4mm within .stl file format and can fit neatly with 3/16 inch bolts or 3mm threaded hardware, printed pivot diameter comes out to be approximately 3.8mm in most cases.\nIncludes center pivot points for circular motion operation. To design lever with ratios like 1:3 or 1:5 etc., simply extend two of more linkages of the same length by aligning matching holes at each end.\nAlso, included is a versatile wall mount that can hold fifteen pieces, providing flexibility to the user. In addition, ready-to-use linkage configurations for Jansen, Klann, Ghassaei and Chebyshev's Lambda Leg Mechanisms are readily available for effortless utilization.\nThe provided linkages are utilized in designing walking robots and leg mechanisms. These systems offer precision movement, versatility and ease of use making them highly effective solutions. How to use the Jansen Linkage: Jansen Linkage can be found by navigating through the file directory that starts with 'SLJ_Final-Jansen...'. The actual dimensions for each component are listed directly next to it. For example; if a specific Jansen Linkage requires pivots that are exactly 149163cm, then matching center hole on both ends of that specific linkage should be utilized. To Assemble: You can put the linkages together by simply printing out all required pieces and using correct length numbers as shown in your stl file name next to pivot point measurement.\nHow to use Klann Linkage(8pc): You need print out a series of different "...Klann..." files which contain detailed specifications for the mechanical structure, match up lengths with each provided linkage; you can find them online at the address 'robotronics09.blogspot.com.au/2011/01/klann-mechanism.html' for an actual comparison of sizes. e.g 490mm which is mentioned above, will correspond directly to a .stl file that bears its name along side pivot length in it. Klann Linkages provide an amazing structural integrity and smooth performance To Assemble: All linkages can be attached to this system through simple connection at specified center holes corresponding with measured sizes from STL files which provide information for constructing the actual mechanical linkage setup. How To Use Ghassaei's Mechanism: You have to find and use file called "Ghassaei...". The lengths required are similar in their application like those of the link above that contains specific structural design using various components with precise alignment as illustrated by this article here:https://en.wikipedia.org/wiki/Ghassaei_Linkage In particular for these specific cases where files contain ".66" name in title need to be repeated once. To ensure accurate fitment you may refer these sources which show how to proceed further: Assembly requires connection between both the halves at designated pivot points as determined by provided information, usually within a specified diameter, with smooth interaction between linked parts due its advanced mechanics. How To Use Chebyshev's Lambda Leg Mechanism: Start by locating "Lambda_Leg_Mechanism_Chebyshev_..." files from online source to see exact details for precise linkage structure construction according their respective names along side lengths within those STLs so you may replicate setup described previously mentioned but incorporating its principles.\nFor best assembly result do consider recommended steps and sizes mentioned here. Setting Printing Options: Print Settings Printer: (Any suitable 3D printing machine will do) Resolution: Standard resolution of your chosen 3D printer Infill Percentage (Minimum 10% Recommended): Up to you! Set the minimum percentage at least ten per cent or higher if you like it solid for maximum durability. Supports: Yes, or else use no supports as preferred. For easier disassembly support is a good idea, however always depends on the printer used. Some printers do offer various types of adhesion materials so consider checking before setting. Design and Building with Blender: Start creating linkages fast by creating circles using '3D extrusion' mode inside blender then move along x-axis from centre position towards end to define desired pivot length after mirroring vertically twice remove face between both halves for central operation.\nAlso you may try adding some vertices along specified center lines if necessary so all pivots and mechanical components stay in line throughout whole system construction. Tips For 3D printing a linkage: Always save individual link pieces before beginning the printing process by loading small batches at time. Each piece has its place according STL filename, making life easy when assembling afterwards due precision measurement data from computer. Set printer to highest standard resolution as per your requirements and minimum ten percent infill for maximum reliability in real usage applications like walking robot development
With this file you will be able to print Robotic Linkage Toolkit (70pc)- Jansen, Klann, Ghassaei, Chebyshev's Lambda + more included with your 3D printer. Click on the button and save the file on your computer to work, edit or customize your design. You can also find more 3D designs for printers on Robotic Linkage Toolkit (70pc)- Jansen, Klann, Ghassaei, Chebyshev's Lambda + more included.
