Robotic arm: turntable (part 2/3)
thingiverse
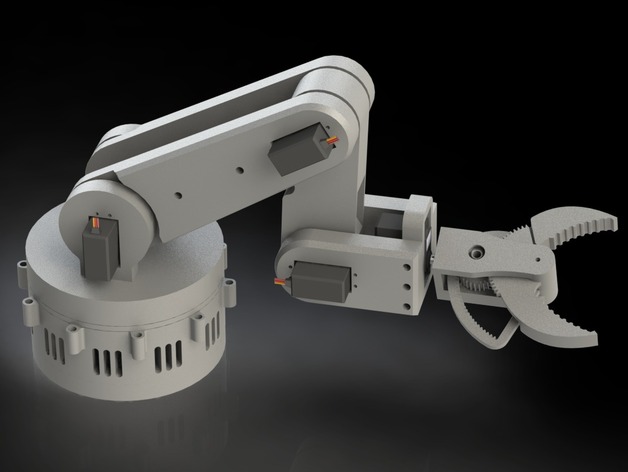
This is the second file release in my robotic arm series, featuring a critical component known as the turntable of the robotic arm. To assemble the gripper, you'll need the following hardware: 25 M3 x 10mm round head screws, 8 M3 x 8mm round head screws, 1 M3 x 3mm grub screw, and 1 M4 x 3mm grub screw. You'll also require 5 M4 bolts of varying lengths for the bottom plate, depending on your wooden base plate thickness. Additionally, you'll need two 10mm x 30mm x 9mm bearings with a 6200zz designation and ten 10mm steel balls. To complete the assembly, you'll need to connect the following electronic components: one Nema 17 stepper motor measuring 34mm in height and one BOURNS 3590S 10-turn potentiometer. The assembly process is straightforward; simply refer to the exploded view for guidance. If you have any questions or concerns, feel free to message me. Some additional notes are worth mentioning: be sure to print the bearing clamp twice, as this will ensure a secure fit. All critical holes are oversized by 0.25mm to guarantee an easy fit. The M3 and M4 holes are sized at 2.8mm and 3.8mm in diameter, respectively. To achieve neat and tight threads in the plastic, apply some grease to your bolts and screws before assembly. During the assembly process, make sure the potentiometer is rotated to its center position (5 turns). Next, align the notch on the rotating plate with the potentiometer and gently push it into place. Finally, apply a light coat of oil or grease to the 10mm steel balls to ensure smooth operation. To print this component, use the following settings: printer - Craftbot Plus; rafts - no; supports - yes; resolution - 0.2mm; infill - 15% - 25%. After printing, sand both the circular ball guide on the base top plate and the rotating plate with fine sandpaper to improve their rotational capabilities and ensure a smooth turntable operation.
With this file you will be able to print Robotic arm: turntable (part 2/3) with your 3D printer. Click on the button and save the file on your computer to work, edit or customize your design. You can also find more 3D designs for printers on Robotic arm: turntable (part 2/3).