Robot UV Map
sketchfab
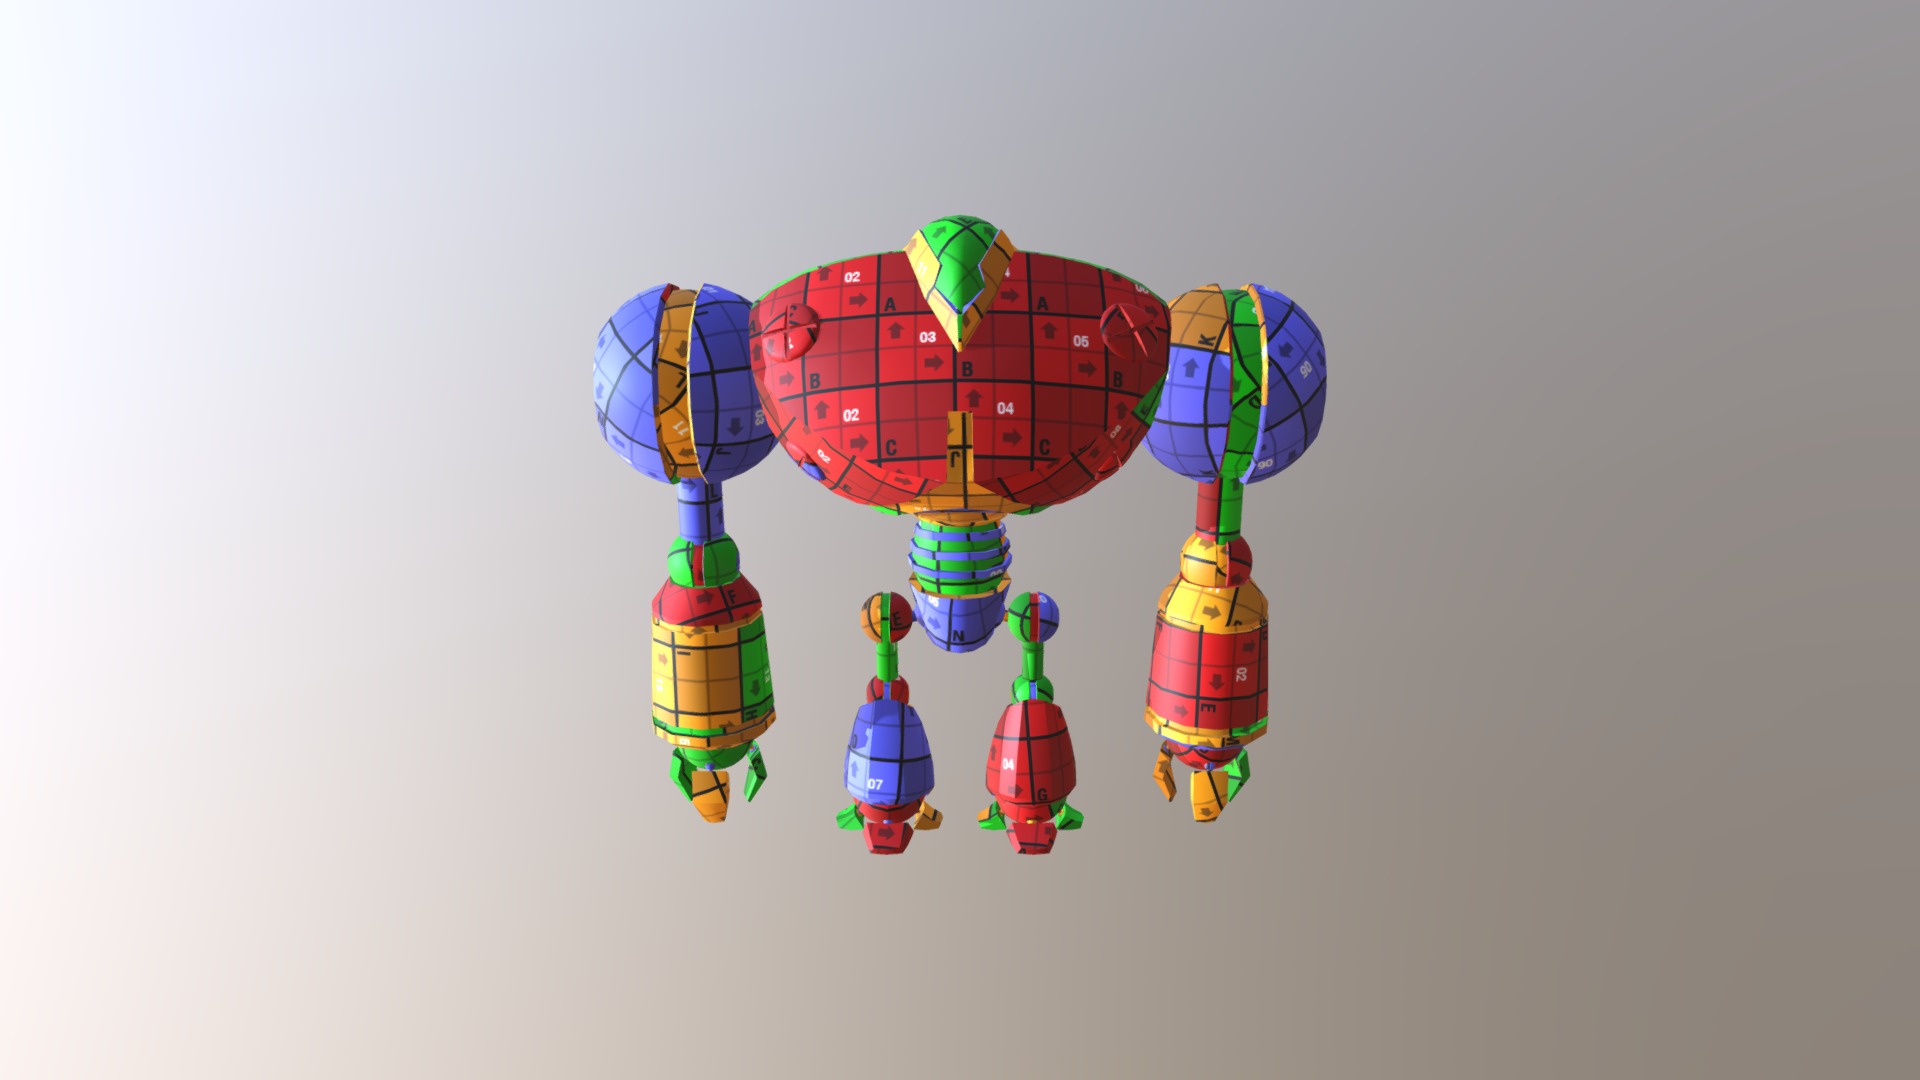
The Robotics Team at DGM has been tasked with mapping out a UV map for the robot's exterior design. This will ensure that all surfaces of the robotic unit are properly illuminated and visually appealing. The team must consider various factors, including the robot's shape, size, and materials used in its construction. To begin, the team should research existing UV mapping techniques and software available to them. They should also familiarize themselves with the specific requirements for their project, such as resolution, texture, and lighting effects. Next, they will need to create a 3D model of the robot using computer-aided design (CAD) software or other suitable tools. This will provide a detailed representation of the robot's shape and dimensions, allowing them to accurately map out its UV coordinates. Once the 3D model is created, the team can apply a UV map to it. They should use techniques such as unwrapping and texture painting to ensure that all surfaces are properly mapped and textured. After applying the UV map, the team will need to test it for accuracy and completeness. This may involve checking for any errors or inconsistencies in the mapping process. Finally, the team can refine their UV map based on feedback from testing and iteration. They should continue to make adjustments until they achieve a visually appealing and accurate representation of the robot's exterior design.
With this file you will be able to print Robot UV Map with your 3D printer. Click on the button and save the file on your computer to work, edit or customize your design. You can also find more 3D designs for printers on Robot UV Map.