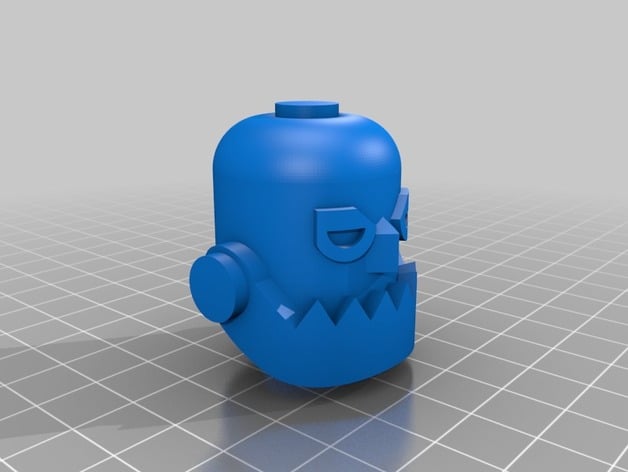
Robot Head Case
thingiverse
This was an incredibly challenging project to complete, but I'm thrilled with the final outcome. The charger case not only protects the ends of your iPhone charger, but it's also a testament to perseverance and determination. It took me several attempts to get it right, but with each failure, I learned something new that ultimately led to success. My last print was perfection itself, and everything fit together seamlessly. Initially, I was disappointed when my first attempt didn't meet my expectations, but I realized that every setback is an opportunity to learn and improve. As a result, my second try was a huge success, and the end product exceeded my expectations. After adding a coat of paint to the two heads, they looked amazing, and I couldn't be happier. Print Settings: Printer Brand: MakerBot Printer: MakerBot Replicator 2 Rafts: Doesn't Matter Supports: Yes Post-Printing: Standards: CCSS Overview and Background: Robot Head Case https://youtu.be/8LsJXNVkF6U Lesson Plan and Activity: PROJECT: INVENT, ITERATE, REPEAT Imagine a 3D object that would make someone's life easier. Over the next two weeks, you'll create an object from scratch or use a design from Thingiverse. Next week, we'll learn how to use Tinkercad.com, Thingiverse.com, and 3D printing. In three weeks, you'll print your 3D design on one of our 3D printers. For this week, focus on proposing your ideas. Materials Needed: 123Design application, Makerbot application, and a 3D printer
With this file you will be able to print Robot Head Case with your 3D printer. Click on the button and save the file on your computer to work, edit or customize your design. You can also find more 3D designs for printers on Robot Head Case.
