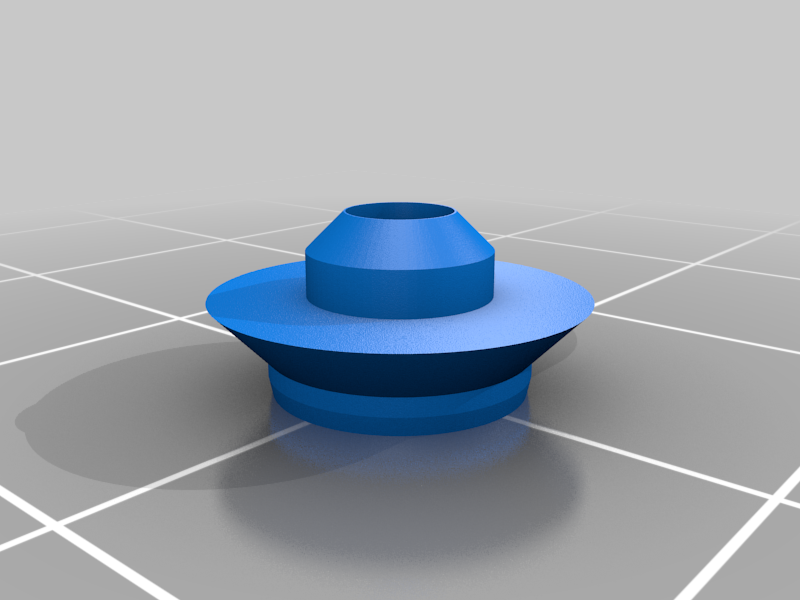
Roborock S5 Max - raised water nozzle
prusaprinters
<p>I had a problem with my Roborock, that the water coming out of those two little nozzles wasn't going straight down to the cloth, but for some reason (probably due to surface tension) it was spilling all over the top of the mop cloth bracket and then eventually spilling over and making puddles on the floor.</p><p>If anyone has the same problem I made these raised nozzles which fit perfectly (if your printer is well calibrated) and create a raised edge of about 2mm. This completely fixed the issue for me.</p><p>I used tiny bit of hot glue on the chamfered edge (be careful not to get any in the hole) to make it stay in place.</p><p>Raising the nozzle by 2mm above the bottom plate still allows the mop cloth bracket to be slid under the vaccum and clicked in place.</p><p>When printing I would suggest using a 5mm brim (the bottom edge is chamfered to prevent elephant's foot). Printed with 0.1mm layer height because of fine details and slow speed. Any material will do - I used PETG. Print of one took about 6 minutes.</p><p>You might also like my other upgrade for the vaccum - mop cloth bracket insert with water channels: <a href="https://www.prusaprinters.org/cs/prints/65728-roborock-s5-max-mop-cloth-insert-with-water-channe">https://www.prusaprinters.org/cs/prints/65728-roborock-s5-max-mop-cloth-insert-with-water-channe</a></p><p>If you like this, please consider giving it a like and posting your make.</p><h3> </h3>
With this file you will be able to print Roborock S5 Max - raised water nozzle with your 3D printer. Click on the button and save the file on your computer to work, edit or customize your design. You can also find more 3D designs for printers on Roborock S5 Max - raised water nozzle.
