Robo3D Camera Mount
thingiverse
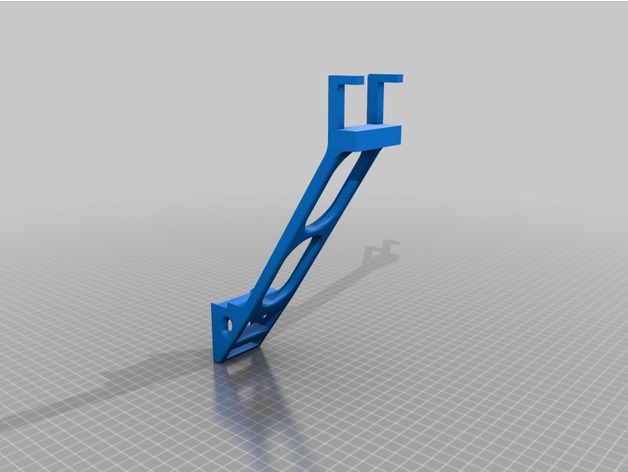
Mounting a Logitech C270 Webcam to a Robo3D Printer. Firstly, you'll need to acquire an appropriate mounting bracket or adapter that is specifically designed for your Logitech C270 webcam and the Robo3D printer. The mounting bracket should be made of sturdy material such as metal or high-quality plastic. Next, locate the tripod socket on your Robo3D printer. It's usually situated at the base of the machine and may require some effort to access. Remove any protective covers or obstructions that might hinder the mounting process. Take your webcam mounting bracket and align it with the tripod socket on the printer. Gently push the bracket into place until you hear a satisfying click, indicating that it is securely locked in position. Tighten the screws firmly to prevent any movement during printing operations. Now, attach your Logitech C270 webcam to the mounting bracket using the provided camera mount. Make sure the camera is facing downwards towards the print bed and adjust its position as necessary for optimal viewing angles. Once everything is in place, plug your webcam into a power source and connect it to your computer via USB. You may need to download and install specific drivers or software to ensure compatibility with your Robo3D printer and operating system. After you've completed these steps, you'll be able to monitor the printing process on your computer screen through live video feed from the Logitech C270 webcam. This will enable you to keep a close eye on your prints as they come out of the printer, ensuring that everything is proceeding smoothly and without any issues.
With this file you will be able to print Robo3D Camera Mount with your 3D printer. Click on the button and save the file on your computer to work, edit or customize your design. You can also find more 3D designs for printers on Robo3D Camera Mount.