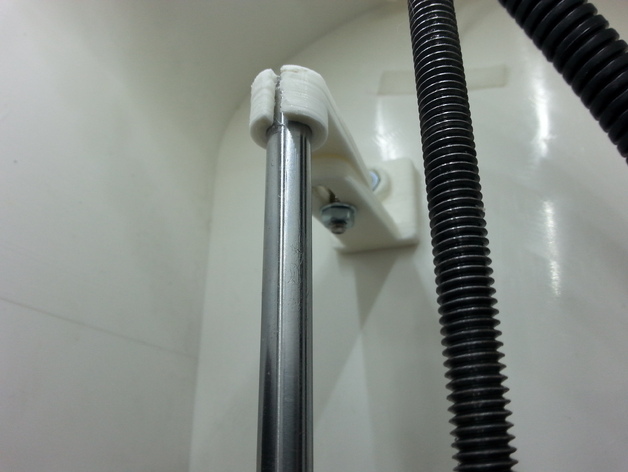
Robo3D Adjustable Z stabilizers
thingiverse
When I was upgrading my Robo3D printer, I encountered several Z stabilizer designs with rigid measurements. The problem arose when I noticed that none of the Robo3D cases had an identical distance to their Z axis support rods, allowing for some margin of error in measurement. This variance can cause stress on the X/Z axis rods. To address this issue, I created a set of adaptable stabilizers. You'll need the following hardware: four M4 bolts, each measuring 15mm, plus or minus four M4 nuts, and six M4 washers. To utilize these stabilizers: Work backwards to comprehend how they function. Initially mount the stabilizers in their proper places. Lift the Z axis to its maximum capacity at the top position.
With this file you will be able to print Robo3D Adjustable Z stabilizers with your 3D printer. Click on the button and save the file on your computer to work, edit or customize your design. You can also find more 3D designs for printers on Robo3D Adjustable Z stabilizers.
