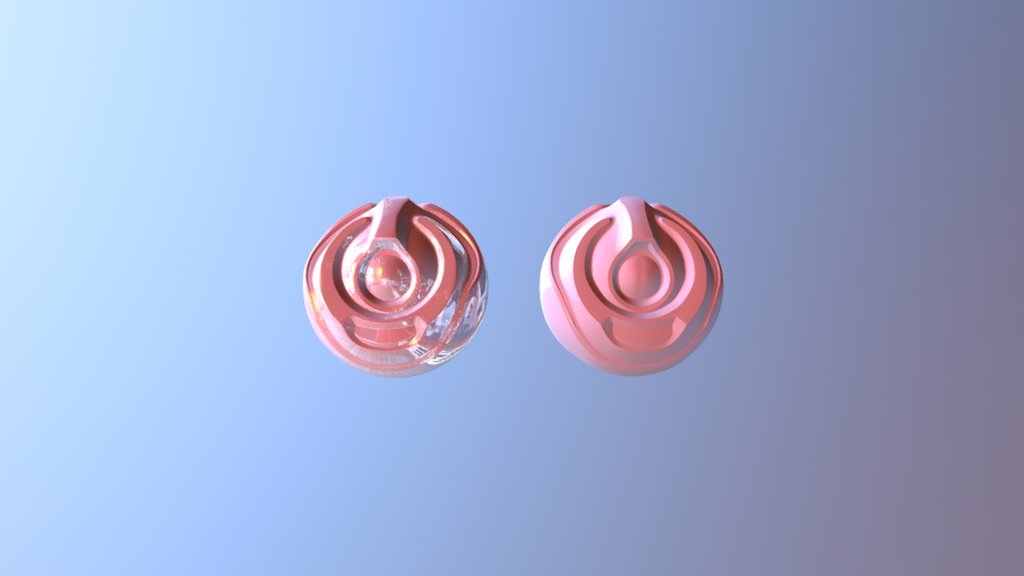
Robo-orb Retopo
sketchfab
Creating a Retopological Mesh for 3D Modeling Applications Retopology is an essential process in creating high-quality meshes for Computer-Aided Design (CAD) and 3D modeling applications, particularly when dealing with complex models that require precise geometry. In this exercise, we will explore how to create a retopological mesh using the CGCookie workflow. First Step: Preparing the Source Mesh The first step is to prepare the source mesh for retopology. This involves selecting the correct topology settings in your 3D modeling software and making any necessary adjustments to the original mesh. Second Step: Building the Retopological Mesh Once you have prepared the source mesh, it's time to start building the retopological mesh. You can use a combination of tools such as edge loops, face loops, and quads to create a smooth and even surface. Third Step: Refining the Mesh Refine your retopological mesh by using advanced techniques such as smoothing, subdivision, or remeshing to achieve a high-quality mesh that meets your requirements. Using Retopology for Real-World Applications Retopology is a powerful tool in 3D modeling and animation, offering endless possibilities for creating realistic models with precise geometry. By mastering the retopology workflow, you can take your 3D modeling skills to the next level and achieve professional-grade results.
With this file you will be able to print Robo-orb Retopo with your 3D printer. Click on the button and save the file on your computer to work, edit or customize your design. You can also find more 3D designs for printers on Robo-orb Retopo.