Robo 3D Printer Things
thingiverse
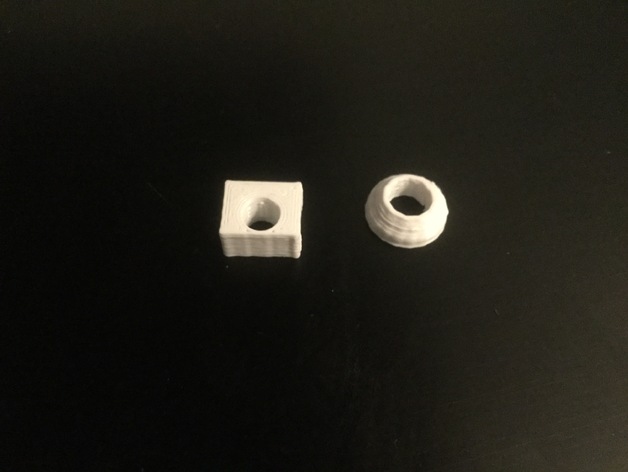
A collection of things I needed when upgrading my Robo3D R1+ printer. ScrewHolder - A plastic nut for the top M6 screw used on the Smart XXL LCD case. Spacer - A tapered washer/spacer for the side screw used on the Smart XXL LCD case. RaspberryPi3 - A sled for mounting a Raspberry Pi in the base using double-sided tape. SainSmart2Relay - A sled for mounting the SainSmart 2 Relay board using double-sided tape. Print Settings Printer Brand: Robo 3D Printer Model: R1 ABS + PLA Model Rafts: No Supports: No Resolution: 0.2mm Infill: 25% Post-Printing ScrewHolder: Use a M6 tap to thread the ScrewHolder installed on the underside of the Robo. It will be clear how it goes. Avoid over-tightening, as the threads may strip due to plastic. Spacer: Position with tapered end towards printer, sized for just enough clearance between printer top and case tab. Without Spacer, you would have to leave the screw loose due to the gap. Raspberry Pi 3 Sled: Use an M2.5 tap to thread holes for M2.5x6 Nylon screws holding the Pi to sled. Attach with double-sided tape on the bottom to attach to Robo base. SainSmart 2-Relay Sled: Use an M3 tap to thread holes for M3 Nylon screws holding the Relay board to sled. Attach with double-sided tape on the bottom to attach to Robo base. How I Designed This Used OpenSCAD, source provided.
With this file you will be able to print Robo 3D Printer Things with your 3D printer. Click on the button and save the file on your computer to work, edit or customize your design. You can also find more 3D designs for printers on Robo 3D Printer Things.
