Robo 3D bed mounted camera arm
thingiverse
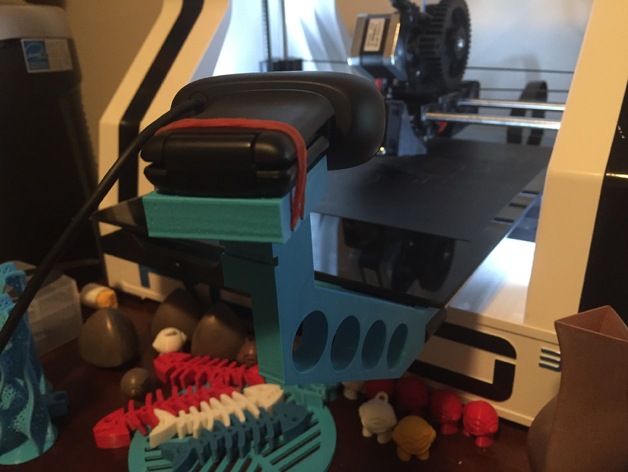
I was using a camera mount from http://www.thingiverse.com/thing:1006864, which worked perfectly fine until I added a dual fan modification. That mount centered the camera on the bed so when you have a fan in front of the camera and print in the center of the bed, you get an excellent view or video of the fan. In this remix (more of a reimplementation inspired by), I move the arm off to the far right side of the bed. I also change the top mounting plate to be a separate piece so it can be pointed toward the center of the bed and be adjustable. The picture of the dual fan and nozzle is an Octoprint screen capture of the view from the mounted camera when the nozzle is at the center of the bed. The arm has an M6 captive nut, so you will have to pause the print at the appropriate point to add the nut. After printing, use an M6 bolt to attach the top plate to the arm. Use a bolt and the existing screw hole in the right front of the mount to attach the arm to the bed. I reused the camera mount spacer from http://www.thingiverse.com/thing:1006864. Printer Settings Printer Brand: Robo 3D Printer: R1 ABS + PLA Model Rafts: No Supports: Yes Resolution: 0.2 mm layers Infill: 30% Notes: Designed to print laying flat on side. Will need support in between the two "forks" of the base. Do not print support in the captive bolt hole. I used Simplify3D customer supports for this.
With this file you will be able to print Robo 3D bed mounted camera arm with your 3D printer. Click on the button and save the file on your computer to work, edit or customize your design. You can also find more 3D designs for printers on Robo 3D bed mounted camera arm.