ROBO 3D 360 Degree Fan Shroud.
thingiverse
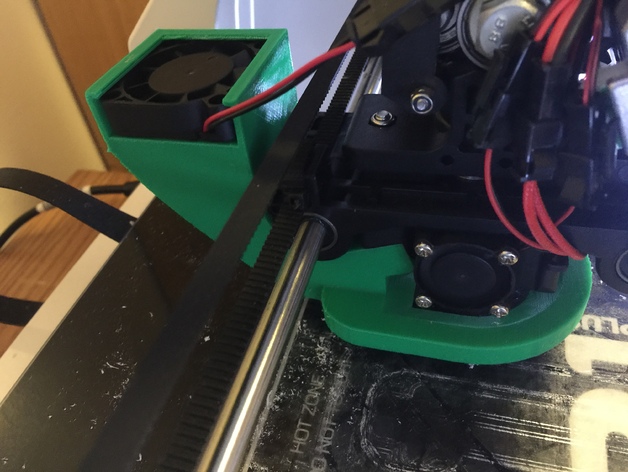
The print should be printed vertically with supports from the build plate only. The arch created during printing came out fine for me. To prevent support material from needing to be removed, I added a support directly into the model where the fan slides in. This allows the top part of the print to stay intact without requiring additional support. In addition, I included a rib in the design to keep the print upright on the print bed and it snapped off perfectly for me. Inside the air passage, numerous 1 mm wide slots were added to allow the cavity to be printed without any need for support material, which would have been difficult to remove otherwise. This duct does limit your Z axis movement, but I am still able to easily move 6 inches in this direction. My X axis movement remains unaffected by this duct. The design also divides the air flow inside into fifths with one fifth exiting directly behind the nozzle and two fifths flowing to the right and left of it. No additional hardware is required, as it uses the same screws that hold the stock cooling fan in place. The fan simply slides into the top of the print. However, this duct does restrict Z axis movement.
With this file you will be able to print ROBO 3D 360 Degree Fan Shroud. with your 3D printer. Click on the button and save the file on your computer to work, edit or customize your design. You can also find more 3D designs for printers on ROBO 3D 360 Degree Fan Shroud..