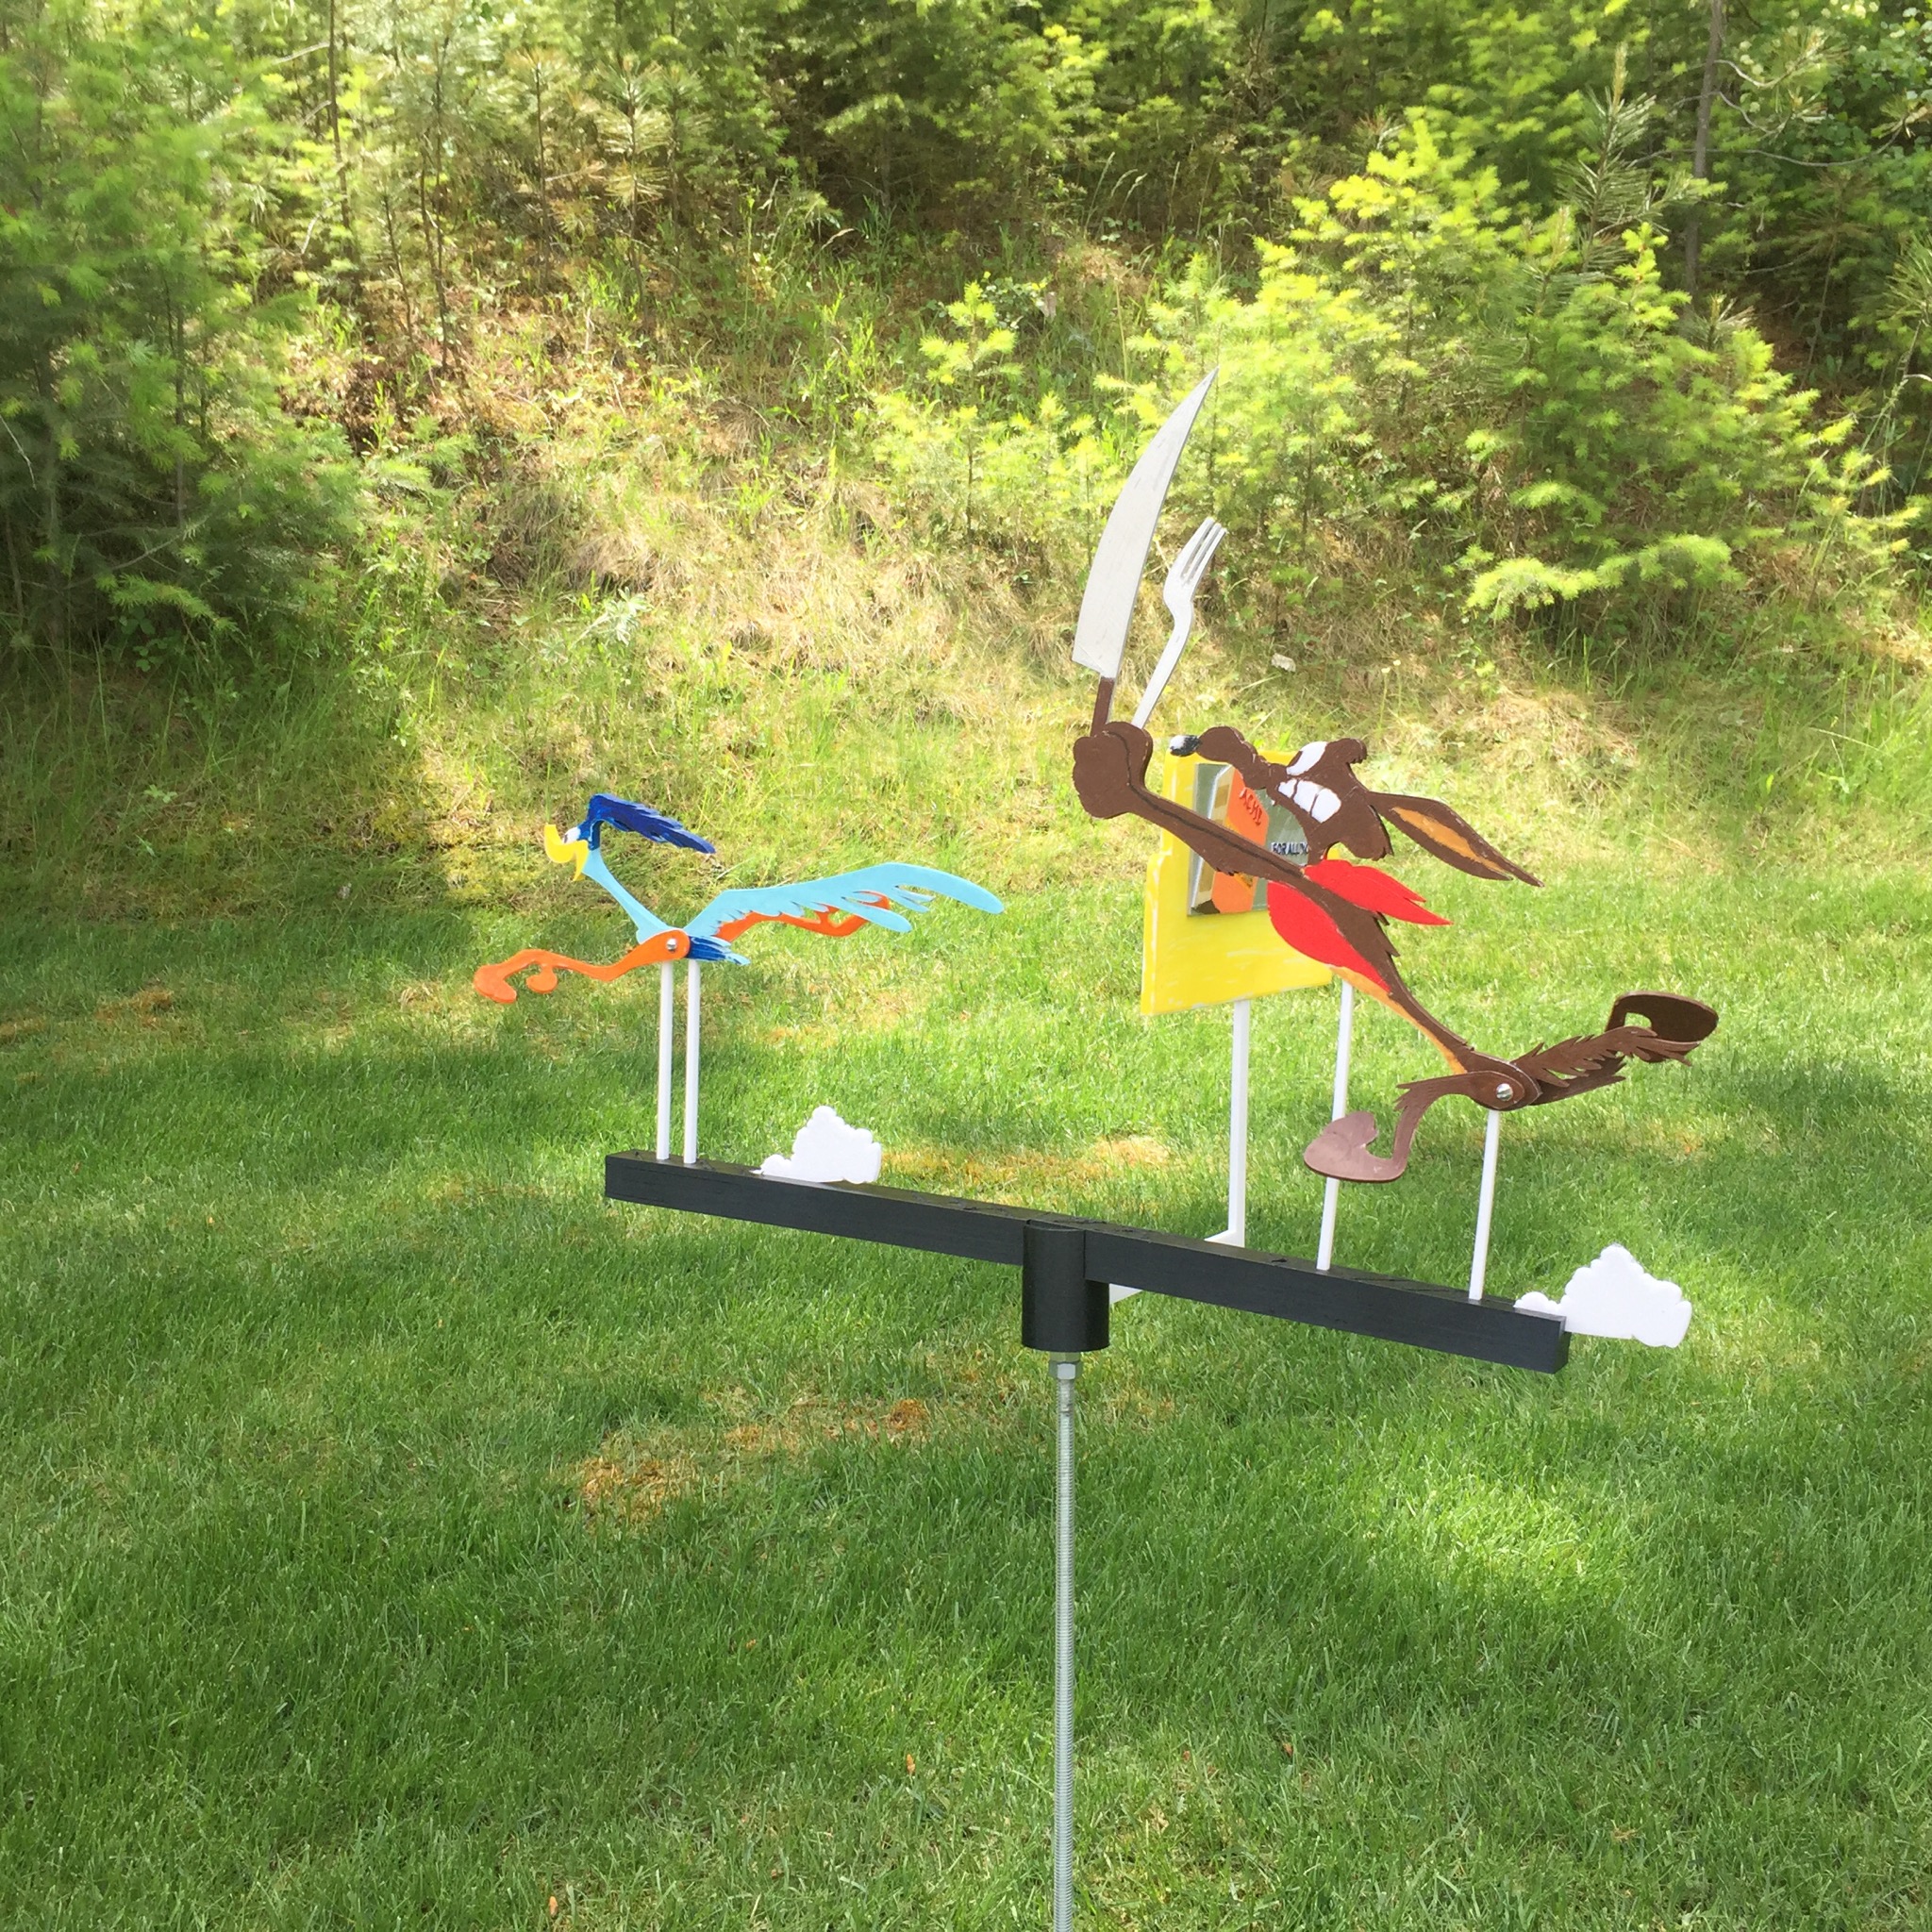
Roadrunner Whirligig
prusaprinters
<p>Another Whirilgig. This time it's Wile E Coyote chasing Roadrunner.</p> <p>I had a lot of trouble with the legs. First, in figuring how they had to twist in order to become propellers and also not hit anything when they rotated. Then, how to do all that and still have both feet pointing in the proper physiological direction so they actually looked like both feet were facing front. After getting all that right, they needed so much support because of all the angles that my printer couldn't do a decent job of printing them. At best, they required a lot of cleanup after printing.</p> <p>I finally just printed them flat and then put them in boiling water for a short time to soften and then bent them to shape. This works well, and the final product looks much better and works just as well, but it involves some mental gymnastics to figure out which direction to bend which part of the legs. ymmv. I used ABS for my prints, but this should also work for PLA. Please be careful if you use this method because, You know... boiling water!</p> <p>I have included both versions of each set of legs.</p> <p>There is an optional side b for the billboard. It is just a different ACME advertisement that you can glue to the back side of the billboard.</p> <p>Pay close attention to which way the figures face in relation to the billboard when you get ready to glue the swivel mount to the base. The billboard should be on their right. If you get it wrong, the legs will spin backwards. Don't ask me how I know! :)</p> <p>Assembly diagram is in the Assembly_guide.svg file.</p> <p>Whirligig in action: <a href="https://www.youtube.com/watch?v=OIgfxB2ZQw0">https://www.youtube.com/watch?v=OIgfxB2ZQw0</a></p> <h3>Print instructions</h3><h3>Category: Interactive Art Print Settings</h3> <p><strong>Printer:</strong> FlashForge Creator pro</p> <p><strong>Rafts:</strong> No</p> <p><strong>Supports:</strong> Yes</p> <p><strong>Resolution:</strong> .2mm</p> <p><strong>Infill:</strong> 15%</p> <p><strong>Notes:</strong></p> <p>Print the billboard support at 100%. It needs the extra strength.</p> <h3> Post-Printing</h3> <p><strong>Materials needed</strong></p> <p>2 608zz skateboard bearings<br/> 4 5/16" (or M8) nuts<br/> 1 length of 5/16 (or M8) threaded rod<br/> 2 6-32 (or M3) x 1" (25mm) machine screws<br/> 6 6-32 (or M3) nuts</p> <p>Assemble the legs by putting a machine screw through one leg (be sure it is facing the right way). Then add and tighten a nut. Push this assembly through the body and add another nut. Do not tighten this nut. Leave enough space so that it can act as an axle for the legs. Add the second leg, again making sure it faces correctly. Then put on the third nut and tighten to trap second leg between two nuts while making sure the two legs can still turn freely.</p> <p>For the swivel, press the two bearings into the recesses. Run two nuts onto the threaded rod, then slide the rod into the bearings. Add a nut on the top, and tighten to press the bearings flush. Adjust the nuts so the top one is flush with the top of the rod and the bottom ones are just snug against the bottom bearing. The swivel should rotate freely. Add a drop of super glue to lock the top nut in place. Tighten the two bottom nuts against each other with wrenches.</p> <p>Glue all the pieces together and enjoy.</p> <h3> How I Designed This</h3> <p>I designed this using Inkscape and 123D Design.</p> <p>I made the sketches in Inkscape and exported them as .SVG files.<br/> These were imported into 123D Design as sketches, extruded, manipulated, and saved.</p>
With this file you will be able to print Roadrunner Whirligig with your 3D printer. Click on the button and save the file on your computer to work, edit or customize your design. You can also find more 3D designs for printers on Roadrunner Whirligig.
