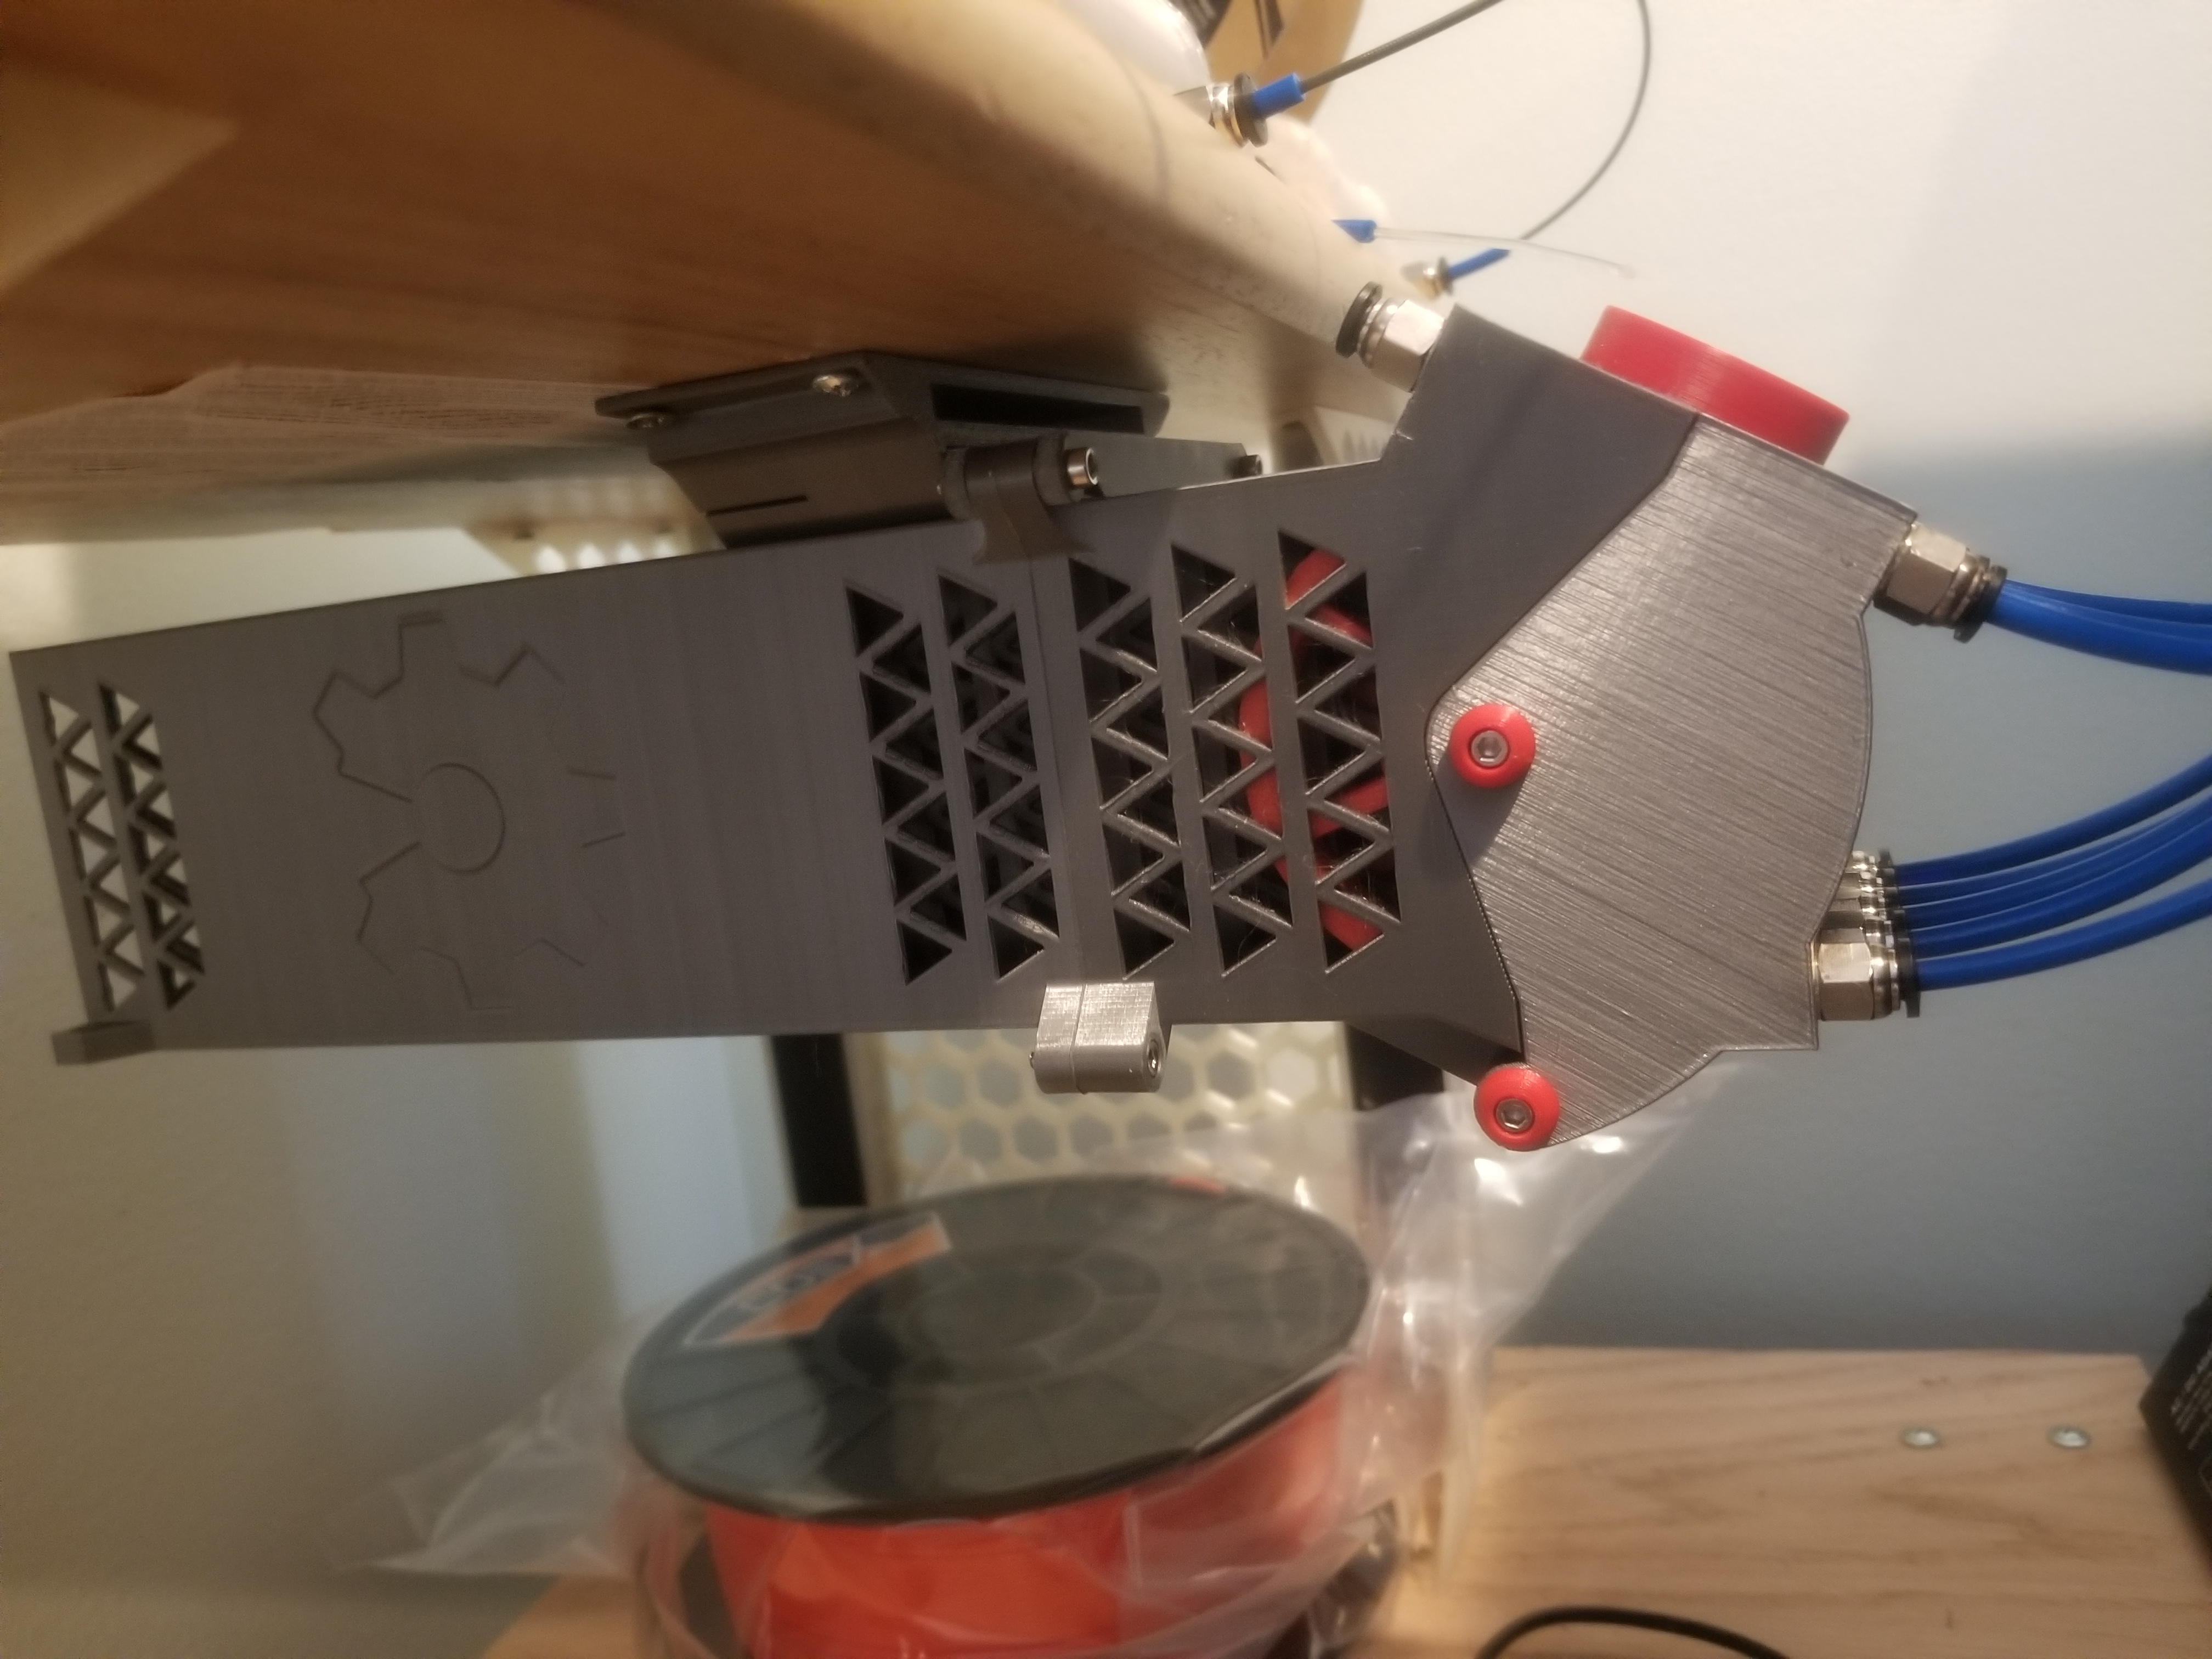
RMU Inspired Mounting Bracket
prusaprinters
<p>NOTE: I only have it designed for the two sides, I'm working on the other two and will provide that bracket when available (the part that attaches to the RMU itself. The shelf attachment used will be the same between the two options. I'm unsure if this will work with other versions of this style RMU.</p><p>This is designed for the MMU2S Buffer (inspired by RMU Buffer) by Manzn.</p><p><strong>License</strong></p><p>designed by: https://www.prusaprinters.org/social/86004-manzn.</p><p>Hardware Changes:</p><ul><li>Two of the screws attaching the top of the RMU and bottom of the RMU body will need to be swapped out with two M3*20 hex head screws with hex nuts.</li><li>You will need 4 screws to mount the bracket to the bottom of a shelf, side of enclosure, etc. (I used ½ inch long wood screws for attaching to the shelf in the picture)</li></ul><p>Setup Instructions:</p><ul><li>Use the RMU Mount Drill Template for wherever you decide to mount the RMU.<ul><li>Make sure you have enough clearance to open/close/load/unload the way you'd like.</li></ul></li><li>Using 4 screws mount the RMU Mount Shelf Bracket to the desired location.</li><li>The RMU Buffer Bracket currently available attaches to the two symmetrical/scalloped sides (side of the RMU that have the flattened portions attaching the top to the bottom will be coming soon).</li><li>Remove the two M3 screws attaching the top and bottom of the RMU on the desired side.</li><li>Place the bracket on the side as shown in the standing photo (screws attaching the bracket to the upper and lower portions of the RMU at the top, the narrower portion without the screws towards the bottom.</li><li>You can now slide the RMU in place using the shelf bracket. There a pressure plate in the back of the bracket to help hold it in place.</li></ul><p>Printing Instructions:</p><ul><li>RMU Buffer Bracket print with the wider flat part on the bed. No supports needed.</li><li>RMU Mount Shelf Bracket print with the two pressure fit notches facing up. No supports needed.</li><li>RMU Mount Drill Template print flat with lettering up. No supports needed.</li></ul><p>Material:</p><ul><li>PLA seemed fine when testing. Recommend PETG for longevity.</li><li>0.20 Layer Height<ul><li>Infill: 20%</li><li>Infill Type: Grid</li><li>Perimeters: 3</li></ul></li></ul><p> </p><p> </p>
With this file you will be able to print RMU Inspired Mounting Bracket with your 3D printer. Click on the button and save the file on your computer to work, edit or customize your design. You can also find more 3D designs for printers on RMU Inspired Mounting Bracket.
