Ringfit Holder (Nintendo Switch)
thingiverse
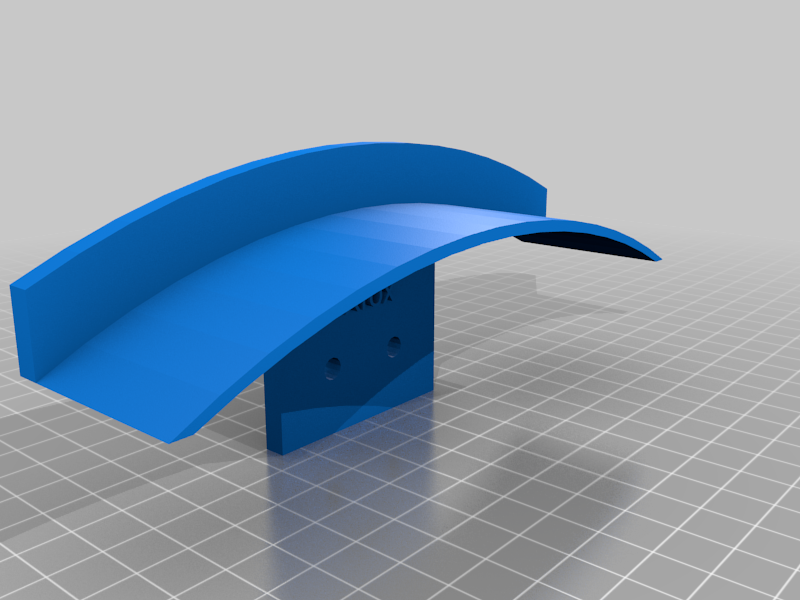
Here is a simple DIY guide to create a custom wall mount holder for your Nintendo Switch Ring Fit controller using a Geeetech I3 Pro B 3D printer. To begin, you will need the following materials and tools: * Geeetech I3 Pro B 3D printer * ABS plastic filament * Slicing software (such as Cura or Simplify3D) * A computer with internet connection First, design a custom holder for your Nintendo Switch Ring Fit controller. You can use a 3D modeling software such as Tinkercad or Fusion 360 to create the design. Once you have designed the holder, save it as an STL file and open it in your slicing software. In this example, we will be using Cura. In Cura, select the ABS plastic filament and set the infill percentage to 15%. However, you can adjust this value based on your preference for the level of detail and weight of the holder. Next, send the file to your Geeetech I3 Pro B 3D printer. Make sure that the printer is properly calibrated and that the build plate is clean and leveled. Once the print is complete, remove it from the printer and sand it lightly to smooth out any rough edges. Your custom wall mount holder for the Nintendo Switch Ring Fit controller is now ready to use. Simply attach it to a wall using screws or adhesive putty, and you are good to go!
With this file you will be able to print Ringfit Holder (Nintendo Switch) with your 3D printer. Click on the button and save the file on your computer to work, edit or customize your design. You can also find more 3D designs for printers on Ringfit Holder (Nintendo Switch).