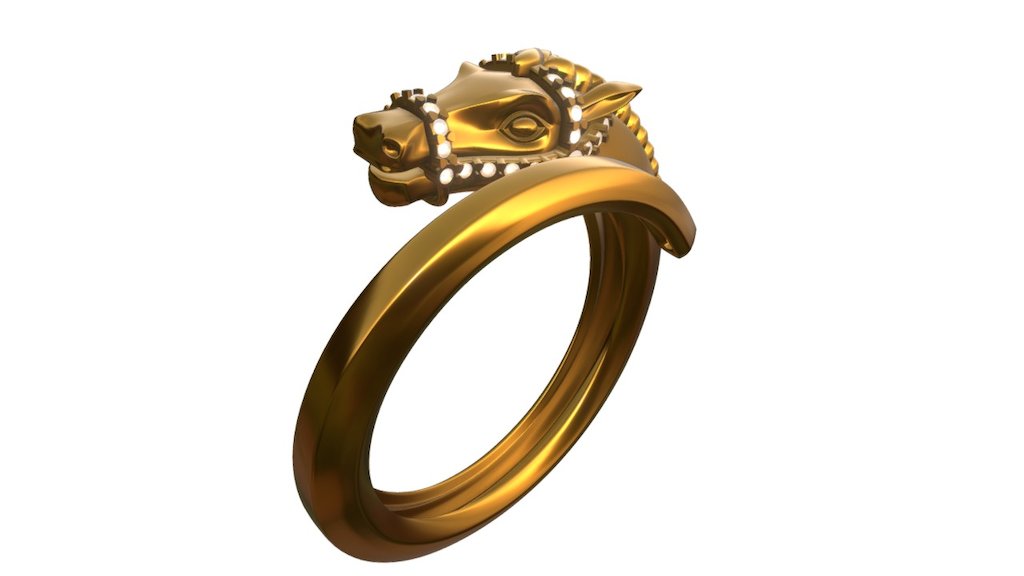
Ring Horse
sketchfab
Create a realistic and detailed 3D horse model using computer-aided design (CAD) software such as Blender or Autodesk Maya. Start by sketching out the overall shape and proportions of the horse, taking into account its breed and size. Use reference images to ensure accuracy in your design. Next, break down the horse's body into individual components, including the head, neck, torso, legs, and tail. Model each part separately using basic shapes such as spheres, cylinders, and rectangles. Pay attention to proportions and measurements to achieve a realistic look. Once you have all the parts modeled, assemble them into a complete 3D model. Use techniques such as boolean operations or mesh modeling to combine the individual components. Make sure to pay attention to the horse's muscle structure and anatomy to create a believable representation. Add texture and detail to your 3D horse model by using materials and shaders in your CAD software. Choose textures that accurately represent the breed and color of the horse, such as a golden coat or black mane. Add details such as eyes, nostrils, and hooves to bring your model to life. Finally, render your 3D horse model in high resolution to create a realistic image. You can use rendering software such as Cycles or V-Ray to achieve a photorealistic look. Experiment with different lighting setups and camera angles to capture the best possible view of your finished model.
With this file you will be able to print Ring Horse with your 3D printer. Click on the button and save the file on your computer to work, edit or customize your design. You can also find more 3D designs for printers on Ring Horse.