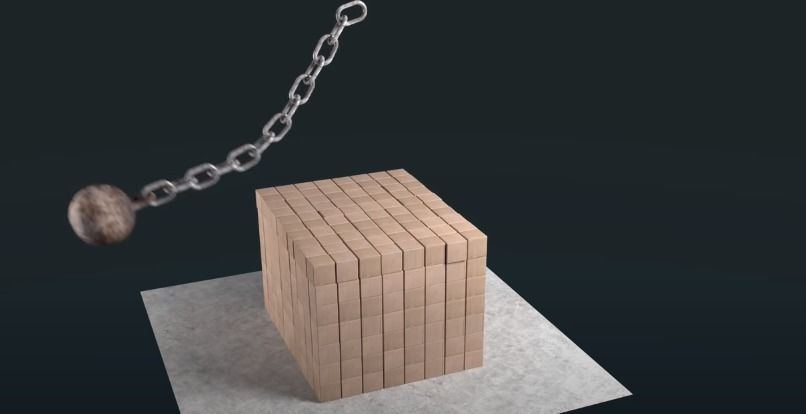
Rigid Body Simulation Tutorial By Blender Guru Low-poly 3D model
cgtrader
Mastering Advanced Physics in Blender: A Step-by-Step Guide to Rigid Body Simulation Are you ready to take your 3D modeling skills to the next level? Look no further! In this comprehensive tutorial, we'll delve into the world of rigid body simulation using Blender, the industry-standard animation software. Whether you're a seasoned pro or just starting out, this guide will walk you through each step, ensuring that you grasp even the most complex concepts. **What is Rigid Body Simulation?** Rigid body simulation is a fundamental concept in physics that allows you to simulate realistic movements and interactions between objects in your 3D scene. By applying forces and constraints, you can create complex simulations that mimic real-world scenarios. In this tutorial, we'll explore how to harness the power of rigid body simulation using Blender's built-in tools. **Setting Up Your Scene** Before diving into the nitty-gritty of rigid body simulation, let's set up our scene. We'll start by creating a new project in Blender and adding some basic objects. For this tutorial, we'll use a simple cube and a sphere. Make sure to select the correct units (meters or centimeters) for your scene. **Step 1: Enabling Rigid Body Simulation** To enable rigid body simulation, navigate to the Physics tab in the Properties panel. Click on the "Object" dropdown menu and select "Rigid Body." This will activate the rigid body simulator for our selected objects. You'll notice that a new tab appears, allowing you to fine-tune your simulation settings. **Step 2: Configuring Rigid Body Settings** In this step, we'll configure the rigid body settings for our cube and sphere. Click on the "Rigid Body" tab and adjust the following parameters: * **Mass:** Set the mass of each object to a suitable value (e.g., 1 kg for the cube and 0.5 kg for the sphere). * **Damping:** Adjust the damping factor to control how quickly objects come to rest. * **Friction:** Configure friction settings to simulate realistic collisions. **Step 3: Applying Forces and Constraints** Now it's time to apply forces and constraints to our scene. We'll use Blender's built-in tools to create complex simulations. For this example, we'll add a force to the cube and a constraint to the sphere. * **Forces:** Click on the "Force" tab and select the type of force you want to apply (e.g., gravity or wind). * **Constraints:** Navigate to the "Constraint" tab and select the type of constraint you need (e.g., fixed or spring). **Step 4: Running the Simulation** With our scene set up, it's time to run the simulation. Click on the "Play" button in the Timeline panel, and Blender will start simulating the rigid body dynamics. As you observe the simulation, take note of how the objects interact with each other. You can adjust the simulation settings at any time to experiment with different scenarios. **Conclusion** Mastering rigid body simulation is an essential skill for any 3D artist or animator. By following this tutorial, you'll gain a deep understanding of Blender's physics tools and be able to create realistic simulations that will elevate your projects to the next level. Practice makes perfect, so don't be afraid to experiment with different scenarios and settings. With time and patience, you'll become a master of rigid body simulation in Blender. Happy modeling!
With this file you will be able to print Rigid Body Simulation Tutorial By Blender Guru Low-poly 3D model with your 3D printer. Click on the button and save the file on your computer to work, edit or customize your design. You can also find more 3D designs for printers on Rigid Body Simulation Tutorial By Blender Guru Low-poly 3D model.
