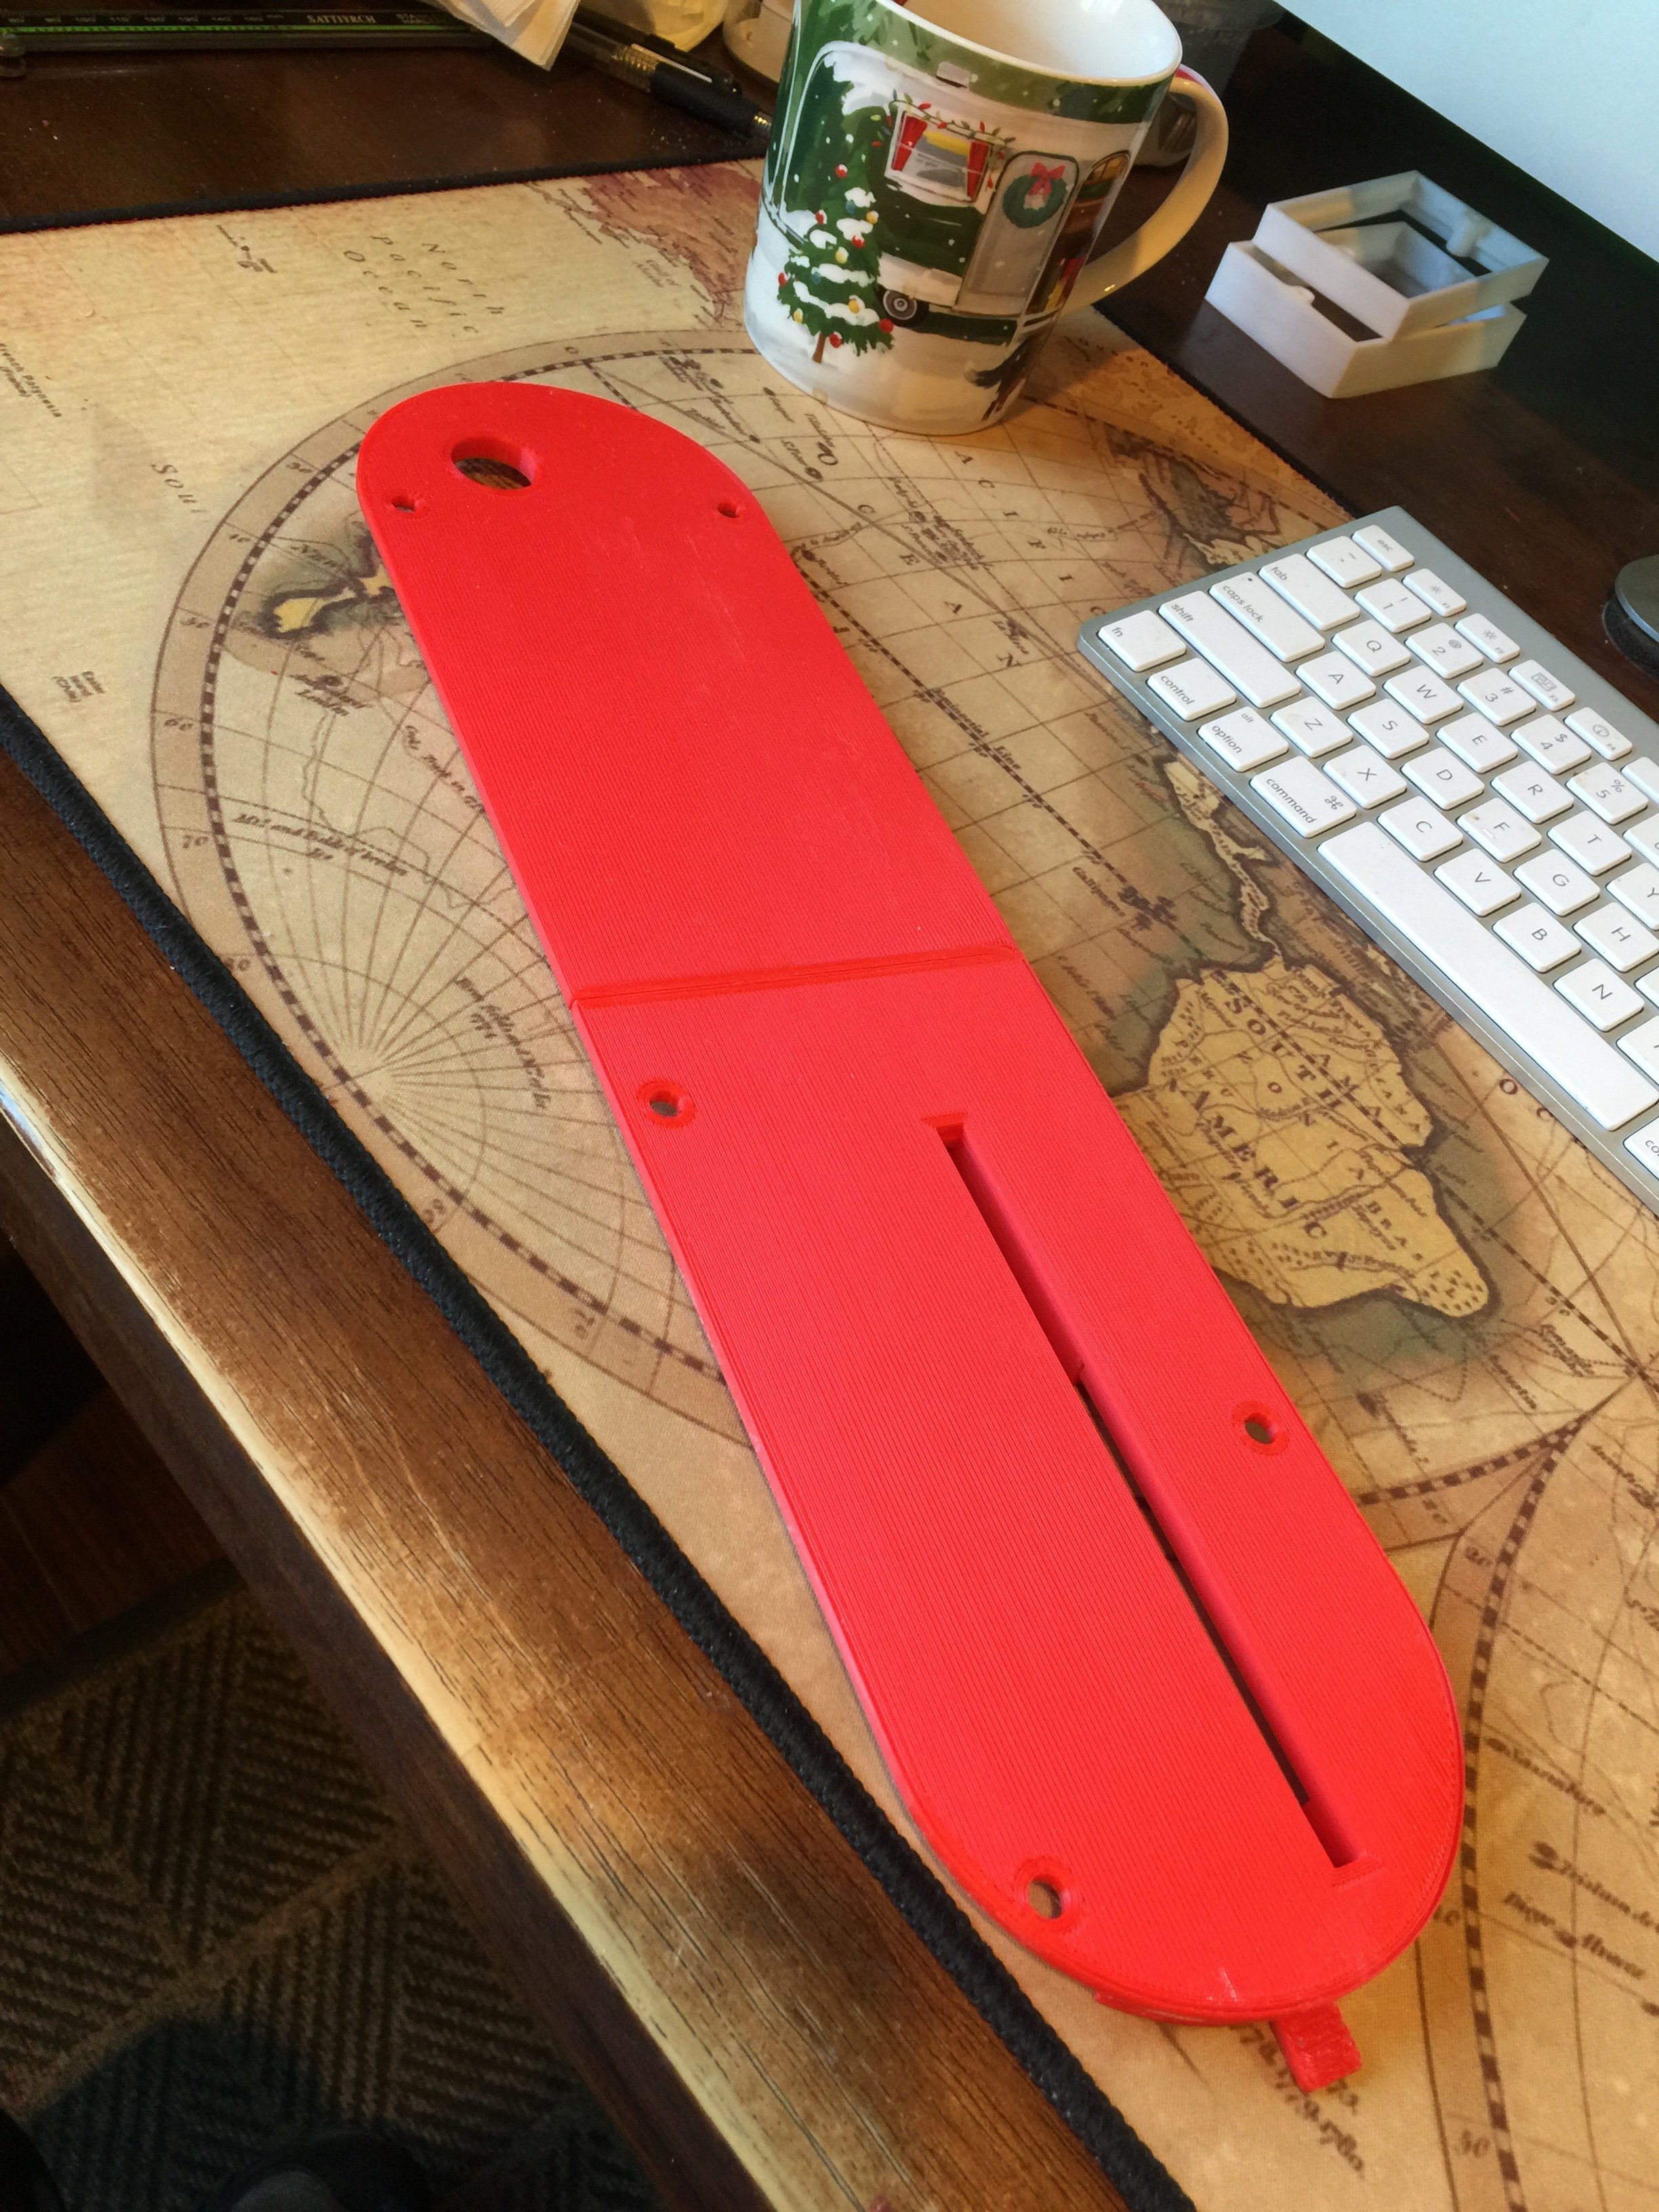
Ridgid Table Saw 4512 Throat Plate
thingiverse
Assemble the three pieces together. Use strong glue, I recommend CA glue, and let it dry completely. TAKE ALL SAFETY PRECAUTIONS REQUIRED AROUND A TABLE SAW IMMEDIATELY To cut the zero clearance slot: * Switch off the power * Remove the old plate immediately * Lower your saw blade to its lowest position * Locate the tab on one end of the plate and the magnetic washer on the other. Orient the plate correctly. * Place a new plate in position. Depending on the size of your blade, the plate may not sit entirely flat until you cut your slot. * Move the fence over the plate to hold it firmly down. Ensure the fence does not cover the slot area at all! * Position a board on top of the other edge of the new plate. Secure this firmly in place. Make sure not to cover the slot area with the board. * You should be able to see the part of the plate where the blade will rise up. There is already a slot for the riving blade in position. * Turn on the saw and activate it * Slowly raise the moving blade to cut your perfect zero clearance slot accurately. * Use a small screwdriver to adjust the height of the plate as needed using the adjusting screws carefully.
With this file you will be able to print Ridgid Table Saw 4512 Throat Plate with your 3D printer. Click on the button and save the file on your computer to work, edit or customize your design. You can also find more 3D designs for printers on Ridgid Table Saw 4512 Throat Plate.
