Rhombic Triacontahedron Magnetic Tile
thingiverse
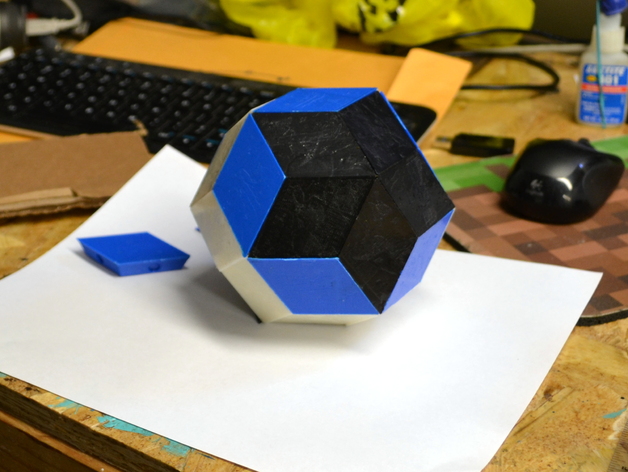
OpenSCAD rhombic triacontahedron tile with holes for magnets. You'll need to print 30 tiles, each requiring four axially magnetized disc magnets. That's a total of 120 magnets. I purchased mine in bulk from eBay and secured them using superglue within the tiles. See the User Defined Variables section of the OpenSCAD script for adjustable parameters such as magnet hole sizes and overall tile dimensions. Alternatively, use the pre-built STL file with six-millimeter diameter magnets. If you're unfamiliar with OpenSCAD, it's simple to install and use. Download the software from www.openscad.org and then open the relevant file in OpenSCAD. Press F6 to render or select the option through the menu at the top. Export the file as STL and transfer it to your slicer. These designs are also available on GitHub at https://github.com/eshira/polyhedra. Post-printing, ensure that all tiles have identical magnet alignment. To achieve this, align the magnets according to specific rules: Parallel sides must face out with the same polarity. Adjacent sides must face out with opposite polarities. For instance, orient the top and bottom surfaces so that north faces outward, while left and right sides have south facing out. Verify your magnet alignment by testing them against a reference tile.
With this file you will be able to print Rhombic Triacontahedron Magnetic Tile with your 3D printer. Click on the button and save the file on your computer to work, edit or customize your design. You can also find more 3D designs for printers on Rhombic Triacontahedron Magnetic Tile.