RGB Laser Light Show (for under $10.00!)
thingiverse
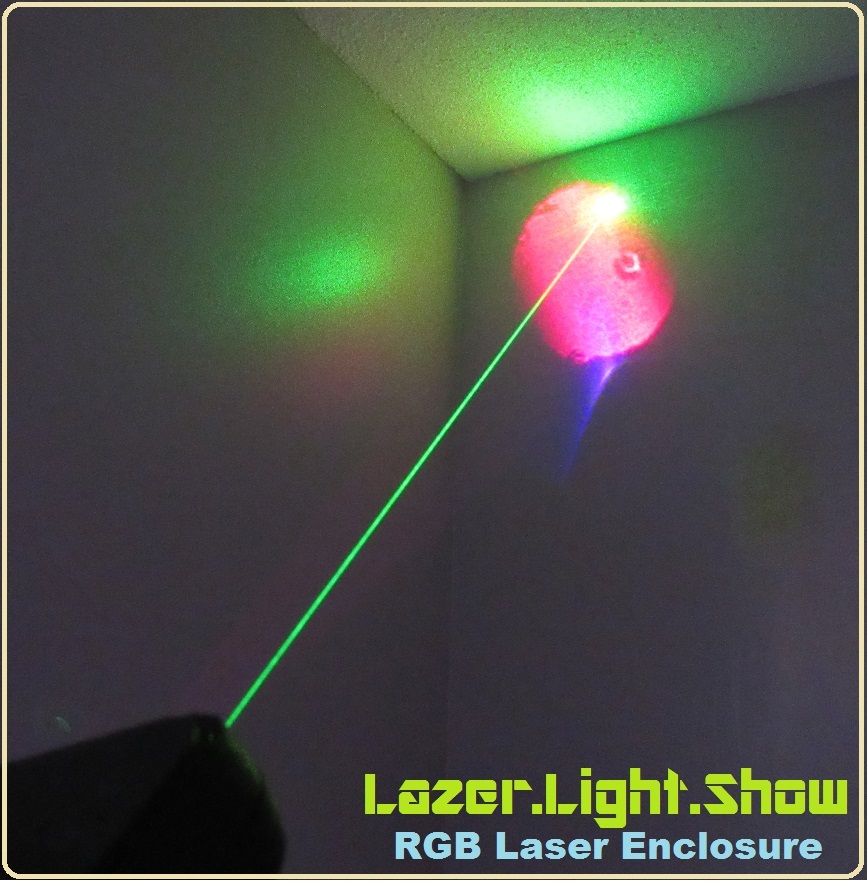
This was a project that went off the rails, resulting in a unique toy/prop with fascinating light effects. It's essentially a housing to contain three laser pointers, all of which can be controlled simultaneously. I already had most of the necessary components on hand due to my involvement in electronic engineering, so the total cost for me was just $3.00 for the laser pointers. If you need to purchase everything listed, it should come out to around $10.00. This project required some basic soldering and cutting with a Dremel cut-off tool. This is not a step-by-step tutorial with detailed instructions. I'm posting this assuming that you have some knowledge and experience with electronics. If not, please do not take on this project. BOM- X3 laser pointer pens (red, green, blue) http://ebay.to/2qArcZ1 X1 DPST slide switch http://ebay.to/2ri9dtk X1 18650 4.2v L-Ion cell http://ebay.to/2qwru54 X3 tactile switches http://ebay.to/2qAfA8u X1 18650 Lithium Ion charging board http://ebay.to/2rutlF3 Epoxy or hot glue gun, soldering iron, Dremel cut-off wheel. It all seems pretty straightforward to me. You're just placing the lasers inside the enclosure and using some hot glue to keep them in place. I built this because I dislike using consumer type AA/AAA batteries and wanted the lasers to be an "all-in-one" solution, using a rechargeable 18650 instead of going through consumer batteries all the time. I soldered a bridge to close the gates on the laser pointer tactile buttons and removed the actuators. Save those actuators if you're a maker! You'll likely have use for them in the future and actuators can be difficult to acquire. My new switch gates are the tactile switches and slide switch mounted in the enclosure. The gates are now located on the connection from the battery to the lasers. You can either drill some holes and use screws, or just seal the enclosure shut with epoxy (or acetone if using ABS). If you seal the enclosure, you'll need the charging board to re-charge the battery. There is a square hole on the enclosure allowing for access to a charging port. The l-ion charging boards are pretty straightforward. I'm not getting too specific on wiring because you can wire this any way you want to create different effects. I used some diodes for reverse voltage protection so I can control each laser individually or all at once with the slide switch. See images below for documentation on how I did things.
With this file you will be able to print RGB Laser Light Show (for under $10.00!) with your 3D printer. Click on the button and save the file on your computer to work, edit or customize your design. You can also find more 3D designs for printers on RGB Laser Light Show (for under $10.00!) .