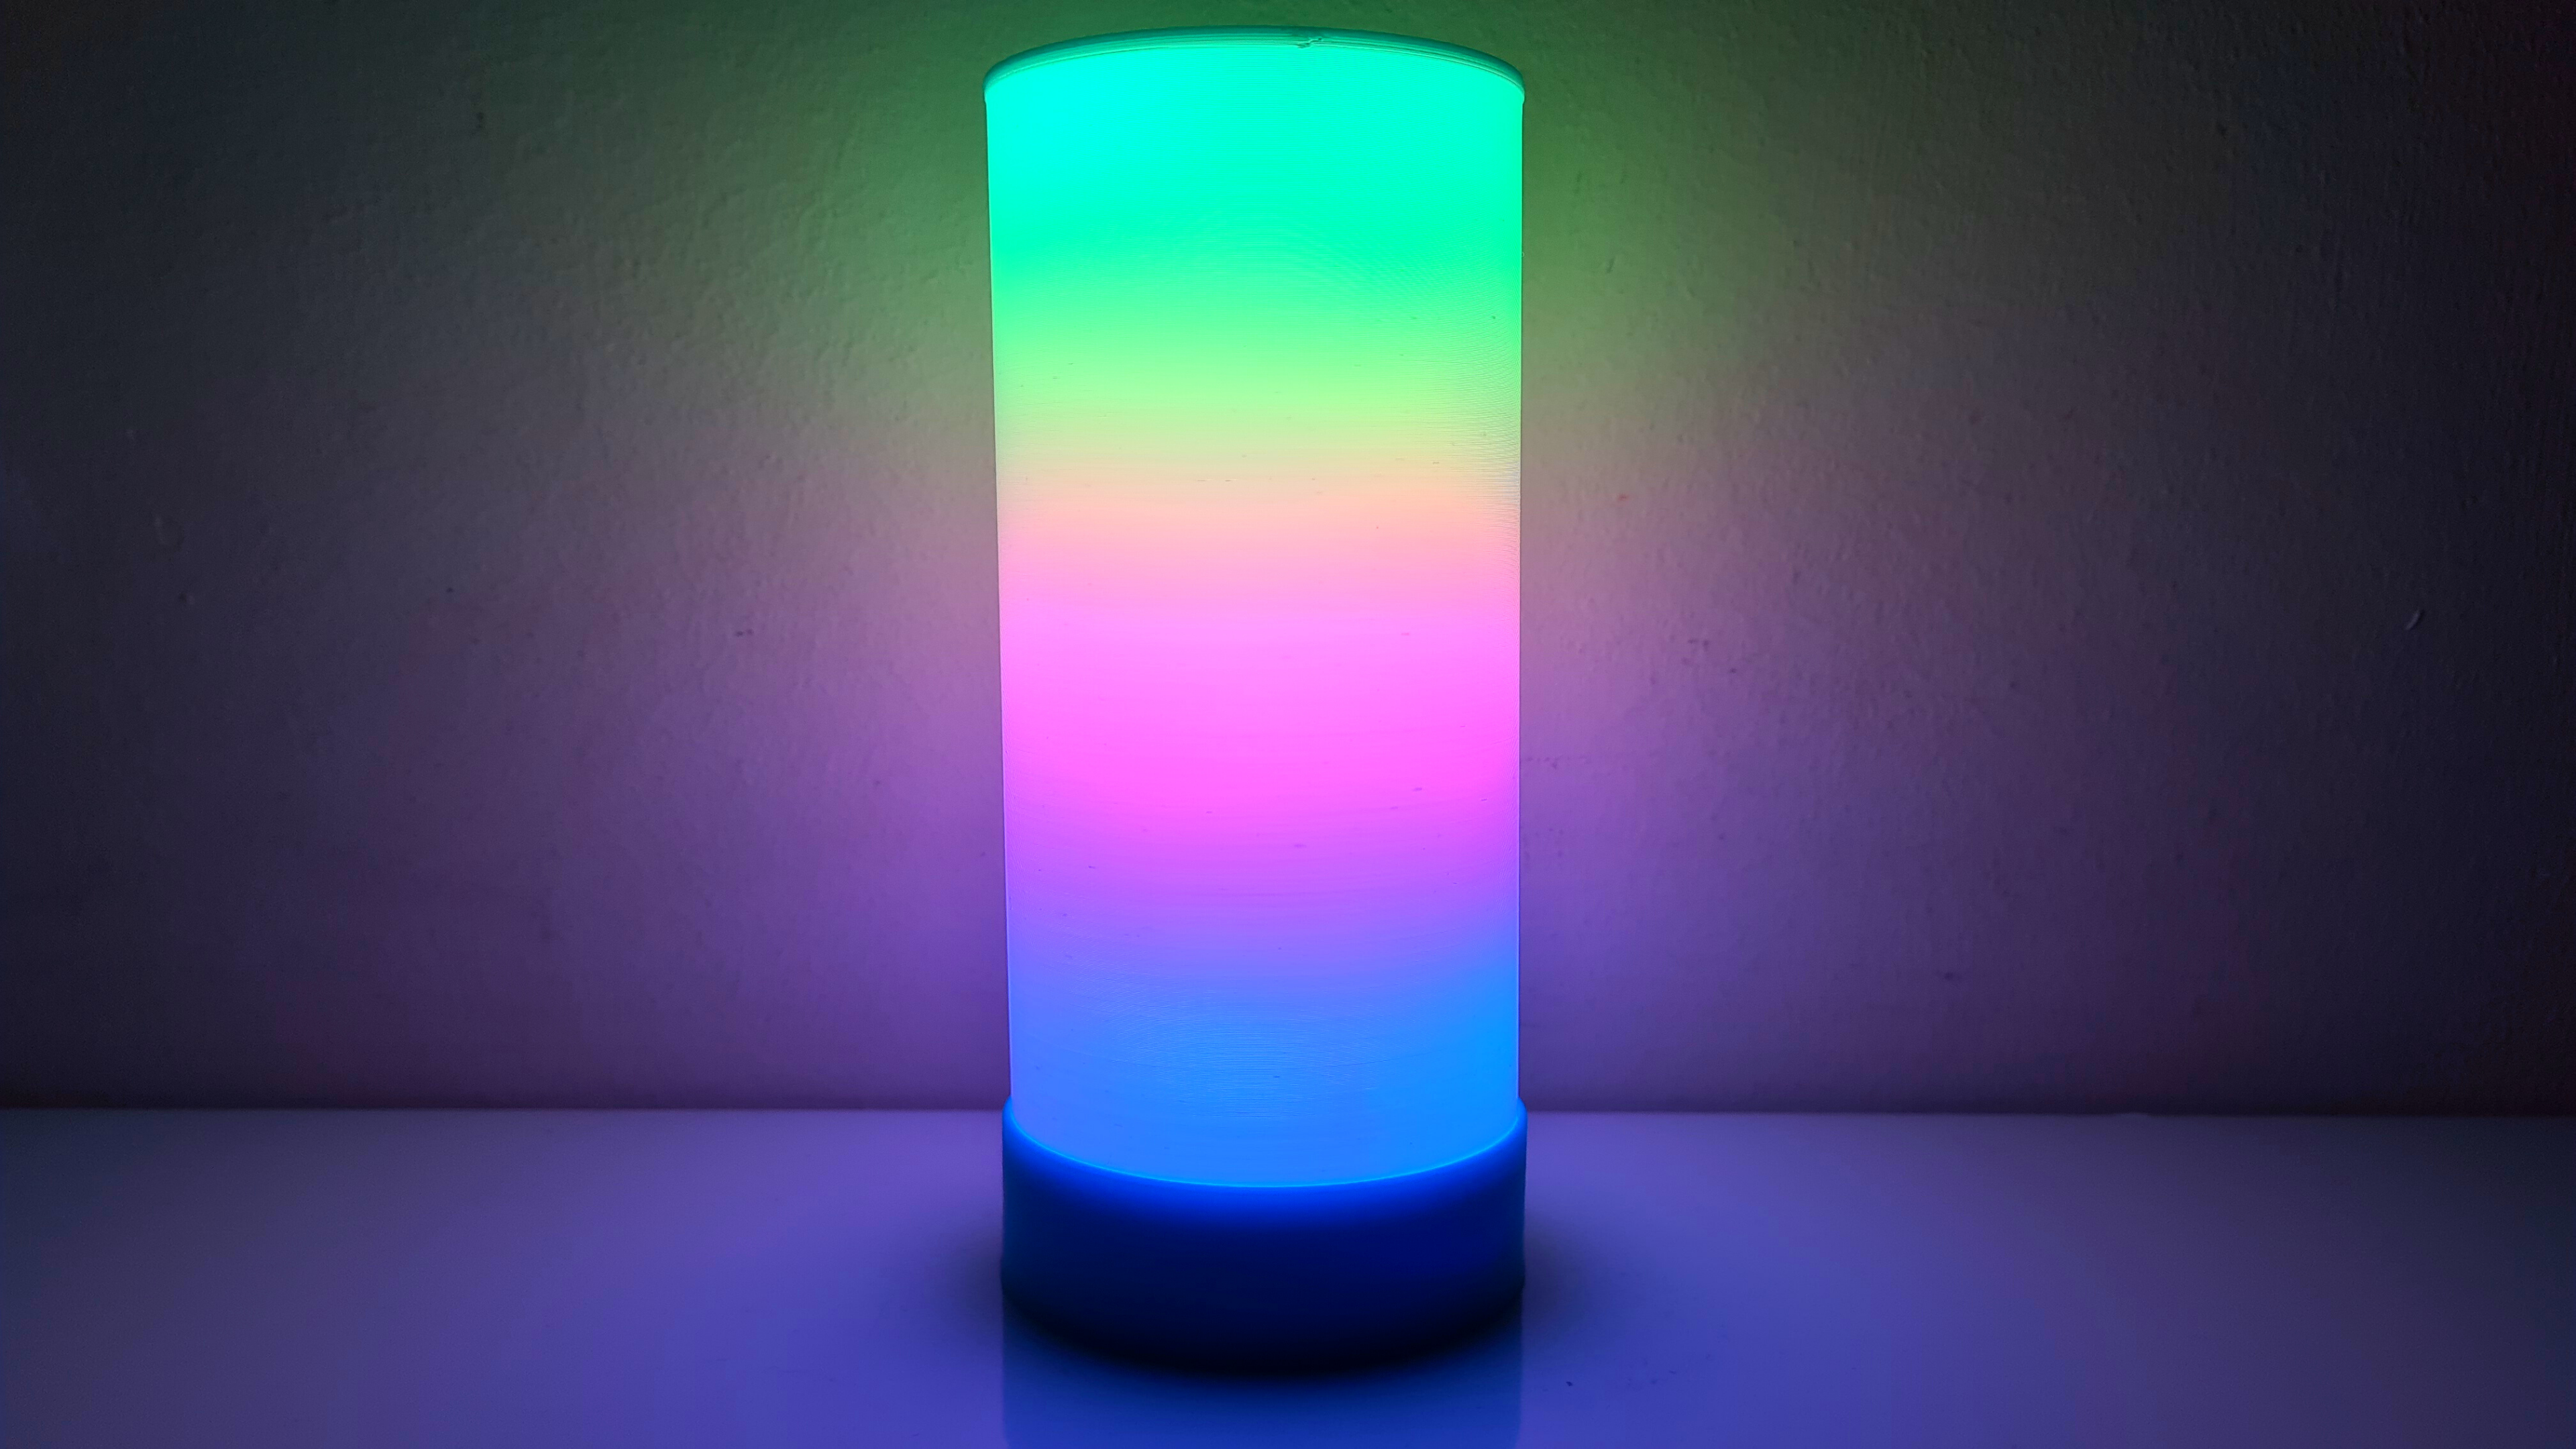
RGB Lamp WiFi Controlled
prusaprinters
<figure class="media"><oembed url="https://youtu.be/_3DFLblpgec"></oembed></figure><p>These are the files for a <strong>minimalistic RGB Lamp</strong> which you can control through <strong>WiF</strong>i from your smartphone or computer. It is also <strong>battery-powered</strong> and can be recharged using <strong>USB type C</strong>. </p><p>You can find the <strong>FULL instructions</strong> in the <strong>YouTube Video</strong>!</p><p> </p><p>Or the written instructions <a href="https://www.instructables.com/RGB-Lamp-WiFi/#CIVHZ1XKLQLFCPW">HERE</a></p><p> </p><p>I hope you enjoy making this RGB Lamp as much as I did!</p><p> </p><p>Here's a list of the required components:</p><ul><li><a href="https://amzn.to/2Q5QmQ4 ">3D Printer</a></li><li><a href="https://amzn.to/3qMuwhm ">Wemos D1 Mini</a></li><li><a href="https://amzn.to/2P5vmbB ">TP4056 USB C</a></li><li><a href="https://grobotronics.com/spdt-on-on-0.5a-24vdc.html">Slide switch</a> (11mm x 6mm)</li><li><a href="https://grobotronics.com/battery-lithium-18650-3.7v-3350mah.html">18650 Li-On Battery</a></li><li><a href=" https://amzn.to/3vwAvu5 ">WS2812B Led Strip (1m/60leds)</a></li><li><a href="https://grobotronics.com/electrolytic-capacitor-16v-100uf.html">100uF Capacitor</a> (Optional)</li><li>White Filament</li><li>Generic Filament (PETG, PLA, ABS etc.)</li><li>Soldering Iron</li></ul><h3>Print Settings</h3><p><strong>Printer:</strong></p><p>Ender 3 V2</p><p> </p><p><strong>Rafts: </strong></p><p>No</p><p><strong>Supports:</strong></p><p> </p><p>No</p><p> </p><p><strong>Resolution: </strong></p><p>0.2mm</p><p><strong>Infill:</strong></p><p> </p><p>30</p><p><strong>Filament:</strong> <br/> </p><p><strong>Notes: </strong></p><p>All the parts should be printed at a 0.2mm layer height and 0.4mm walls.</p><p>The "LampBase" can be printed in any material you like.</p><p> </p><p>The "LedHolder" should be printed with 4 walls. I suggest using a material like PETG or ABS due to the fact that the LED strip can get hot at times. PLA will probably work well too nevertheless.</p><p>The "Diffuser" must be printed in white color with Vase/Spiralize Outer Countair mode enabled. You will also need to increase the bottom layers to 10. If you wish you can do a color change somewhere around layers 3-6 to get a different colored bottom.</p><p> </p><p><strong>EDIT 12/3/2021:</strong></p><p>A problem with the "Diffuser.stl" and the "DiffuserSOLID.stl" is that they have the exact height of the "LedHolder.stl" and as a result, especially if you have not made a color change in the top part of the Diffuser, a dark circle will appear due to the light not diffusing evenly. For this reason I added "DiffuserSOLID_2cmTALLER.stl" which is 2 cm taller and thus there is a lot of clearance for the light to diffuse equally on the top part! You'll need to enable Vase/Spiralize Outer Countair mode (0.4mm wall). The number of bottom layers you use is based on you preferences and depends on how dark you want the top part to look, I used 5 bottom layers (=1mm). </p><p> </p><p> </p>
With this file you will be able to print RGB Lamp WiFi Controlled with your 3D printer. Click on the button and save the file on your computer to work, edit or customize your design. You can also find more 3D designs for printers on RGB Lamp WiFi Controlled.
