RGB Headphone Stand /Headphone Holder
prusaprinters
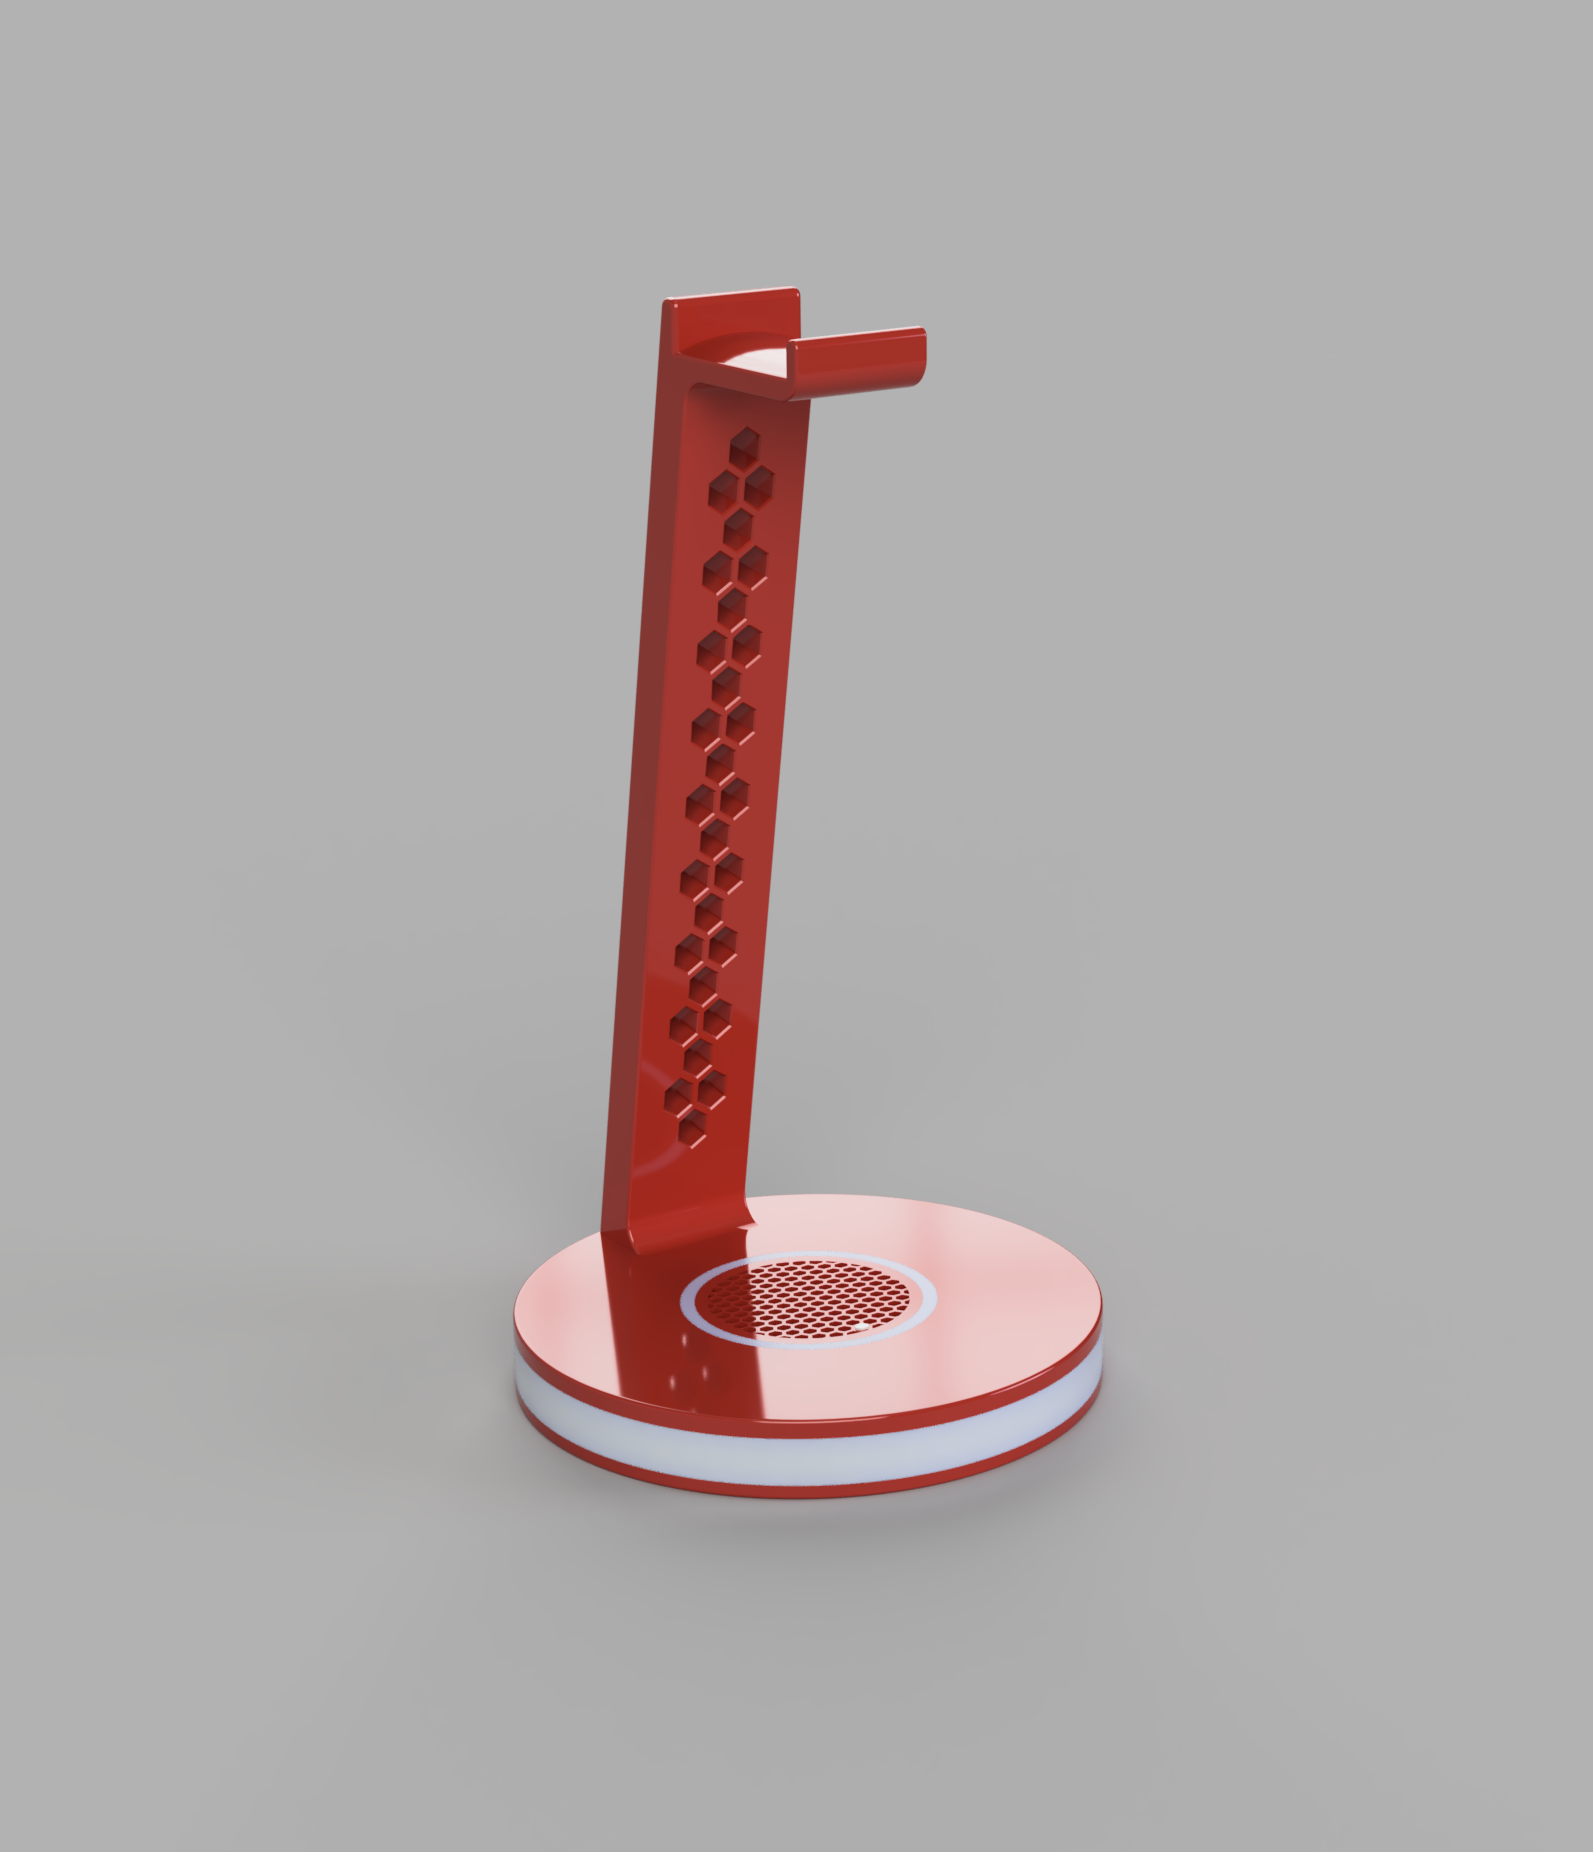
<p>You will need Arduino nano </p><p> ws2812b Ledstip about 20cm/8in</p><p> long Tactile button min. 6mm</p><p> (or you can use 3d printed Optional button )</p><p> Few cables </p><p> 5v usb male conector (you can use cable with male connector from old charger)</p><p> </p><p>Assembly : step 1 : first you need to solder cables to ledstrip and then stick the ledstrip to the base (run the cables through the hole) </p><p> step 2 : connect cables and program the arduino nano (use the youtube video as a guide , start at 5min. But instead of conecting stepdown modul , connect usb cable to arduino ) </p><p> </p><figure class="media"><oembed url="https://www.youtube.com/watch?v=PfRFWxaPOLY&t=241s&ab_channel=Breaks%27n%27Makes"></oembed></figure><p> step 3 : Screw Arm to the Top part using M4x10 (PS : if you printed Top as separate parts you need to superglue them together )</p><p> step 4 : superglue Base and Top assembly together (make sure the arduino and cables stick out from bottom hole)</p><p> step 5 : drill 5mm hole in the top mesh to fit the button and then glue the button from bottom to the hole (I didn´t have long tactile button so i printed button extender, you can find it in the models) </p><figure class="image image-style-align-center image_resized" style="width:47.01%;"><img src="https://media.prusaprinters.org/media/prints/100536/rich_content/766ae18d-4cf3-40b0-8caf-e62ea3908971/whatsapp-image-2021-12-28-at-165240-1.jpeg#%7B%22uuid%22%3A%222cc4b16e-1c5c-46fa-99b0-6d91412b4031%22%2C%22w%22%3A1600%2C%22h%22%3A900%7D"></figure><figure class="image image-style-align-center image_resized" style="width:46.85%;"><img src="https://media.prusaprinters.org/media/prints/100536/rich_content/bc068c1e-03c5-49da-ab6a-15c3d8306af3/whatsapp-image-2021-12-28-at-165240.jpeg#%7B%22uuid%22%3A%22806ca669-6eb4-443f-94c3-07b0c2d88e37%22%2C%22w%22%3A1600%2C%22h%22%3A900%7D"></figure><p> </p><p>If you would need some help you can ask me in the coments.</p>
With this file you will be able to print RGB Headphone Stand /Headphone Holder with your 3D printer. Click on the button and save the file on your computer to work, edit or customize your design. You can also find more 3D designs for printers on RGB Headphone Stand /Headphone Holder.