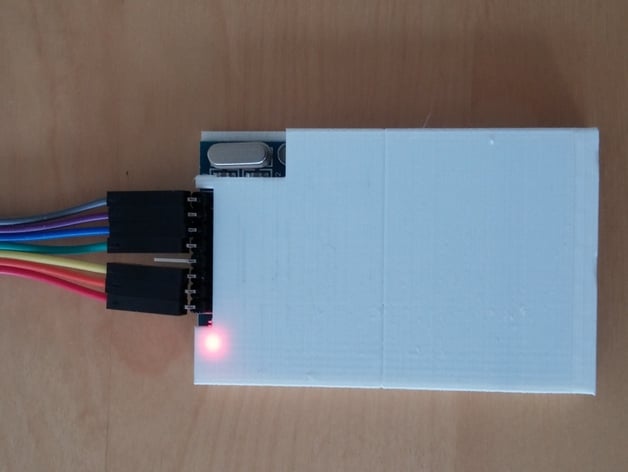
RFID-RC522 Case
thingiverse
Simple Example of RFID-RC522 Reader/Writer Operation This example demonstrates how to use an RFID RC522 reader/writer module with an Arduino board. First, you'll need to connect the module to your Arduino board as follows: * SDA pin on the RFID module to digital pin 20 on the Arduino * SCK pin on the RFID module to digital pin 21 on the Arduino * MOSI pin on the RFID module to digital pin 19 on the Arduino * MISO pin on the RFID module to digital pin 18 on the Arduino * GND pin on the RFID module to ground on the Arduino * VCC pin on the RFID module to power on the Arduino Next, you'll need to include the MFRC522 library in your Arduino sketch. This library provides a simple interface for interacting with the RFID reader/writer. Here is an example of how to use the RFID RC522 reader/writer module: ```cpp #include <SPI.h> #include <MFRC522.h> const int RST_PIN = 9; const int SS_PIN = 10; MFRC522 mfrc522(SS_PIN, RST_PIN); void setup() { Serial.begin(9600); SPI.begin(); mfrc522.PCD_Init(); } void loop() { if (mfrc522.PICC_IsNewCardPresent()) { if (mfrc522.PICC_ReadCardSerial()) { String cardID = ""; for (byte i = 0; i < mfrc522.uid.size; i++) { cardID += String(mfrc522.uid.uidByte[i], HEX); } Serial.println(cardID); } } } ``` This example will print the ID of any RFID tag that comes into range. You can modify this code to suit your specific needs, such as storing the ID in a database or using it to unlock a door. Note: This is just a simple example and you may need to add error checking and handling code depending on your application.
With this file you will be able to print RFID-RC522 Case with your 3D printer. Click on the button and save the file on your computer to work, edit or customize your design. You can also find more 3D designs for printers on RFID-RC522 Case.
