Revised Beauty Cover
prusaprinters
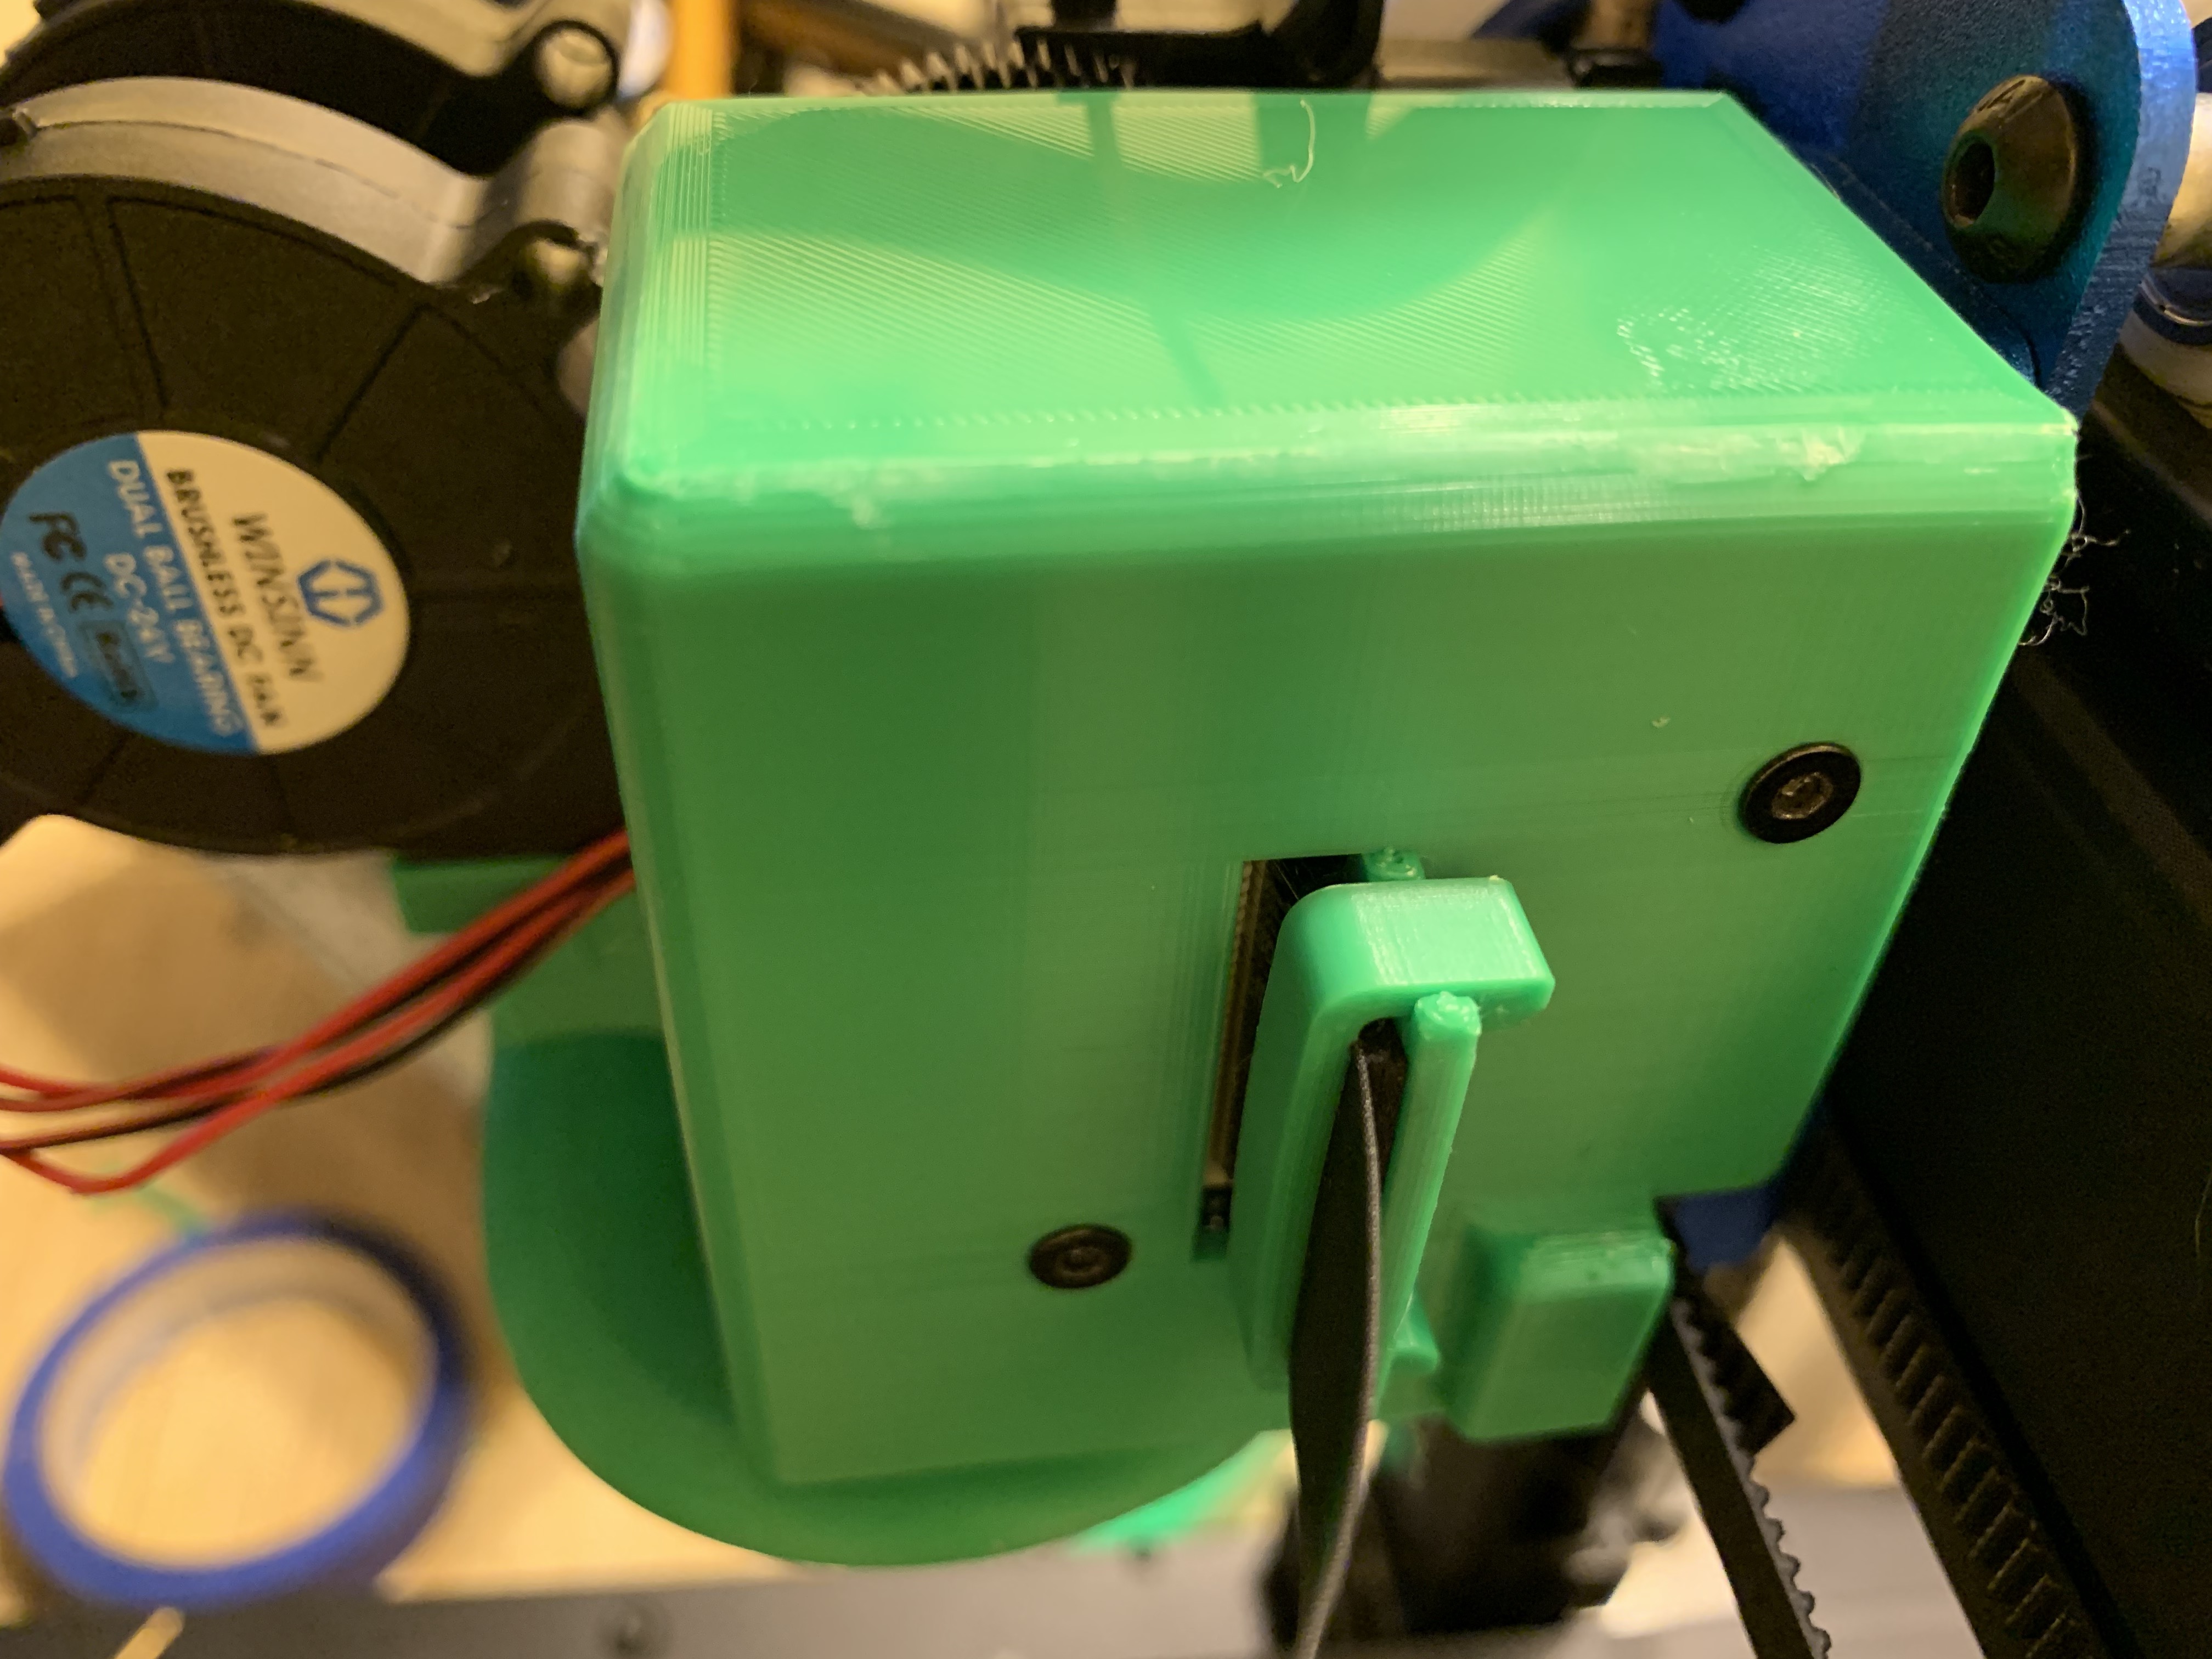
<h3>Hulk Smash…</h3><p>Continuing the tradition of making changes to my X2, I finally got fed up with the original cover and its less than ideal fit. This cover is designed to work with the BL Touch mount and the fan ducts I have uploaded here. The model is based on the original cover, but has been altered to account for the zip tie location that locks the drive belt in place on the hot end. I've also shortened it slightly in the X and Y axis to allow for some extra clearance. I printed this part in green Hatchbox PLA because I was running low on the blue that you normally see my models in.</p><p> </p><h4>Print orientation: </h4><p>For some reason I kept having the supports fail in the exact same location when I tired to change the way this was placed on the bed. So, as you see in the below picture, you will have better luck printing the model in this layout:</p><figure class="image image_resized" style="width:50%;"><img src="https://media.printables.com/media/prints/291664/rich_content/58552825-2b9f-4e47-88f7-098c1fdba1f9/img_1221.jpeg#%7B%22uuid%22%3A%2206126243-7333-4429-9c50-8fc09d8cb03e%22%2C%22w%22%3A4032%2C%22h%22%3A3024%7D"></figure><h4>Print Setup:</h4><p> Printed on: Ender 3<br> Quality: .12mm<br> Material: PLA<br> Supports: Yes, Tree - Everywhere (any surface marring, which there was none, will be on the inside)<br> Infil: 50%<br> Walls: 5<br> Layer Width: .3mm (this helps fill tiny gaps and costs virtually no additional time)<br> Print Time: About 9 hours at 50mm/s<br> </p><h4><br>Installation Notes:<br> </h4><p>Cut a small piece of foam to the following measurements:</p><p> 24.5mm wide x 9.5mm high x 2.5 - 3.0 mm thick</p><figure class="image image_resized" style="width:50%;"><img src="https://media.printables.com/media/prints/291664/rich_content/ed77ac21-28a0-43c9-8f6a-0a779ecb2372/img_1222.jpg#%7B%22uuid%22%3A%228f06d3b1-dd36-43a0-a005-a95de6e091f1%22%2C%22w%22%3A2012%2C%22h%22%3A1060%7D"></figure><ol><li>Use either double sided tape or glue to secure it to the front side (facing you when installed) of the cable stop (the part that has the notches on the top and bottom).<br> </li><li>Use the original hardware from the old cover (tapered head M2 screw). I would recommend putting some painters or electrical tape over the hole in the PCB. Then, using a punch or your M2 hex driver, puncture a hole in the tape where the mounting screw goes. Leave the tape there because it will help protect the board when you've got the screws sticking out and you're acting like a teenager on prom night. The board is very easily damaged and I offer no warranty for your shoddy installation job.<br> </li><li>When tightening the screws down, resist your inner Hulk and just get them snug. PLA is pretty easy to break as you probably know already. Once secured, insert the ribbon cable (yes I do this after so I don't have to deal with the cover hanging off the ribbon cable. Lock the cable in place with the clamp that I included here. A stock clamp might work but I didn't verify.<br> </li></ol><h4>Conclusion:</h4><p>The end….<br>Actually, if you guys wanted a churched up version of this thing I can add some embossing to the design. Let me know in the comments if this is something that is needed.</p>
With this file you will be able to print Revised Beauty Cover with your 3D printer. Click on the button and save the file on your computer to work, edit or customize your design. You can also find more 3D designs for printers on Revised Beauty Cover.