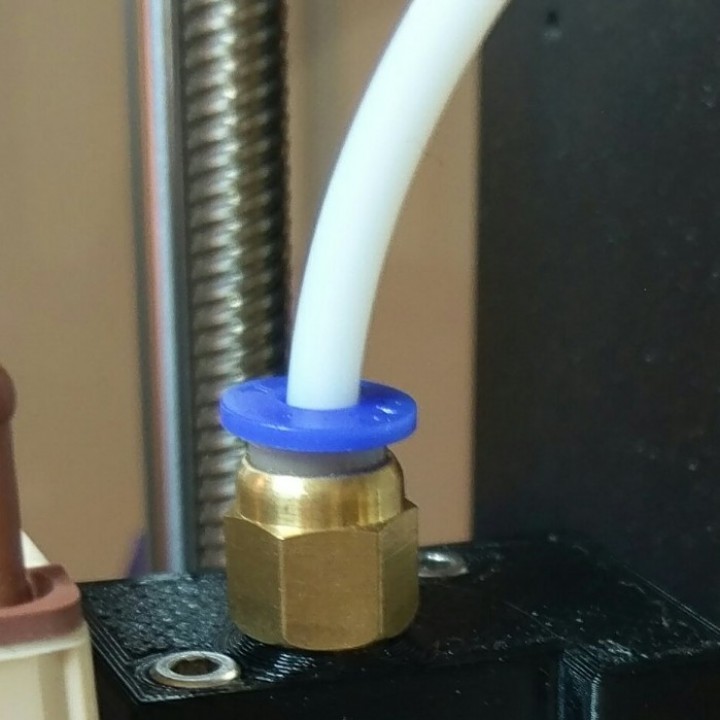
reverse bowden for Prusa MK3 and Zaribo on IKEA Lack enclosure
myminifactory
This setup works well with either a Prusa MK3 or Zaribo extruder housed in an IKEA Lack enclosure. To get started, you'll need two M6 4mm fittings and a 2mm/4mm PTFE tube. Begin by drilling a hole near the spool holder into the table's surface. Next, position the cylinder from outside the enclosure through this newly created hole. Insert the printed tube through the hole in both the cylinder and table, then secure it from inside the enclosure using the printed nut. After securing the tube, screw one fitting into the cap of the cylinder while the other goes into the filament sensor cover. Now, take the PTFE tube and thread it through the cylinder. Connect both ends to the fittings. Finally, screw the cap onto the cylinder, and you're all set for printing.
With this file you will be able to print reverse bowden for Prusa MK3 and Zaribo on IKEA Lack enclosure with your 3D printer. Click on the button and save the file on your computer to work, edit or customize your design. You can also find more 3D designs for printers on reverse bowden for Prusa MK3 and Zaribo on IKEA Lack enclosure.
