Retro 7 Segment Clock TE (Tiny Edition)
thingiverse
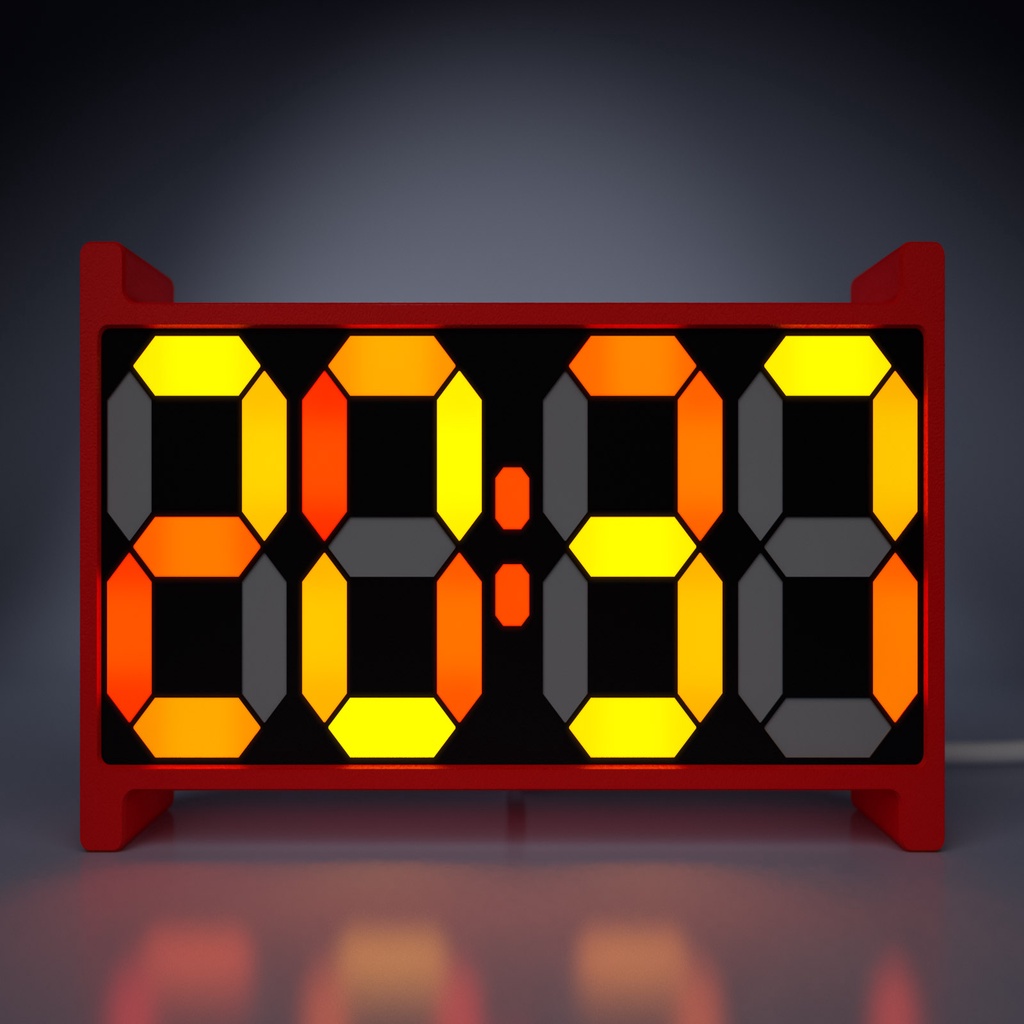
Here's hopefully the last iteration of my 7 segment clock I'll do... :D I've always wanted to make one that's closer to a horizontal design than the SE turned out, and here it is. Also, this is the only one where all digits including the dots fit on a 200mm wide print bed. <b>Update - 2020/06/02</b> - Added draft of sketch v6 which can be compiled for nodeMCU/ESP8266. As formatting/markdown here still doesn't work, please have a look at Step 11 on Instructables for details: https://www.instructables.com/id/S7ripClock-Basic-Edition/ https://www.youtube.com/watch?v=bSWppwuDyiE It's been done for a few days now... I just couldn't get motivated to build it to take some pictures. So there are more renderings than pictures. But as electronics are the same as on the other ones, there should be plenty of documentation already on the original thing and its remixes. -- Hoping this is the last one of my 7 segment clocks that's been swirling around in my head... ^^ I've always wondered if it was possible to design an hour that fits 4 digits plus points in a format <200mm. And yes, it can be done! xD It's already been finished for a while now; I just didn't feel like documenting it. But I had to build the thing and take pictures anyway... ;D <b><u>Info:</u></b> Largest part to print: 198.5 mm x 105 mm x 28 mm -- <h3>29.09.2019 - Update to v5</h3> v5 is now the same code base for all my 7 segment clocks here. Configuration like 4/6 digits (TE doesn't support more than 4 digits), brightness and so on can all be modified by using the variables at the top; there shouldn't be a need to dive down into the code anymore. (Tested and verified on SE, TE, RE, RE/XT and XL/XT). Of course you will still need to download the appropriate sketch because of the predefined led arrays. Other features: - Removed periodic palette cycling I don't know if anyone used it at all. But I think this should be tied to a certain time to swap colors each hour or so. I couldn't care less, so I removed it. And removing is a great feature, isn't it? - Many cleanups Setup routine and so on have been changed quite a lot. Added some comments here and there. Brightness is now stored within an array (min/med/max) and eeprom reading/setting has been improved. Memory usage has been reduced, especially when setting dbg=false. - Improved LDR support There are some new variables at the top of the sketch which allow you to adjust your LDR readout more easily. Additionally, you can define upper/lower limits to turn it dark/bright exactly when you like. - Greatly improved color handling Some palettes got some minor changes. All in all they're close to the old ones but I tried to get rid of some color flickering because of non ideal color combinations at start/end of palettes. Also, color flickering/steps on low brightness settings have been greatly improved. Added some default color corrections/color temperature settings (great improvement on blue tones using ws2812b). Added some palettes using "HTMLColorCodes", which should make it easy to create own gradients without caring about R/G/B values. - Some kind of debug interface Using the serial console and having dbg=true, you can use your number pad to send buttons and/or change different variables. This makes creating own palettes and especially testing much more comfortable :D Power limit is set to 750mA and one of the first parameters inside the sketch. Adjust this to how much your wiring/power supply can handle.
With this file you will be able to print Retro 7 Segment Clock TE (Tiny Edition) with your 3D printer. Click on the button and save the file on your computer to work, edit or customize your design. You can also find more 3D designs for printers on Retro 7 Segment Clock TE (Tiny Edition).