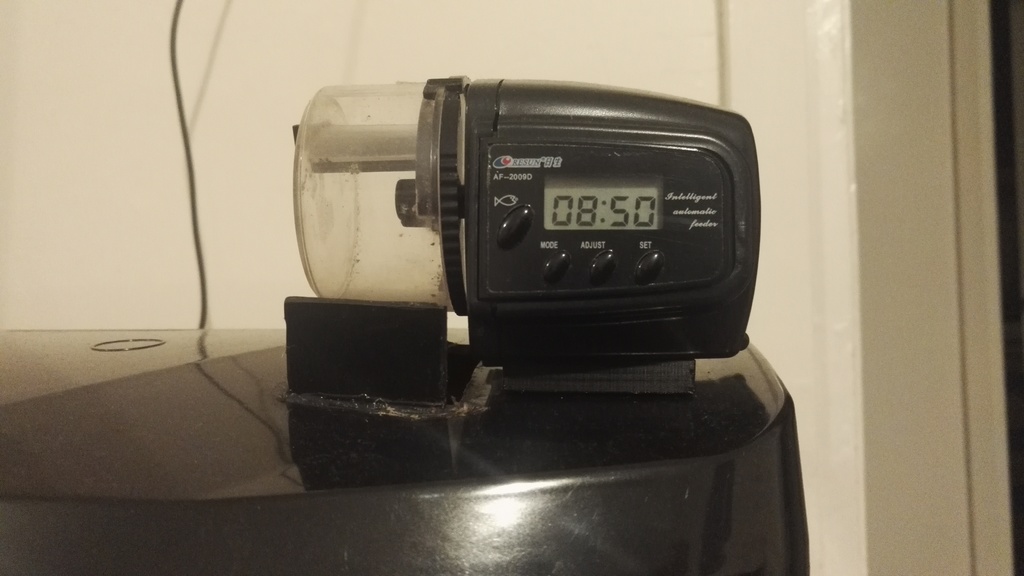
Resun AF2005 Auto Fish Feeder Slider
thingiverse
Mounting a Resun AF2005 Propeller Screw is a straightforward process that requires minimal tools and expertise. Begin by locating the propeller screw on your boat's outboard motor, it typically lies just above the waterline. Next, take note of the specific type of screw head your Resun AF2005 utilizes; most often, it features a socket or hexagonal design. Acquire an adjustable wrench or basin wrench that can accommodate the size of your screw head. Ensure the wrench fits snugly to prevent stripping the screw's threads. Now, place the propeller in its normal operating position, if possible. Hold the Resun AF2005 firmly in place with one hand while using the wrench to loosen and remove the existing propeller. Be cautious not to damage any surrounding components. Once the old propeller is removed, inspect the mounting area for any debris or corrosion that might hinder proper installation of your new Resun AF2005. Clean the area thoroughly before proceeding. Take the new screw mount and align it with the corresponding holes on your outboard motor's engine casing. Use a level to ensure the Resun AF2005 is perfectly horizontal, then insert the mounting screws through the designated holes. Tighten the screws firmly in a star pattern to avoid warping or damaging the surrounding material. Double-check that the new propeller is securely fastened and make any necessary adjustments to achieve perfect balance.
With this file you will be able to print Resun AF2005 Auto Fish Feeder Slider with your 3D printer. Click on the button and save the file on your computer to work, edit or customize your design. You can also find more 3D designs for printers on Resun AF2005 Auto Fish Feeder Slider.