RepRap Ormerod extruder modyfication
thingiverse
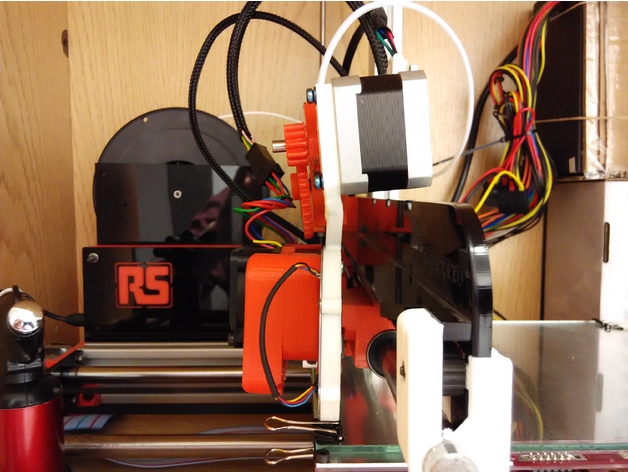
If you want to relocate your extrude motor alongside the hot-end, this modification is for you. To create the necessary components, I used a part of the original bracket due to limited options to print high-quality replacement parts. The bracket required some bending because it was too close to the Acrylic X-axis element. To complete this upgrade, you will need to: Cut and drill the extruder body. Drill and thread the radiator to secure the bracket (the most challenging part). Drill a hole in the X-axis acrylic to anchor your bracket. Trim the plastic pipes to their optimal length. You will require 2mm, 2.5mm, and 3mm drill bits for this project. Additionally: Increase the X-axis current to 1000mA (originally set at 800mA) by modifying the configuration file on the SD card or reducing the speed setting. Mount the extrude motor with its connector facing upwards. This upgrade will yield significant benefits, including: Improved object quality with reduced stringing. Faster and easier filament loading, thanks to a shorter distance of 75mm (compared to the original 420mm). This model was designed using "Creo Parametric" 3D software.
With this file you will be able to print RepRap Ormerod extruder modyfication with your 3D printer. Click on the button and save the file on your computer to work, edit or customize your design. You can also find more 3D designs for printers on RepRap Ormerod extruder modyfication.