Replacement Wheel Chock for Tamiya 1/14 Semi Trailers
thingiverse
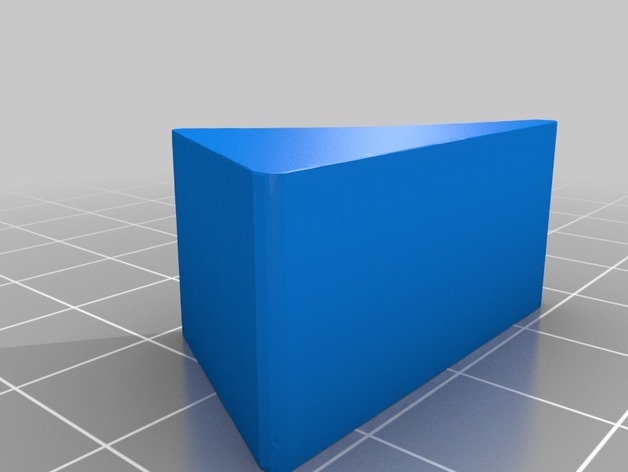
Replacement Wheel Chock for Tamiya 1/14 Semi-Trailers Installing the Wheel Chocks on Your Tamiya Semi-Trailers The following steps should be followed carefully when installing your new wheel chocks. Step One: First, lay out all components and parts in a clean work area to prevent losing small items during assembly. Next, apply a few drops of oil or lubricant onto the inner axle tube where it meets the axle nut. Gently thread the axle nut counterclockwise onto the outer edge of the semi-trailer until it seats firmly against the wheel's center hole. Step Two: Hold the wheel chock tightly in one hand while pushing down gently on its end using your other hand, slowly moving the whole assembly down towards the semi-trailer until all components snap into place. After securely installing both sets, give each semi-trailer a thorough inspection for proper function to ensure all parts move as expected during play. The New Replacement Wheel Chock Offers Better Protection And Reliability Than Ever Before By upgrading to these premium quality replacement wheel chocks you'll get maximum performance out of your Tamiya 1/14 Semi Trailers models. These superior replacements guarantee longer lifetimes by ensuring smooth axle operation free from strain on your beloved toys. Installation Guide
With this file you will be able to print Replacement Wheel Chock for Tamiya 1/14 Semi Trailers with your 3D printer. Click on the button and save the file on your computer to work, edit or customize your design. You can also find more 3D designs for printers on Replacement Wheel Chock for Tamiya 1/14 Semi Trailers.