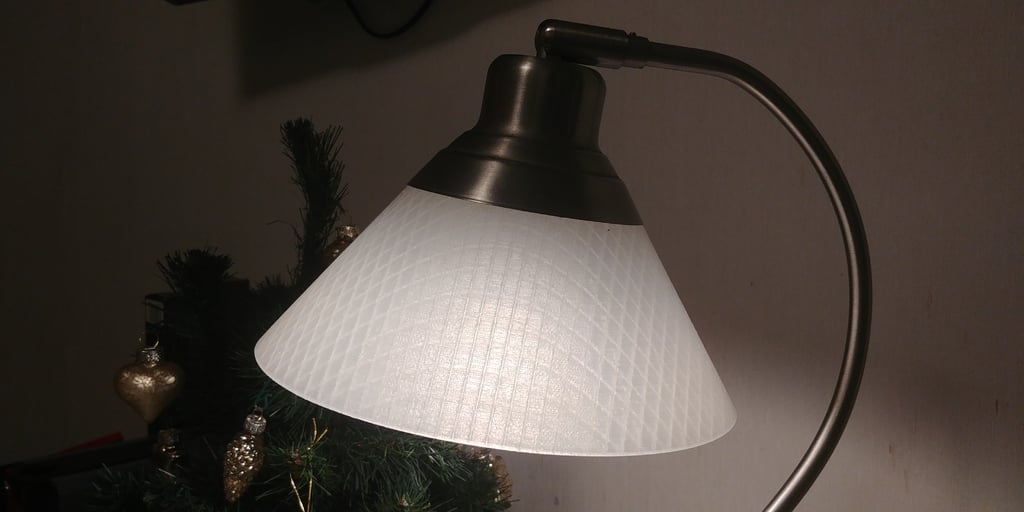
Replacement shade for IKEA lamp Kroby
thingiverse
Replacing the shade on your IKEA lamp Kroby is a relatively simple process that requires minimal tools and expertise. Begin by turning off the power to the lamp at the electrical outlet or switching it off at the socket if it's hardwired. This precaution ensures your safety while working with electricity. Next, remove any glass covers or light bulbs from the fixture using a pair of gloves for protection against potential breakage. Set them aside carefully to avoid damage. Now, locate the lampshade attachment points, which are usually held in place by screws or clips. These can vary depending on the design of your Kroby lamp, so inspect it closely to identify how they're secured. For screws, use a screwdriver to loosen them gently but firmly until you can remove the shade entirely. For clips, you might need to press down slightly while pulling the shade away from the fixture. Be cautious not to touch any electrical components during this process. Once the old shade is removed, take your new Kroby lampshade and align its attachment points with those on the fixture. Secure it by tightening the screws or clips firmly but without overtightening, which can damage the lamp's structure.
With this file you will be able to print Replacement shade for IKEA lamp Kroby with your 3D printer. Click on the button and save the file on your computer to work, edit or customize your design. You can also find more 3D designs for printers on Replacement shade for IKEA lamp Kroby.