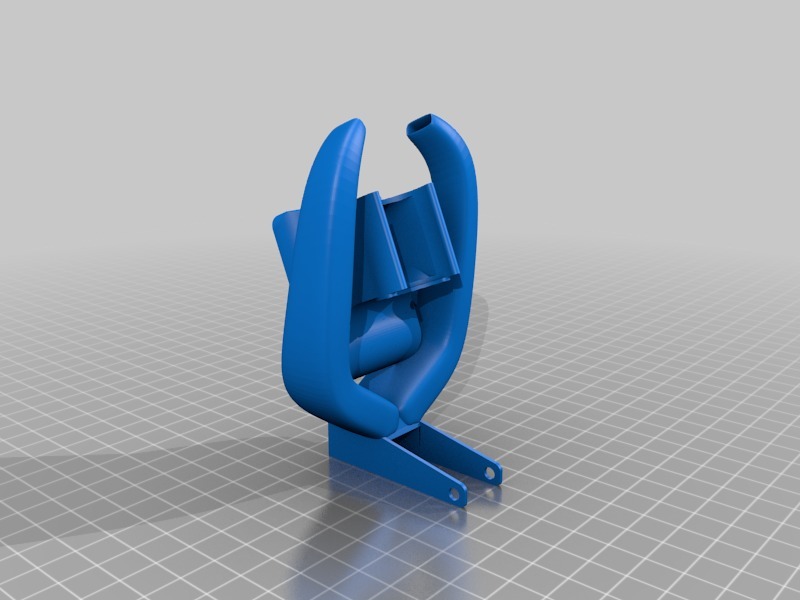
Repaired Tronxy Radial fan
thingiverse
Radial Fan on Tronxy Repair: A Step-by-Step Guide Rebuilding a Tronxy printer's radial fan is an essential task that requires attention to detail and some basic tools. The process of replacing the fan involves a few straightforward steps, making it accessible to even novice makers. Materials Needed: * New Tronxy radial fan * Torx driver (T10 or T20) * Phillips screwdriver (#000) * Thermal paste (optional) Step 1: Remove the Fan Carefully pry off the fan housing by inserting a flathead screwdriver into the small gap between the housing and the fan. Gently rock the fan back and forth until it comes loose. Set the fan aside. Step 2: Disconnect Cables Locate the radial fan's electrical connections, usually two or three wires attached to the motherboard via a connector. Use a pair of needle-nose pliers to carefully grip the connector's tabs and pull it straight off. This will disconnect power from the fan. Step 3: Remove Old Fan Screws Use your Torx driver to remove the screws holding the old radial fan in place. The number of screws may vary, but they are usually four to six. Once removed, carefully lift the fan out of its mounting position. Step 4: Prepare New Fan Mounting Inspect the area where the new fan will be mounted for any dust or debris that might interfere with proper airflow. Clean the area thoroughly using compressed air or a soft brush. Step 5: Install New Fan Screws Mount the new radial fan in place by reinserting the screws you removed earlier. Make sure they are securely tightened to prevent vibrations from dislodging the fan over time. Step 6: Reconnect Cables Place the electrical connector back onto the motherboard, making sure it clicks into position securely. This ensures a solid connection and prevents any power issues with the printer. Step 7: Replace Fan Housing Slide the fan housing back onto its mounting point until it clicks firmly in place. Use your flathead screwdriver to secure it tightly.
With this file you will be able to print Repaired Tronxy Radial fan with your 3D printer. Click on the button and save the file on your computer to work, edit or customize your design. You can also find more 3D designs for printers on Repaired Tronxy Radial fan.
