Repair Pin
prusaprinters
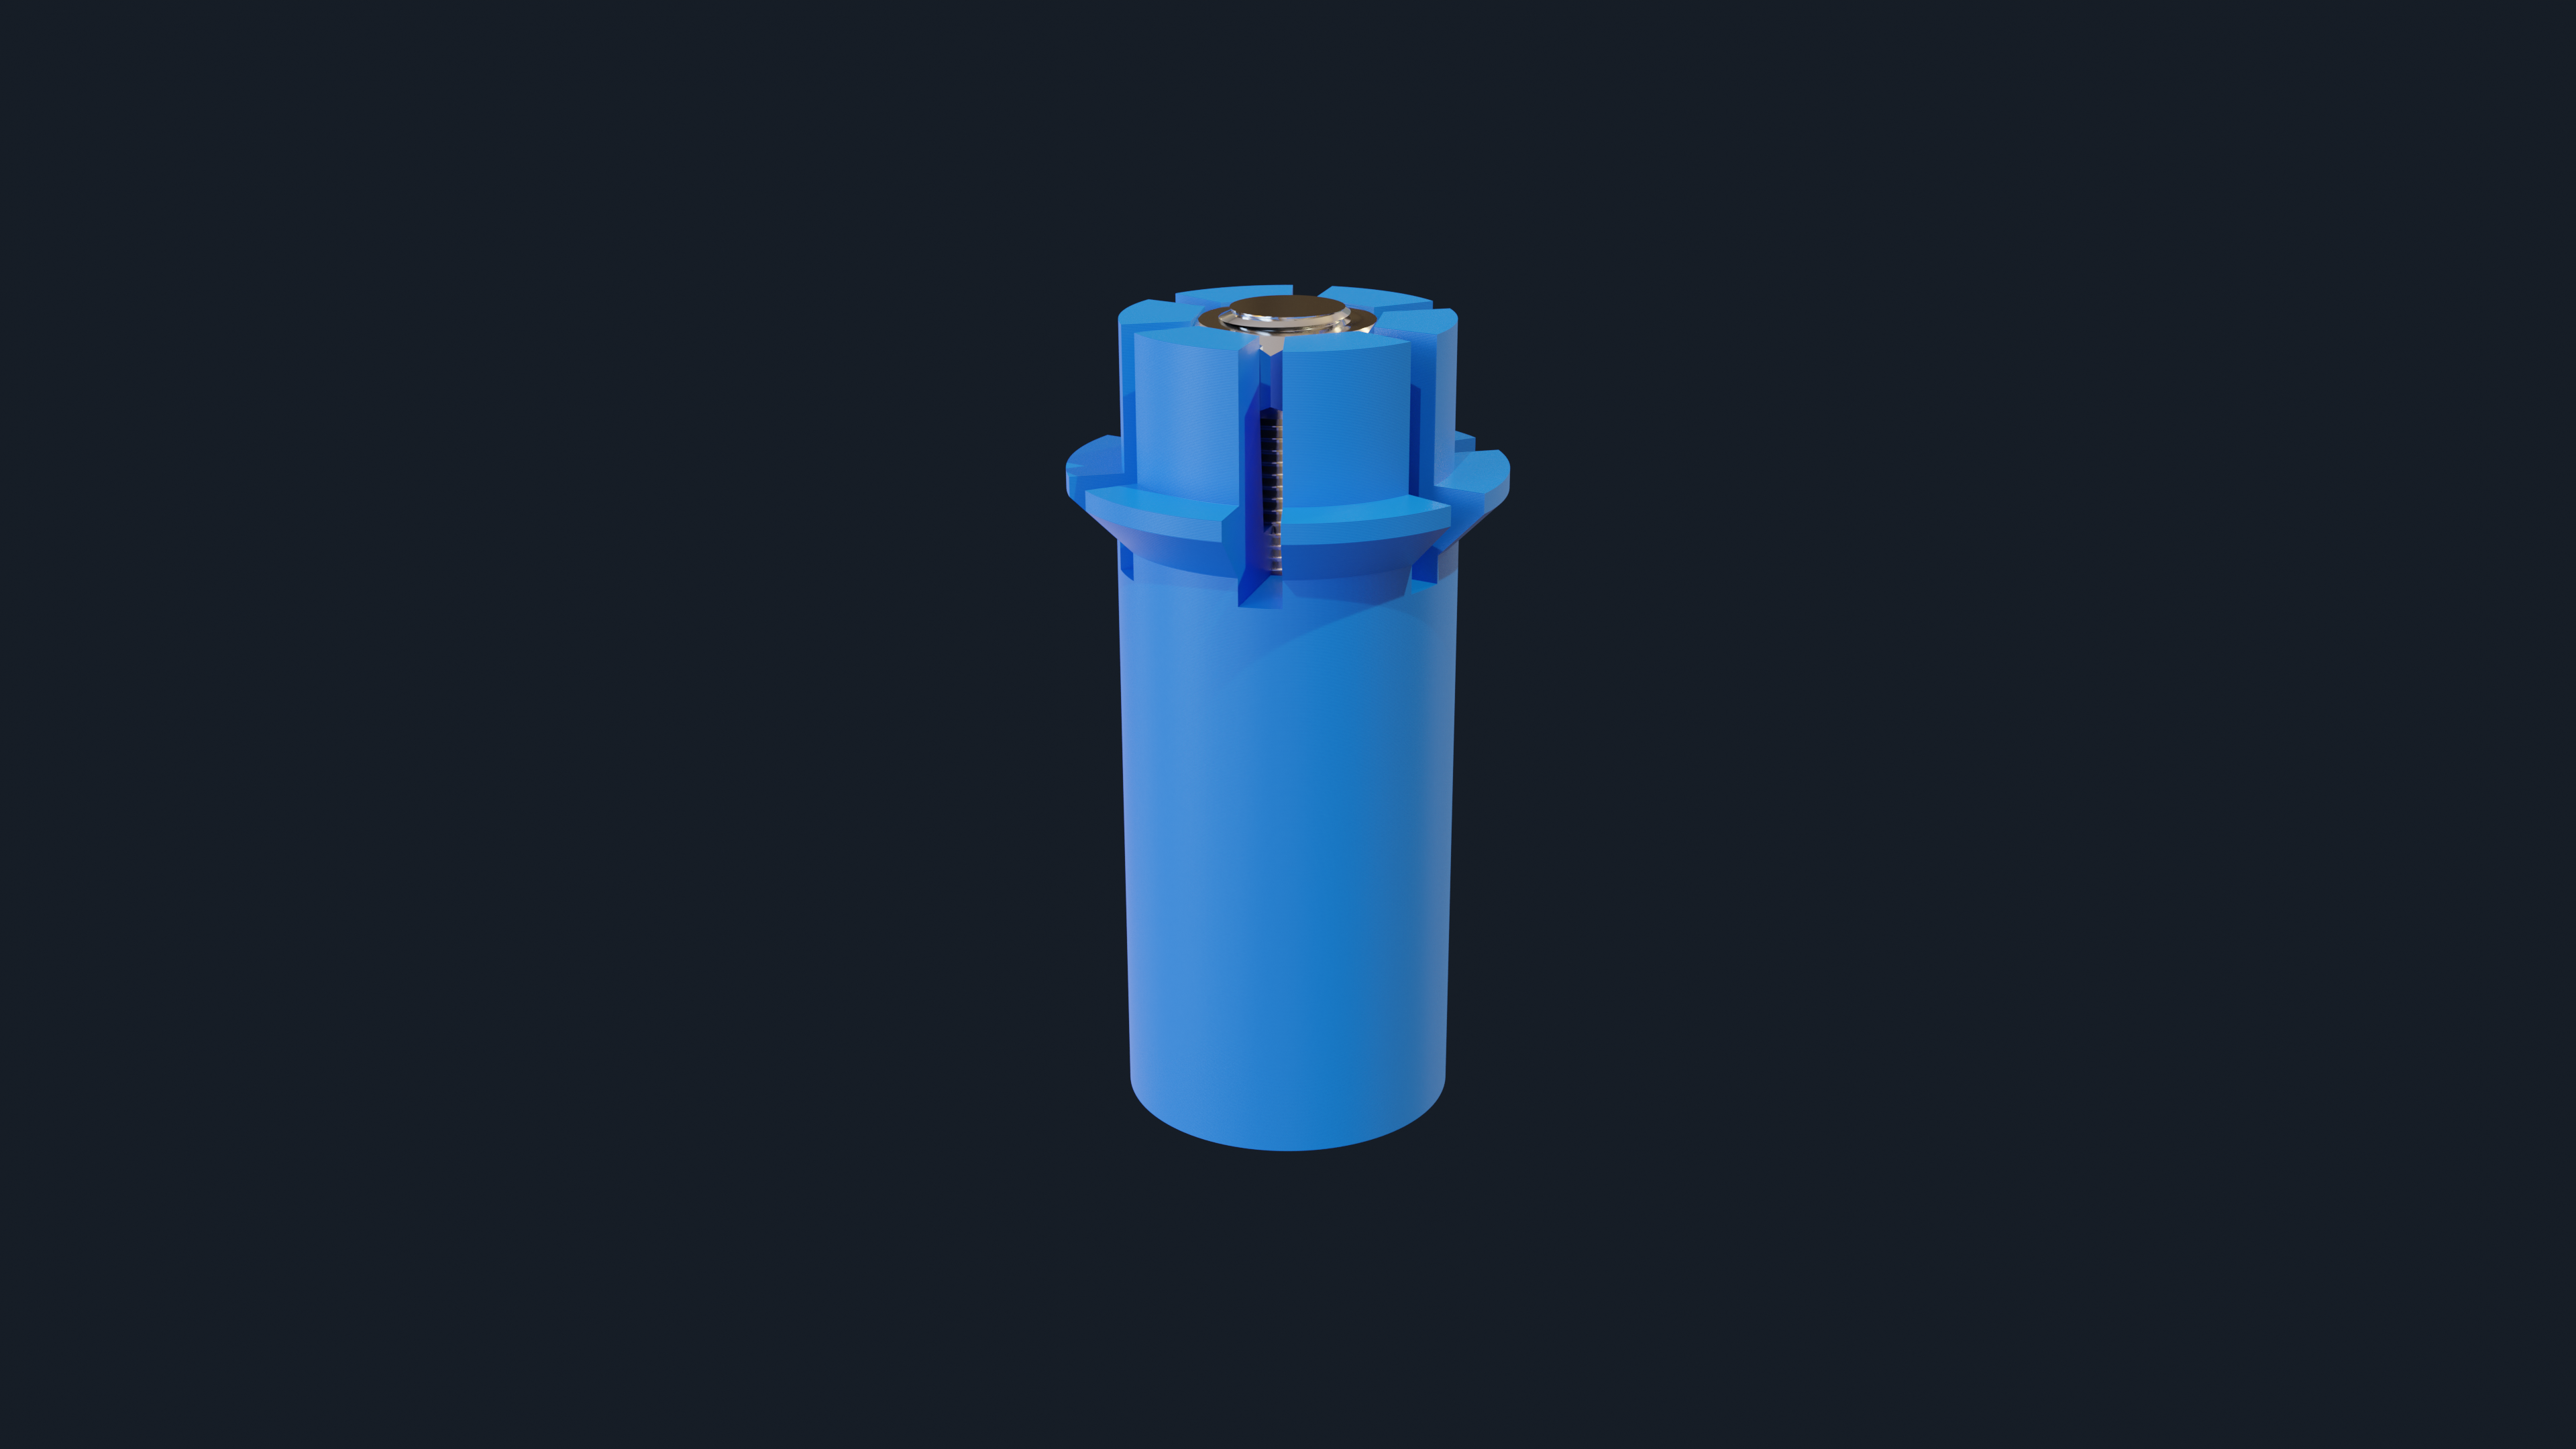
<h3>Description</h3><p>This was used for repairing a broken pin in car trunk. This pin can be used for repair purposes as well as mounting purposes of something that has holes in walls, boards or anything else.</p><p>Only things you need are a screw and compatible six-sided nut. Pin works such that when you tighten the screw, the nut slides in an angled hole and the pin gets wider. </p><p>As everyone will have their own measurements for this part, I have tried to make it parametrical as best as I could in blender.</p><h4><strong>Blender file</strong></h4><p>Here is a screenshot from blender. <img src="https://media.printables.com/media/prints/301467/rich_content/e350ba21-50d1-4f2a-9366-c4c0ef4faa04/image.png#%7B%22uuid%22%3A%221b7accf6-4923-4049-83e4-260f07c445a8%22%2C%22w%22%3A2557%2C%22h%22%3A1373%7D">There is a 3d model generated on far left, in the middle you can adjust parameters for your own need. The parameters are named accordingly, and every parameter should have a letter corresponding to a drawing on a right. If there is something unclear you can always change and see which length changes.</p><h5>Parameters explanation:</h5><ul><li><strong>Vertices</strong> - As blender is polygon-based modeling tool every shape is defined by definite number of points. This parameter defines number of points of cylinder shapes. The higher you go it will take more time to recompile the model after any dimension change, so it is recommended to lower its value while in process of changing parameters and put it higher before exporting the .stl model.</li><li><strong>Flange Overhang</strong> - The amount of offset of a flange without chamfer. (The best way to figure out is to try :D)</li><li><strong>mm/in</strong> - If you put this parameter to <strong>0</strong> all length measurements above will be defined in millimeters and in case you set it to <strong>1</strong> all length measurements above will be defined in inches. In both cases, angle measurements are in degrees.</li></ul><h4>Known issues:</h4><h5>Missing Geometry</h5><figure class="image image_resized image-style-align-left" style="width:36%;"><img src="https://media.printables.com/media/prints/301467/rich_content/f4bd8655-20b5-45a0-9e8f-8ff761b80a7a/image.png#%7B%22uuid%22%3A%22ed477431-881a-4dc3-8317-e5e6417b04d3%22%2C%22w%22%3A569%2C%22h%22%3A864%7D"></figure><figure class="image image-style-align-left image_resized" style="width:33.31%;"><img src="https://media.printables.com/media/prints/301467/rich_content/10ca32f7-ecc2-4ff9-b7b4-e10029c7fae4/image.png#%7B%22uuid%22%3A%225b0ddc79-09dc-407f-9264-14c3affbd0b9%22%2C%22w%22%3A532%2C%22h%22%3A868%7D"></figure><p> </p><p> </p><p> </p><p> </p><p> </p><p> </p><p> </p><p> </p><p> </p><p> </p><p> </p><p> </p><p>The best way to fight this problem is to try changing vertices parameter. The left picture has 150 vertices while the right one has 149 vertices. </p><h4> </h4><h4>Exporting model</h4><p>After you are finished adjusting all the parameters for your model you can export it.</p><p><strong>File → Export→ Stl</strong></p><figure class="image image_resized image-style-align-center" style="width:45.82%;"><img src="https://media.printables.com/media/prints/301467/rich_content/64b487c2-e6f4-44ab-970d-6e358a5bbbc0/image.png#%7B%22uuid%22%3A%22d815f247-9921-4d59-908f-8bfb7edf3bcd%22%2C%22w%22%3A639%2C%22h%22%3A826%7D"></figure><p>Leave the scale on 1.00 and be sure that <strong>Apply Modifiers is checked. </strong>If Apply Modifiers is not checked, you will export <strong>empty stl</strong>.</p><figure class="image image_resized" style="width:49.75%;"><img src="https://media.printables.com/media/prints/301467/rich_content/66aa3214-dfc6-4b65-ae2c-de8cca331f50/image.png#%7B%22uuid%22%3A%226d8b2127-49e4-40e1-958c-de20a940f97e%22%2C%22w%22%3A566%2C%22h%22%3A351%7D"></figure>
With this file you will be able to print Repair Pin with your 3D printer. Click on the button and save the file on your computer to work, edit or customize your design. You can also find more 3D designs for printers on Repair Pin.