Repair kit for barrel pump JP-280
thingiverse
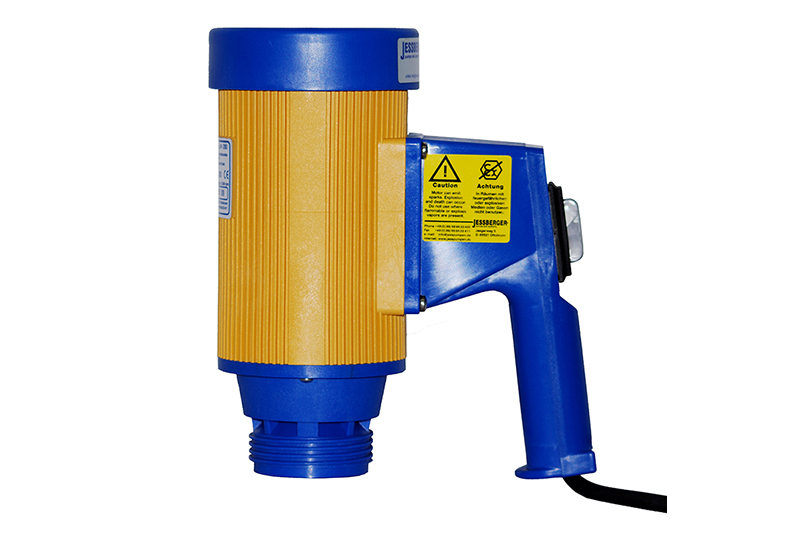
Repair Kit for Barrel Pump JP-280 Installation and Operating Instructions. Introduction: Congratulations on your purchase of a new barrel pump JP-280 repair kit. This comprehensive package includes all necessary components to restore your equipment's optimal performance. Components: The repair kit contains the following essential items: 1. Pump housing replacement part 2. Seals and gaskets for leak-free operation 3. Valve stem assembly upgrade 4. Drive shaft bearings for smoother rotation 5. Installation hardware, including screws and washers Installation Procedure: Step 1: Disconnect Power Source Ensure the power source is disconnected to avoid any potential electrical hazards. Step 2: Remove Existing Pump Components Carefully remove the existing pump components from the housing, taking note of their original positions for easy reinstallation. Step 3: Inspect and Clean Housing Thoroughly inspect the pump housing for any signs of damage or wear. Clean it with a soft brush to ensure a smooth installation process. Step 4: Install New Pump Components Place the new pump components in their original positions, ensuring proper alignment and secure fastening. Step 5: Reassemble and Test Reassemble all removed components, reconnect power source, and test the pump for optimal performance. Warranty Information: This repair kit is backed by a one-year limited warranty. For any questions or concerns regarding installation, contact our customer support team at [insert phone number].
With this file you will be able to print Repair kit for barrel pump JP-280 with your 3D printer. Click on the button and save the file on your computer to work, edit or customize your design. You can also find more 3D designs for printers on Repair kit for barrel pump JP-280.