Remote Light Switch Rig
pinshape
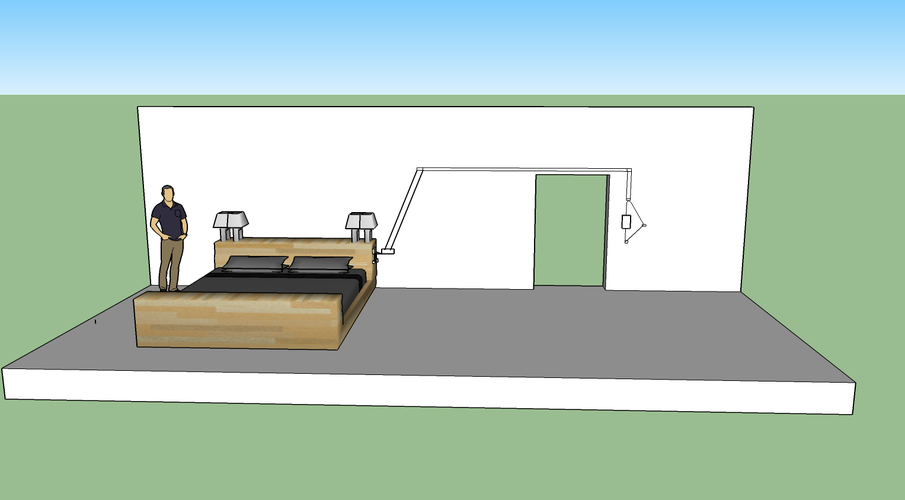
Setting Up a Smart Light Switch without Leaving Your Bed: To activate this feature, start by sliding the light switch mount over your existing light switch. If it doesn't stick in place, you can either apply glue to secure it or use the provided holes to screw it onto the switch for a more permanent hold. Next, plan out the path that the strings will take and mark it down on paper with a pencil. Take a look at the diagram above for an example of how this should be done - note that double brackets are used after connecting the two cords together, while single brackets are employed to guide the strings to either side of the switch as needed. After mapping out your route, thread the strings through and attach the pulls, completing the setup process.
With this file you will be able to print Remote Light Switch Rig with your 3D printer. Click on the button and save the file on your computer to work, edit or customize your design. You can also find more 3D designs for printers on Remote Light Switch Rig.