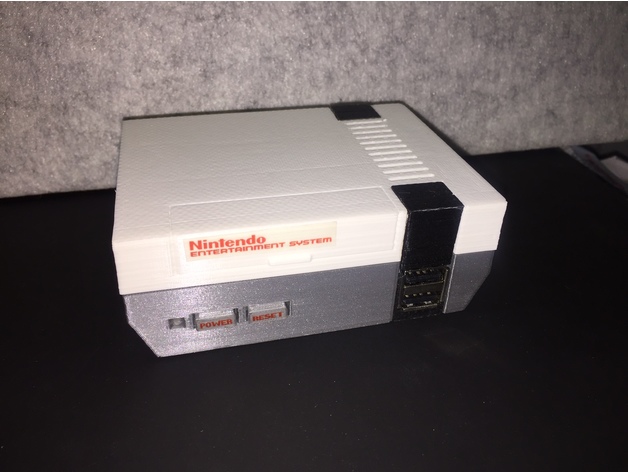
Remixed Raspberry Pi NES Case
thingiverse
I'm remixing Daftmike's case, but I had trouble printing his design due to the wall thickness. So, I completely redesigned it from scratch. This new version is essentially identical to Daftmike's except for two key differences - the cartridge door is now fixed in place and can't be opened, and there's no second mini USB port. I reused his buttons, cover pieces, and LED lens, though. Both the top and bottom case files have built-in support. I'm using Recalbox as my operating system because I find it superior to Retropie. The power and reset buttons are fully functional, along with the LED light. Recalbox comes with a script that allows you to use a switch to start and stop the Raspberry Pi - just head over to their wiki for more information on how to set it up. The LED is connected to the serial port TX pin, giving you a real-time power indication light. Meanwhile, the reset button is actually the "ESC" key on a standard keyboard. I repurposed an old keyboard's circuit board and wired the switch across the "ESC" key contacts - any wireless keyboard should work just as well. Important Note: One of the two USB ports mounted on the Raspberry Pi needs to be de-soldered and relocated or you'll need to buy a new one and wire it up. Check out Daftmike's blog for more details on how to do this. All you need to do now is put everything together, load up some ROMs, and start playing.
With this file you will be able to print Remixed Raspberry Pi NES Case with your 3D printer. Click on the button and save the file on your computer to work, edit or customize your design. You can also find more 3D designs for printers on Remixed Raspberry Pi NES Case.
