Remix: Syma X5c Race Body
thingiverse
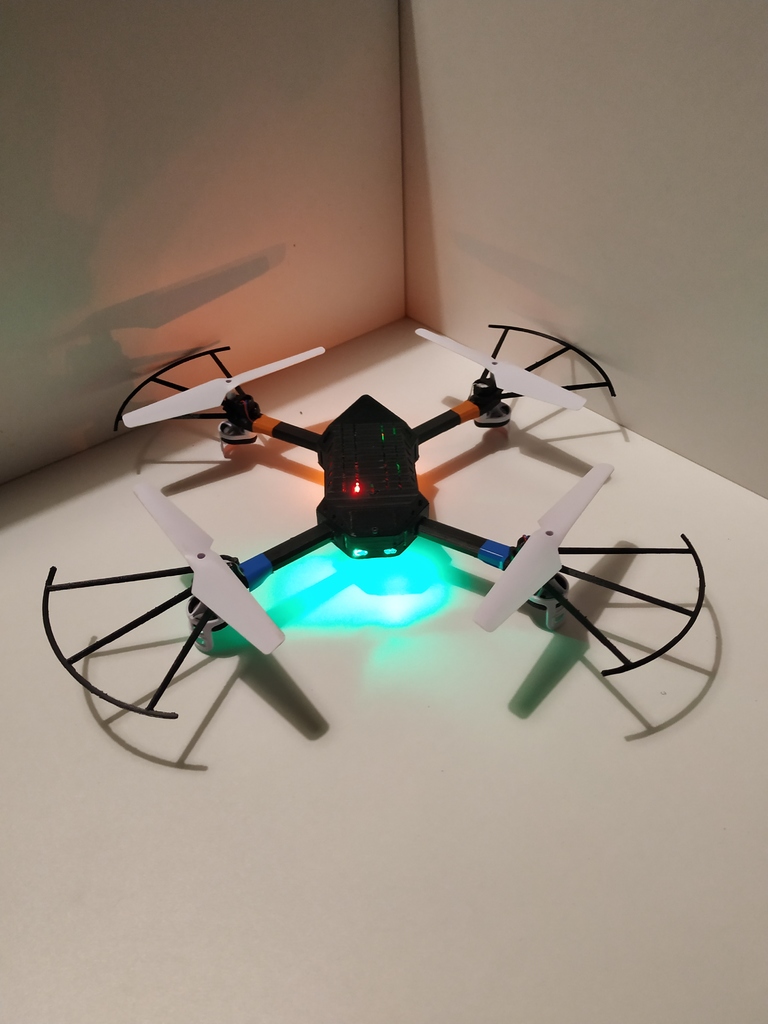
I stumbled upon an amazing drone design for the Syma X5C on Thingiverse (https://www.thingiverse.com/thing:1531770), but after assembling all parts, I felt unsatisfied with the result and decided to give it a complete redesign. My new design is significantly lighter and features integrated camera capabilities! All printed parts must be made from ABS, as PLA would cause stiffness and your drone may break apart during its first hard landing. ABS is not only lighter but also more durable, making it an ideal material for printing drone bodies. To minimize weight, I used ABS glue to assemble everything together, which can easily be done at home (https://www.matterhackers.com/news/how*to*make*abs*juice*glue*and*slurry). The parts stick together perfectly as they were printed in one piece! Here are the improvements I've made so far: * Added a camera mount to the cover (I love this feature because you can film yourself while flying the drone more easily. However, it has the disadvantage of requiring you to open the body to remove the SD card.) * Removed unnecessary parts from the body to save weight (i.e., arm mounts) * Reoriented LED holes and created small frames for easier LED mounting (Press the LED into the frame and secure with a bit of ABS glue. The front LEDs may need to be trimmed, which is no problem.) * Added a frame for the on/off switch for better handling (For an even stronger fix, use a drop of ABS glue on top.) * Added optional holes for M2 screws and nuts (I used to glue the mount to save weight.) * Removed filling from the arms (This form doesn't require it, and when printing with ABS, it's unnecessary.) * Improved mounts for the gears (They no longer look attached to the body and have more stability as they sit deeper in the arms.) * Added propeller protectors * Added screw holes to connect the base and cover Assembly: 1. After printing all parts, start by adding the main board into the base. Glue the LEDs and power switch in place and insert the battery cable. 2. Prepare your gears and insert them into the arms (sand if necessary). Cut two parts of your gear to make it fit perfectly into the arm. The picture shows exactly where to cut. https://cdn.thingiverse.com/assets/88/14/a4/45/c0/featured_preview_Anmerkung_2020-04-26_153751.png The gears should sit firmly in place, so you don't need to secure them, but I used a bit of electrical tape in different colors to easily identify the front of the drone. 3. Now glue the arms to the base. Push them into the holes until they're level with the frame connected to the base. 4. Solder your motors back to the main board. 5. Insert the camera lens into its respective mount in the cover. I used Uhu Pattafix, which is great for mounting and removing the lens without causing jello. 6. Glue the battery cover. If you want to screw it on, do that before adding the main board. 7. Screw the cover onto the base using M2 screws. 8. Mount your propellers and slide on the protectors for the propellers. They should hold securely, but if you want them to be more secure, add a piece of 1.75 mm filament to the hole at the protector. The arm has a corresponding hole to keep it in place optimally. 9. Optional: Add gear protectors as well (https://www.thingiverse.com/thing:1919029) If you print everything using my settings, your drone should be slightly lighter than the original Syma X5C! With camera and gear and propeller protectors, that's a real achievement! https://cdn.thingiverse.com/assets/ba/1d/4b/d8/7d/featured_preview_IMG_20200413_182145.jpg https://cdn.thingiverse.com/assets/01/d6/5e/04/dc/featured_preview_IMG_20200425_001210.jpg Enjoy printing and flying, and don't forget to share your experience in the comments!
With this file you will be able to print Remix: Syma X5c Race Body with your 3D printer. Click on the button and save the file on your computer to work, edit or customize your design. You can also find more 3D designs for printers on Remix: Syma X5c Race Body.