REMIX - Leading Edge Guide Rod - Metal Bearings
thingiverse
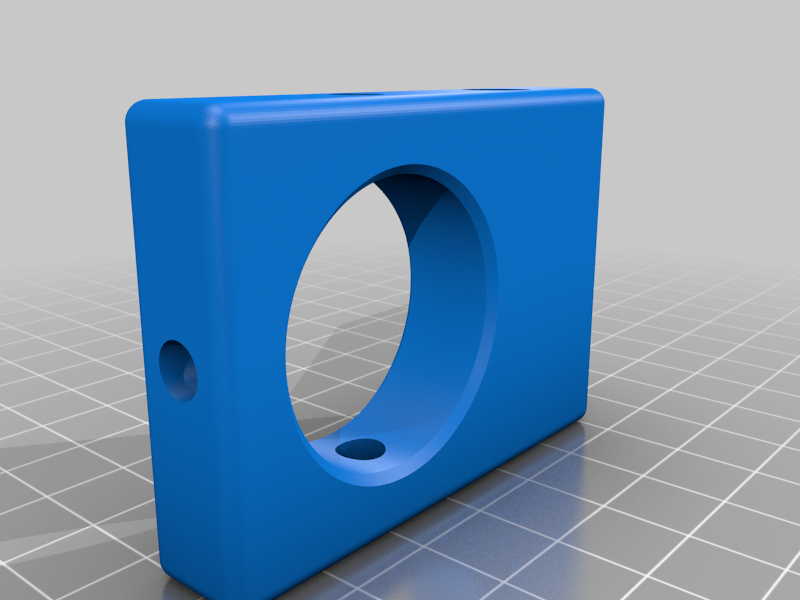
I wasn't completely happy with the guide rod block in the original Leading Edge knife sharpener design, so I dreamed up a way to make the design smoother, but also significantly more expensive. You'll need the following parts: 1. Spherical Bearing: 30mm external ring diameter, 15mm through hole diameter. I used this one: https://smile.amazon.com/gp/product/B08C5BFZNV/ref=ppx_yo_dt_b_asin_title_o01_s00?ie=UTF8&psc=1 2. Linear guide bearings: LM8SUU (8mm internal diameter, 15mm external diameter, 17mm length). I used this one: https://smile.amazon.com/gp/product/B07C7CKKR9/ref=ppx_yo_dt_b_search_asin_title?ie=UTF8&th=1 3. M4 heat set inserts: a. For the set screws to hold the bearing in place, I used the M4 inserts out of this kit: https://smile.amazon.com/gp/product/B08J6JG97C/ref=ppx_yo_dt_b_search_asin_title?ie=UTF8&psc=1 b. For the set screw to hold the guide block on the vertical 8mm height adjustment rod, I wanted a longer heat-set embedment nut, so I used these: https://smile.amazon.com/gp/product/B08Z878C3F/ref=ppx_yo_dt_b_search_asin_title?ie=UTF8&psc=1 Refer to the picture for assembly - it's pretty simple. The only thing not completely obvious that I did was add a small dab of epoxy onto the outer race of the linear bearing before setting it into the spherical bearing, as the fit there was slightly too loose for my taste. Needless to say, the metal bearings provides significantly smoother operation versus the original design 3d printed spherical bearing without a linear bearing. When printing, I used a .2mm layer height, 2mm thick walls, floors, and ceilings, and 40% infill.
With this file you will be able to print REMIX - Leading Edge Guide Rod - Metal Bearings with your 3D printer. Click on the button and save the file on your computer to work, edit or customize your design. You can also find more 3D designs for printers on REMIX - Leading Edge Guide Rod - Metal Bearings.
