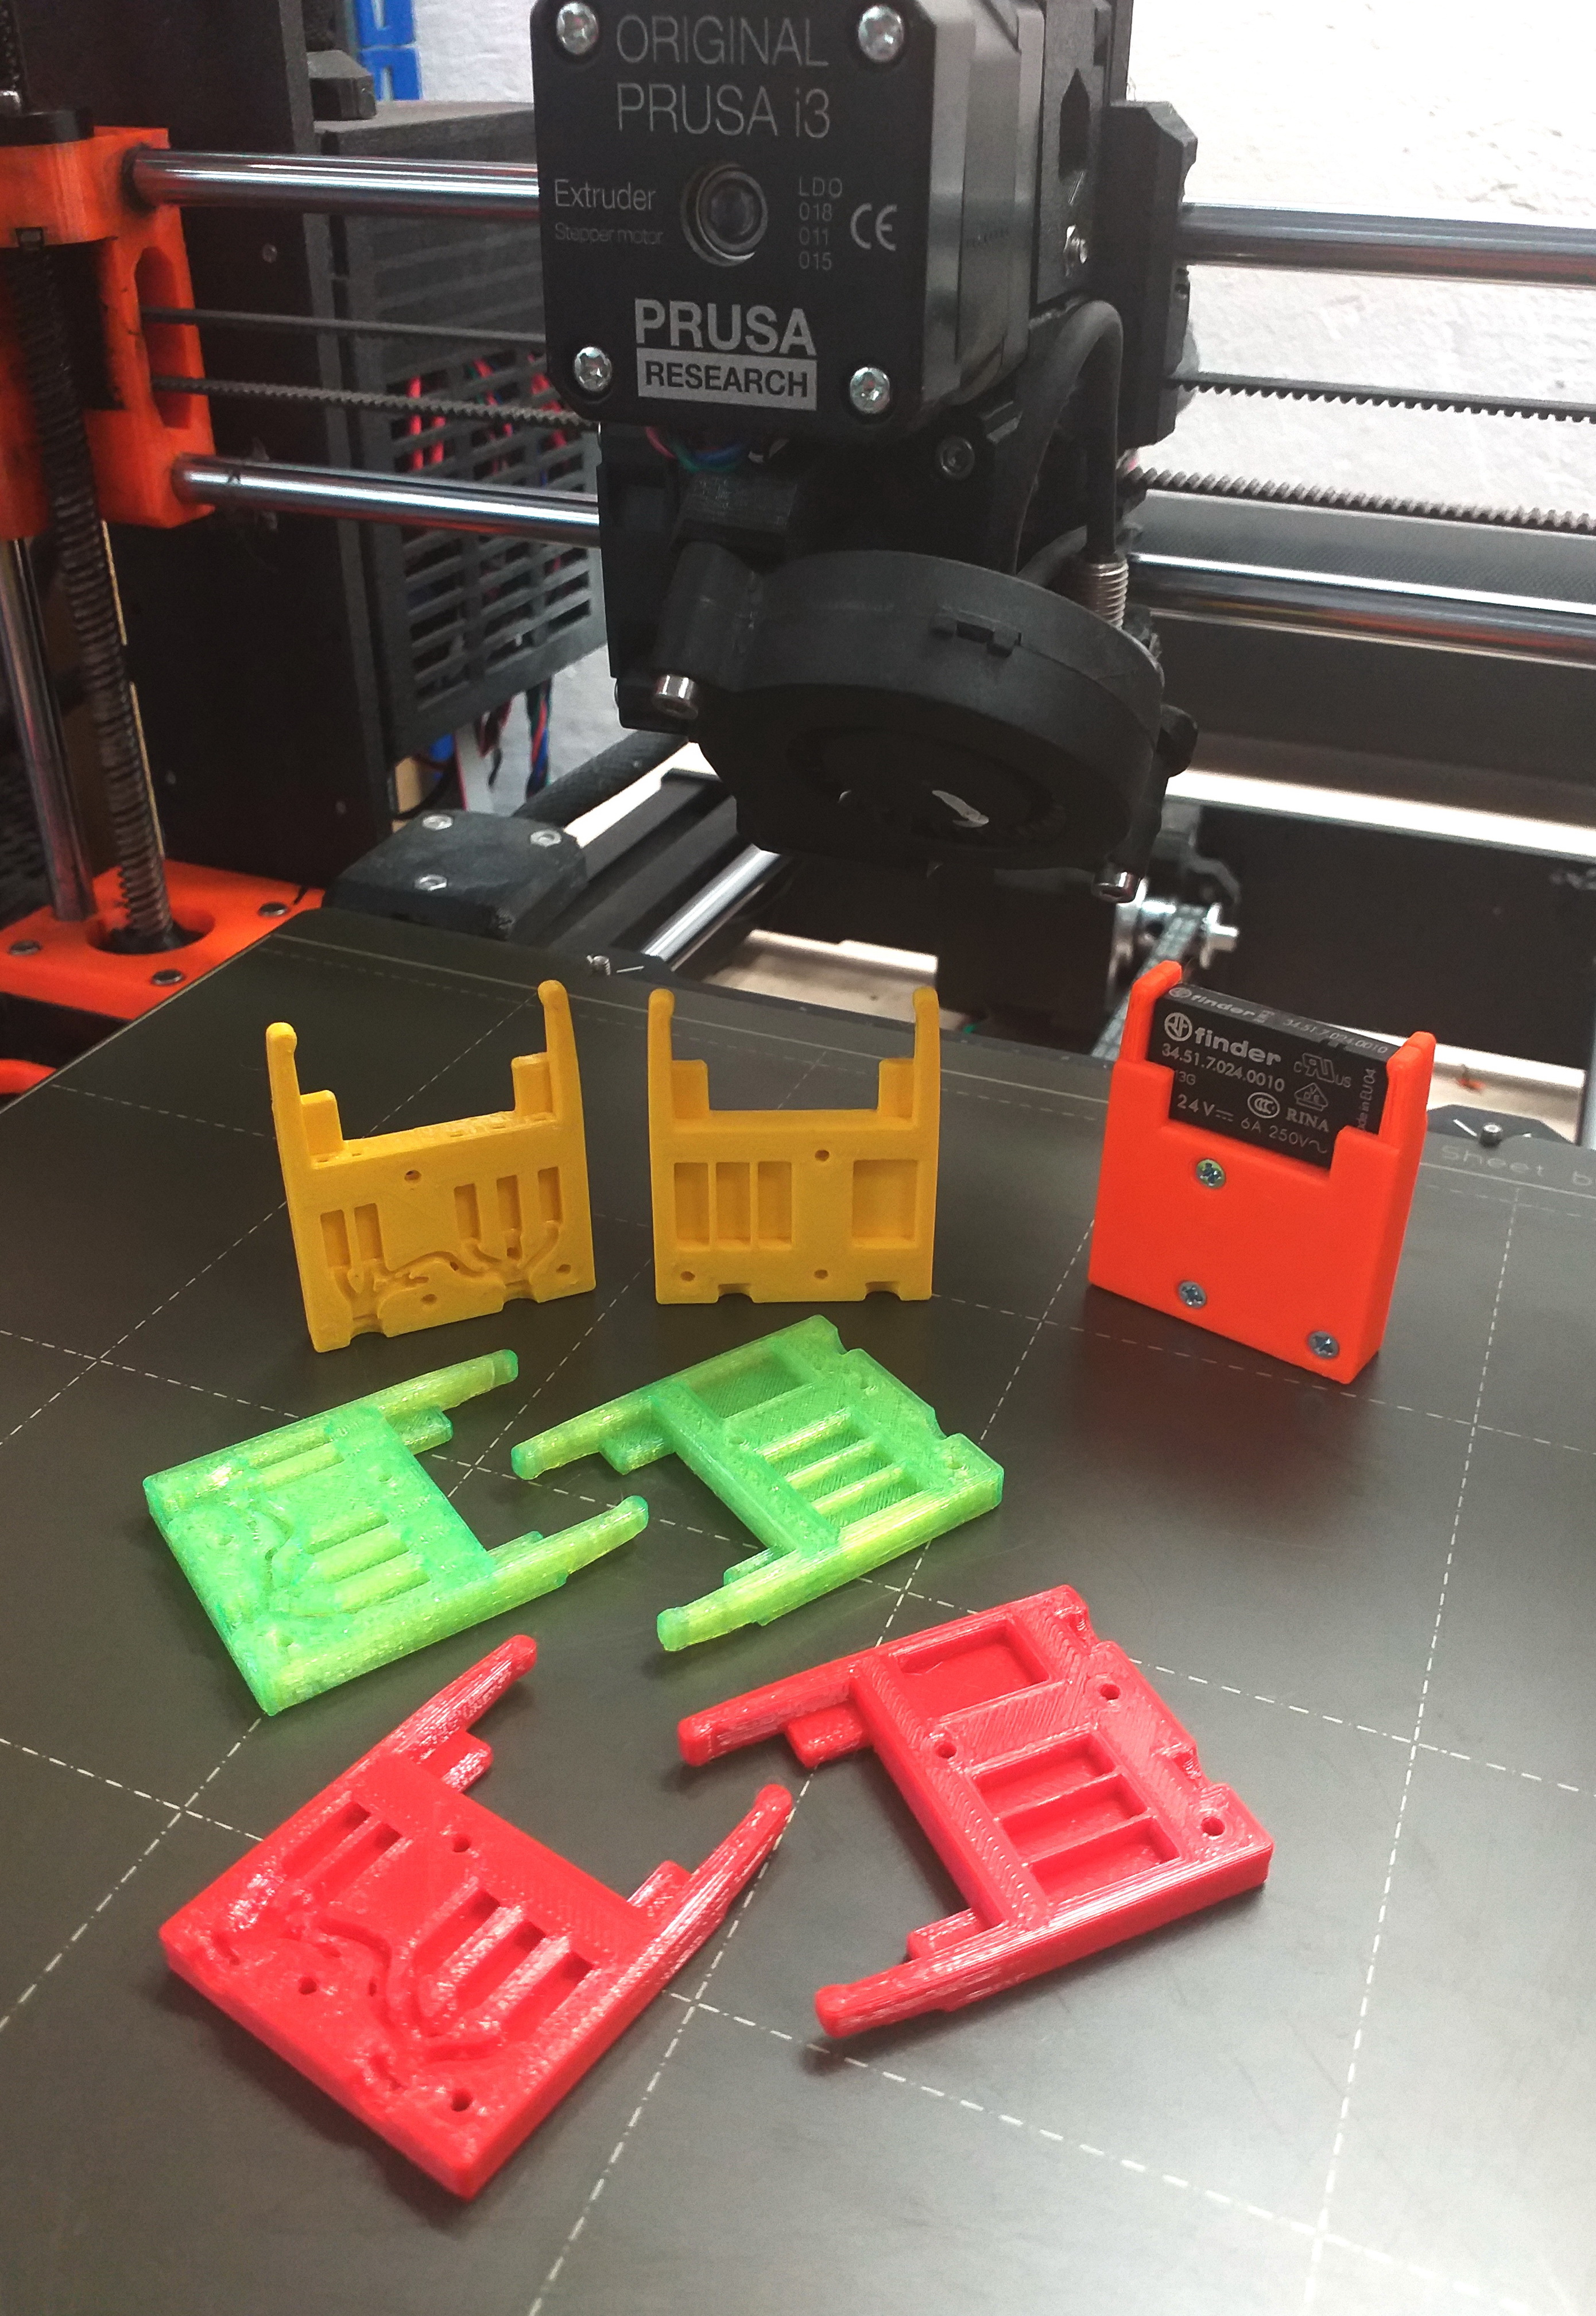
Relay-socket printed in 54 min
prusaprinters
<p>Hi everyone,</p><p>I have prepared for you a relay socket from 2 printed components.</p><p>If you are engineer and working with electronics you will need this relay socket.</p><p>This relay socket it's compatible with "Finder" 5 pins relays.</p><p>Printing specification:</p><ul><li>Optimal printing parameters.</li><li>Supports not necessary.</li><li>Layer high 0.2mm</li><li>Print time 54 min.</li></ul><p> Recomanded materials: </p><ul><li>PETG</li><li>PLA</li></ul><p>Necessary materials for relay-socket:</p><ol><li>Drowned head screw M2x10mm →Qty-3</li><li>Standard hex-nut M2 →Qty-3</li><li>Female contact-crimped type-MTE-C-R - ADAM TECH →Qty-5</li><li>Finder relay 34.51.7.024.0010</li></ol><figure class="image image-style-align-center image_resized" style="width:75%;"><img src="https://media.prusaprinters.org/media/prints/85002/rich_content/d83127c9-6aea-44a8-a091-964fdd4aca7d/20211103_151126.jpg#%7B%22uuid%22%3A%2218dca149-491b-49e0-aaed-3b5c49824df4%22%2C%22w%22%3A4128%2C%22h%22%3A3096%7D"></figure><p> </p><p>Please follow the assembly instruction bellow:</p><ol><li>With screw driver insert in part <strong>“Relay-Socket-1.stl”</strong> the female contacts and hex nut.</li></ol><p><strong>“Female contact”</strong> see in picture bellow:</p><figure class="image"><img src="https://media.prusaprinters.org/media/prints/85002/rich_content/52f536f4-5e7c-4f41-9c3c-c108e65b56ab/05.jpg#%7B%22uuid%22%3A%223c24f1d5-b893-4632-827a-832bc5787c96%22%2C%22w%22%3A749%2C%22h%22%3A214%7D"></figure><p> </p><p> 2. Use 0.2-0.3 mm wire for soldering <strong>“female contacts” </strong>see picture bellow:</p><figure class="image image_resized" style="width:75%;"><img src="https://media.prusaprinters.org/media/prints/85002/rich_content/4d6e4934-fb42-49fc-b2b5-5814b42325ff/20210217_183515.jpg#%7B%22uuid%22%3A%22e0e0c532-1d4a-4ceb-b6ce-5af4b5d3e87d%22%2C%22w%22%3A2501%2C%22h%22%3A2559%7D"></figure><p> 3. Put together part <strong>“Relay-Socket-1.stl” and “Relay-Socket-2.stl” see in picture bellow:</strong></p><figure class="image image_resized" style="width:75%;"><img src="https://media.prusaprinters.org/media/prints/85002/rich_content/903c1b10-dee0-4f1f-9eb1-0e3a267263e7/06.jpg#%7B%22uuid%22%3A%227224b1ea-feea-44b8-bd87-2146d0df85b0%22%2C%22w%22%3A1019%2C%22h%22%3A725%7D"></figure><p> 4. Insert screws in<strong> “Relay-Socket-2.stl” </strong>and screw in with a screwdriver.</p><p> </p><p>Everything is ready, all you have to do is insert the relay into the socket.</p><p>See a picture from my work where I used this relay socket.</p><figure class="image image-style-align-center image_resized" style="width:50%;"><img src="https://media.prusaprinters.org/media/prints/85002/rich_content/4f334854-d5e9-4c82-b4e0-9fdacda06fc4/20210218_114232.jpg#%7B%22uuid%22%3A%22f65ef72d-e7e8-4200-a33c-37ff49daf72b%22%2C%22w%22%3A2191%2C%22h%22%3A1569%7D"></figure><p>I hope was useful for you, happy printing.</p>
With this file you will be able to print Relay-socket printed in 54 min with your 3D printer. Click on the button and save the file on your computer to work, edit or customize your design. You can also find more 3D designs for printers on Relay-socket printed in 54 min.
