Relay Control Module Box for OctoPrint & Raspberry Pi
thingiverse
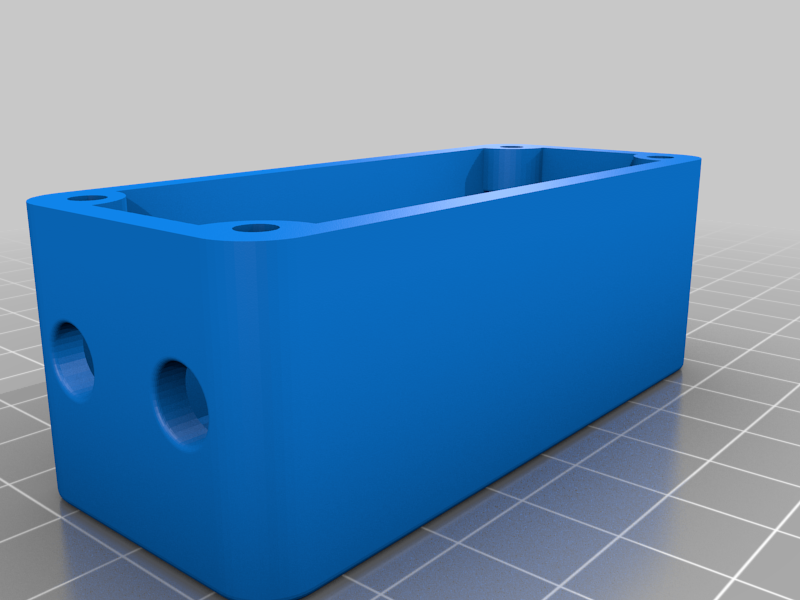
I wanted to control power to my 3D printer using the “PSU Control” plugin for OctoPrint, but the designs out there didn’t fit my 50x26 mm module. . . So, I designed my own. This is sized for the “HiLetgo” 5V One Channel Relay Module, available as of 3/23 on Amazon for $7 a pair. https://www.amazon.com/dp/B00LW15A4W?psc=1&ref=ppx_yo2ov_dt_b_product_details The two holes for the AC power cords are sized for a ubiquitous computer power cord, like the one supplied with my Ender 3. I had one of these cords on hand from an old computer, and I cut it so only a short pig-tail runs between the relay and the back of the printer. The mounting holes in the bottom of the box are sized for M4 size screws, which I used with T-nuts to secure the box to the printer. If you don’t have these nuts, there are versions available to print, which should work with this lightweight application. I used threaded inserts to secure the lid with M2 cap head screws, but if you don’t want to do that, the lid stays on pretty securely without fasteners. Another feature of the lid, is the .40mm thick window which allows the board’s LED indicator lights to shine through. There's lots of good information out there on how to wire the GPIO pins on your R-Pi. I used pins 4 and 6 for power and ground, respectively, and pin 40 (GPIO-21) for signal. You'll want to have a decent power supply for your R-Pi to handle this relay. I recommend 3 amps.
With this file you will be able to print Relay Control Module Box for OctoPrint & Raspberry Pi with your 3D printer. Click on the button and save the file on your computer to work, edit or customize your design. You can also find more 3D designs for printers on Relay Control Module Box for OctoPrint & Raspberry Pi.
