Relay Board Case
prusaprinters
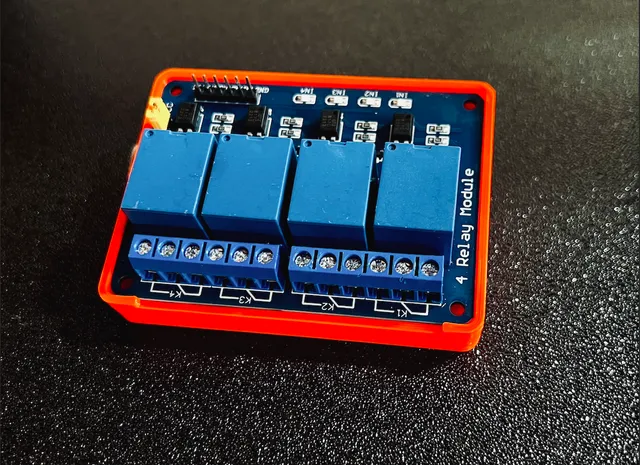
Hey there and welcome to this design.I am glad you found this Design and I want to thank you at first for visiting it! Why I made that design?This is one of my first designs I made myself using Shapr3D for a Relay Board from AZ-Delivery. While I am building my own custom case for my Ender 3 S1, I am facing several things I need to construct for my own and this was one of the first design I made, to mount the Relay Board easily and the way I wanted. You should not need any threaded inserts or nuts, it should fit tight enough by screwing in the M3 screws. Security advice: Be sure to not touch or have any metal contact with the soldering pins underneath the Relay Board! Once you wired it up to your power socket, depending on your region, there will be 110V or 230V of current going through! So be careful, please! Printing settings:Printer: Creality Ender 3 S1Rafts: NoSupports: NoResolution: 0.2mm (or 0.24mm)Infill: 30% (can be less or more)Filament: Prusament PETG What else is needed?four M3x10mm screwstwo 3.5x12mm wood scews (or anything you like)
With this file you will be able to print Relay Board Case with your 3D printer. Click on the button and save the file on your computer to work, edit or customize your design. You can also find more 3D designs for printers on Relay Board Case.