Refill Filament Master-Spool with a "twist"
prusaprinters
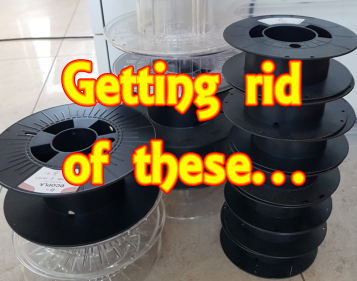
<p>I designed this Refill-Spool to finally get rid of the empty spools, the filaments usually come with. Not for saving money - Refill filaments are not that much cheaper - but because of getting rid of all this wasted plastic.<br>Keep in mind: Five filament spools (750 g - 1000 g of filament) will produce waste of around 1 kg of ABS, PS or PC. Unfortunately, recycling measures from manufacturers are rare to nonexistent.</p><p>Since Refill filaments are getting more popular these days, I finally decided to give it a go for myself.</p><p>Since this is not my first spool design, I had a few goals in mind:</p><ul><li>Easy to print</li><li>Quick and easy to assemble/disassemble</li><li>Using as low filament as possible for the print while still being sturdy</li><li>Modular and versatile</li><li>Holding Refills with up to 850g</li></ul><p>I call it the "Master-Spool with a twist” because you put the top part over the latches of the bottom part and simply twist it counter-clockwise to latch it in place, or clockwise to unlatch it. </p><p>This Refill-Spool comes in three different designs. <br>The core (or hub) is replaceable and snaps into place. It comes in different sizes: (inner hole) 53 mm, 50 mm, 38 mm and 22 mm. The later allows you to add two 608 bearings (22 x 7 x 8 mm). If you usually put your spools on some filament roller, you don't even need to print the core.</p><p>One spool eats up between 150 g and 190 g of filament when printed, depending on which model and configuration you pick.</p><p>With an outer diameter of 190 mm, the model is supposed to fit on any bed that's at least 200 x 200 mm in size.<br>The only supports you'll need is for the latches of the bottom part. Remove those carefully after the print without breaking off the latches. Support is also mandatory on the bottom part of the 22 mm core (because of the bearing) and the latches of the label plate. </p><p>I've tested this spool with <strong>EcoPLA </strong>(700g) and <strong>Fiberlogy </strong>Easy PLA (850g) refill packs myself. Though, any other refill pack with an inner diameter of about 105 mm is supposed to fit (the inner cylinder of the bottom part is 103 mm in diameter). </p><p>Place the parts in your slicer so, that the flat portion sits on the bed. I'd recommend a layer height of 0.25 mm for a 0.4 mm nozzle. </p><p>I also included two label plates that clip onto the cut-outs. You can not only use these to mark up the brand, type, temps., etc. on the spool with a marker but also, if you print that plate with that exact filament, you'll have a nice material sample. </p><p>The last 4 pictures in the gallery below show how you're supposed to fill that spool up:</p><ol><li>Get the inner end of the filament and thread it into one of the triangle holes in the bottom, then drop the filament onto the spool, matching the positions of the cable ties.</li><li>Place the upper piece and lock it in place.</li><li>Cut the cable ties from the outside, pull them out from the inside.</li><li>Thread the filament start into one of the bores to keep it in place. Done!</li></ol><p>I've also added the base STEP file, in case you'd like to create your own designs (as shown in the very last picture). The translucent-red discs are separated from the model and you can use them to apply your specific pattern (e.g. thinner spokes, any geometrical pattern or individual text), before you merge them with the rest and export the STL for printing.</p><h4>Update</h4><p>Added a 3rd design with a Voronoi pattern.</p>
With this file you will be able to print Refill Filament Master-Spool with a "twist" with your 3D printer. Click on the button and save the file on your computer to work, edit or customize your design. You can also find more 3D designs for printers on Refill Filament Master-Spool with a "twist".
