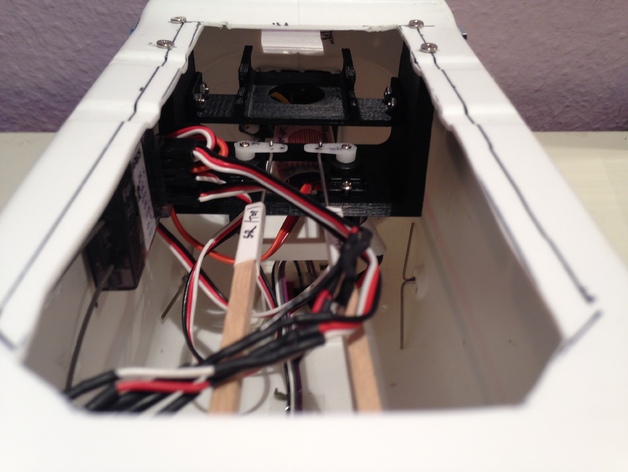
Reely Cessna Servo Mount
thingiverse
Due to several crashes, I lost both the original and spare servo mount of my Reely Cessna 480. Unfortunately, there was no way to repair the broken parts by gluing them back together. As a result, I created a sturdier version of the original mount and also added a mounting system for my Mobius camera while I was at it. Not surprisingly, the new mount takes up the same space as the original servos. To fit the new mount into the fuselage, you will need to widen the top opening. To be honest, the original opening was way too small anyway, so this is a welcome change. Mine now measures 63 mm wide, which makes it much easier to work inside. Although the screw holes on the new mount have a wider spacing, it's not a big deal to create a new set of holes in the fuselage. If you align the front two screws with the old holes, the mount will be perfectly positioned to take up all push rods without any further modifications. For the Mobius camera mount, you need to remove the plastic bar that sticks out through the body and picks up the rubber bands that secure the wing in place. You can use a pair of bolts and nuts to restore the two studs without compromising the stability of the aircraft. Once this is done, cut an opening into the fake windscreen (2.5 by 2.5cm, 0.3cm offset to the right) for the camera lens. I'm using a microscope slide to protect the lens from debris and it also significantly reduces wind noise.
With this file you will be able to print Reely Cessna Servo Mount with your 3D printer. Click on the button and save the file on your computer to work, edit or customize your design. You can also find more 3D designs for printers on Reely Cessna Servo Mount.
