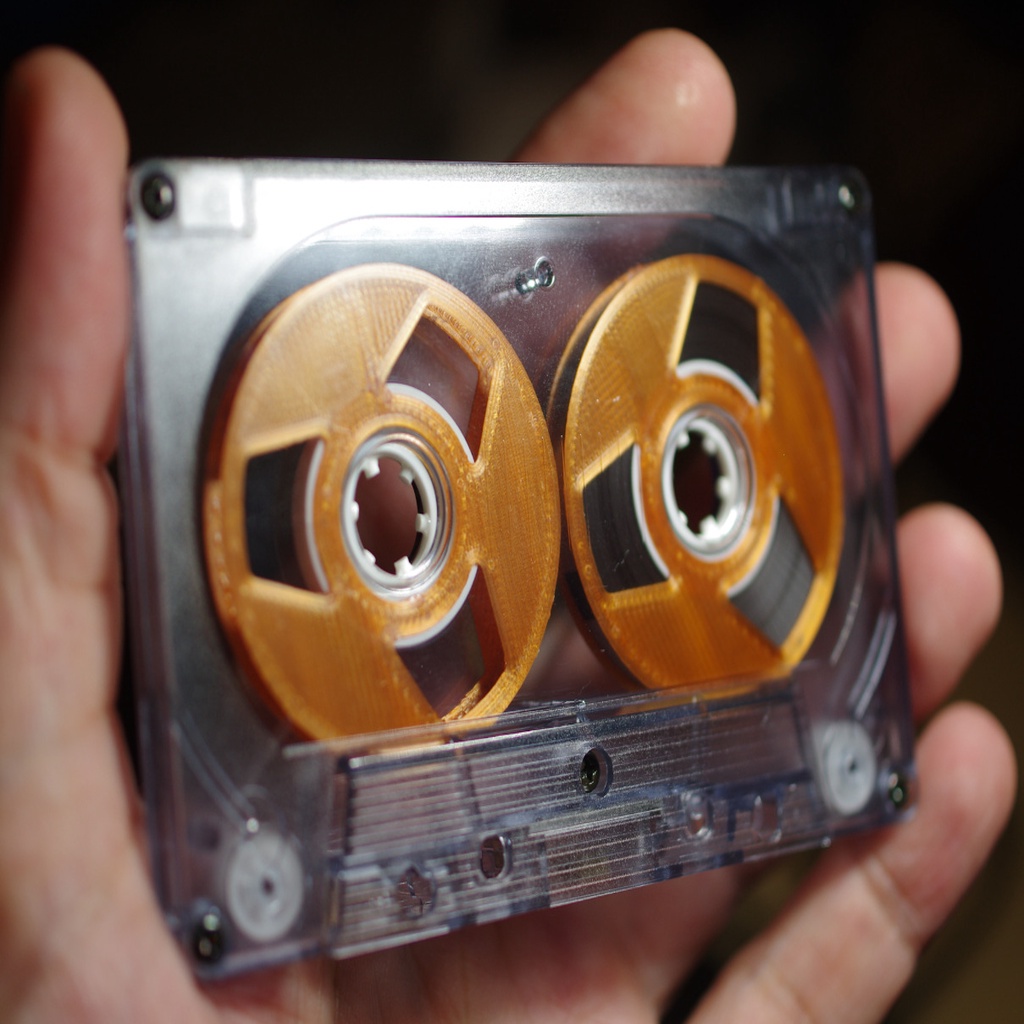
Reel to Reel cassette tape self-made DIY
thingiverse
I've always been fascinated by this project. To create my own, I printed the parts in 3 layers, with each layer just 0.1mm thick. First, I opened a Maxell UR cassette and super-glued the reels to the original white hub. Then, I carefully rewound the tape until it filled the new hub. Next, I cut off the excess tape and unwound the rest of the reel until the dummy tape on the other hub peaked out. After that, I re-glued the reels to the second hub using the same glue tape from the original cassette. Once everything was back together, I couldn't believe it worked. My daughter asked me why I bothered with this project, and honestly, I'm not entirely sure myself. Some people on eBay are charging a pretty penny for this type of thing, though. I've come up with a few more designs for the spools, which I might share in the future. Keep in mind that you'll need to trim most of the tape from the original reel so it fits perfectly within one spool's width or length - now I have a C50 instead of a standard C90 cassette.
With this file you will be able to print Reel to Reel cassette tape self-made DIY with your 3D printer. Click on the button and save the file on your computer to work, edit or customize your design. You can also find more 3D designs for printers on Reel to Reel cassette tape self-made DIY.
