redondo 0.5
thingiverse
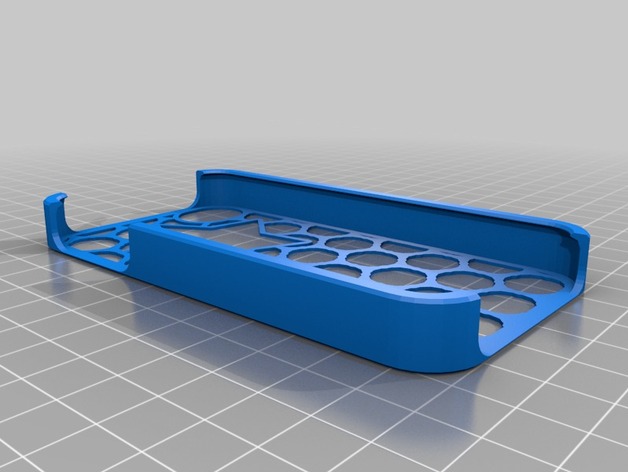
This is a CAD model in OpenSCAD language, likely used for 3D printing. Here's a breakdown of the script: **Variables and Options** The first section sets various variables and options: * `use_mouse_ears`: A flag indicating whether to add "mouse ears" (small protrusions) on the back of the case. * `printer_tolerance`: The tolerance for the printer, which affects the resolution of the print. * Various settings related to the stencil pattern, including line thickness, element rotation, and fill type. **Main Module** The main module is defined by a recursive function that creates the 3D model. This function takes an array of points as input and generates a series of interconnected shapes to form the case. The main shape is constructed using several techniques: 1. **Simplification**: The `simplify()` function is used to reduce the complexity of the input geometry. 2. **Interpolation**: The `convex_hull()` function creates a convex hull from the simplified points. 3. **Loop generation**: A loop is generated around the convex hull using the `cylindrical() function. 4. **Solidify**: The resulting loop is solidified to form a 3D shape. **Supportive Structures** Additional structures are created to support the main case: 1. **Bottom port**: A circular or elliptical structure is created on the bottom of the case using the `difference()` and `intersection()` functions. 2. **Top port**: Another circular or elliptical structure is created on the top of the case using similar techniques. **Customizations** Several customizations are implemented using conditional statements based on specific variables: * `custom_overhang_width` sets the width of an overhang at the bottom of the case. * `custom_back_camera_x_size` and `custom_back_camera_y_position` define the size and position of a camera housing at the back of the case. **Finishing Touches** The script concludes by creating various elements, such as: 1. **Port corner radii**: Round corners are created for the ports. 2. **Top inner edge chamfer radius**: A chamfer is added to the top edge of the case. 3. **Overhang thickness**: The overhang is given a thickness using the `linear_extrude()` function. This breakdown should help you understand the structure and functionality of the script. However, keep in mind that this is a complex CAD model with many interconnected components. If you have specific questions or need further assistance, feel free to ask!
With this file you will be able to print redondo 0.5 with your 3D printer. Click on the button and save the file on your computer to work, edit or customize your design. You can also find more 3D designs for printers on redondo 0.5.
