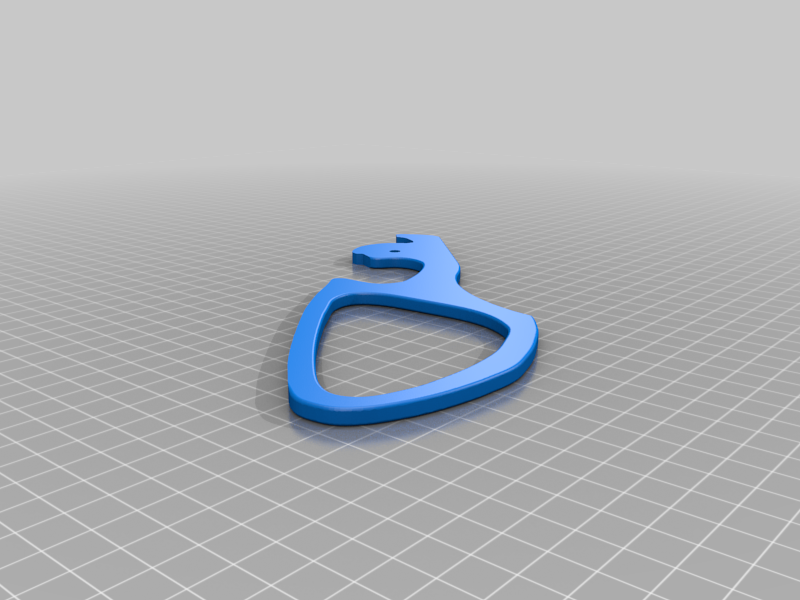
Red Ryder Loop V2
thingiverse
I reworked my original Red Ryder design using Fusion 360, starting with a screenshot of the original and retracing a sketch over it. The result is a model with improved geometry, no artifact lines created by the 3D builder program, and beveled interior surfaces that make for a more comfortable hold. When printing this design, I recommend increasing infill density and wall thickness to prevent breaking hazards. I used 35% gyroid infill with 1.2mm thick walls for optimal results. Replacing the lever is a straightforward process. Begin by removing the screw holding the original in place; it's located slightly lower on the receiver and secured with a machine screw and nut. Carefully pull out the old lever, making sure to save it in case of future use. Next, insert the new lever into position and bend the retention tabs behind the trigger to keep it securely in place when cocked.
With this file you will be able to print Red Ryder Loop V2 with your 3D printer. Click on the button and save the file on your computer to work, edit or customize your design. You can also find more 3D designs for printers on Red Ryder Loop V2.
