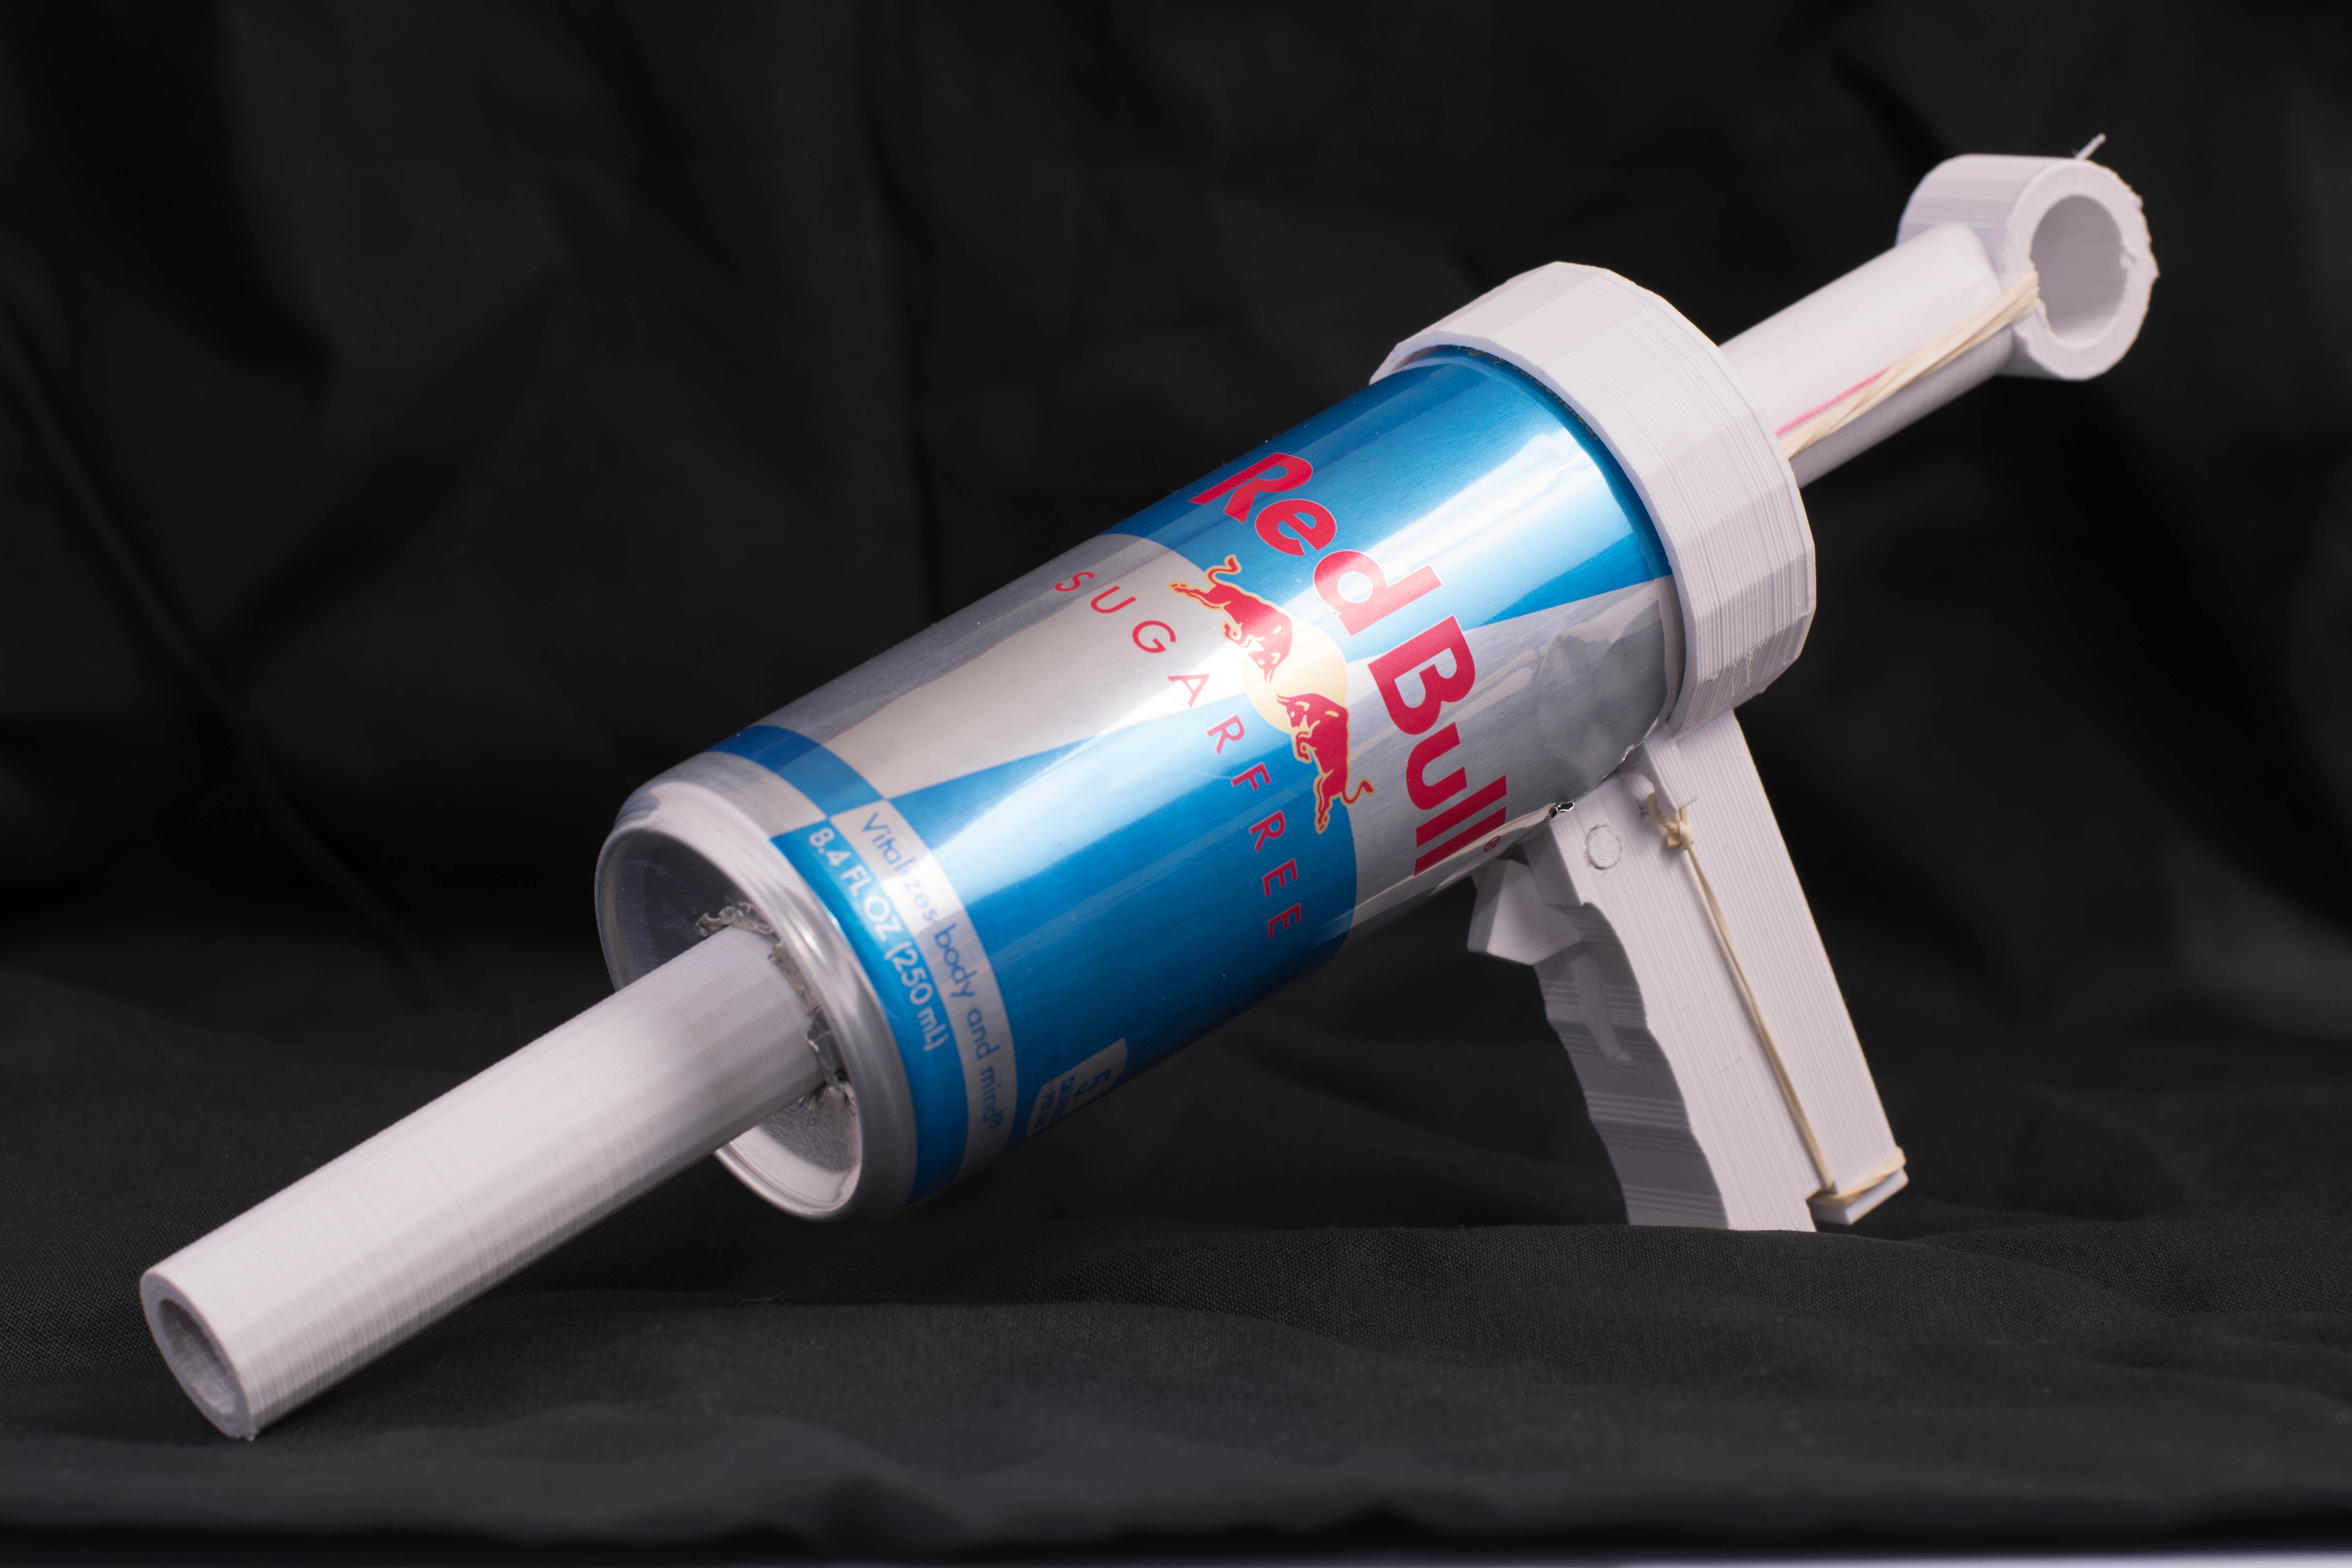
Red Bolt Gun
myminifactory
This Nerf Gun is made up of 6 vital components: Body, Nozzle, Firing Pin, Trigger, Trigger Holding Pin, and Bolt Catch. You will also need some additional materials to complete the build: a 250ml Can and Rubber Bands. To ensure that this print turns out sturdy, I recommend using at least a 30% infill (the higher the better) and wall thickness between 1-1.5mm. After printing, you'll need to do some sanding to make sure all the parts move smoothly together. Once you've finished sanding, follow these steps to assemble your Nerf Gun: Insert the Firing Catcher into the top of the handle with the two holes on the bottom going in first. Then, loop a rubber band through the holes and stretch it to the notch at the bottom. This will act as a spring for the pin catch. Next, insert the Trigger and Trigger Pin. Line up the trigger hole with the handle holes and push the pin through. You may need to sand the pin smooth before this step to get it to fit properly. The pin should be hard to insert, but not so hard that you need a tool. On the front of the Body, there are two holes that lead all the way back to the Firing Pin. Feed high-strength rubber bands through these holes and tie them onto the circle piece at the end of the firing pin. Then, insert the Firing Pin while pulling the Trigger to allow it to slide in. Finally, attach the Nerf Nozzle to the front of the Body, covering the Firing Hole. To complete the build, you'll need to drill a hole through the 250ml Can that's big enough for your barrel to fit through. Cut off the top of the can at the very top and slice a notch in it for the Trigger and Handle to fit. Pull the can over the gun, and you now have a removable and customizable cover for your Red Bolt Gun.
With this file you will be able to print Red Bolt Gun with your 3D printer. Click on the button and save the file on your computer to work, edit or customize your design. You can also find more 3D designs for printers on Red Bolt Gun.
