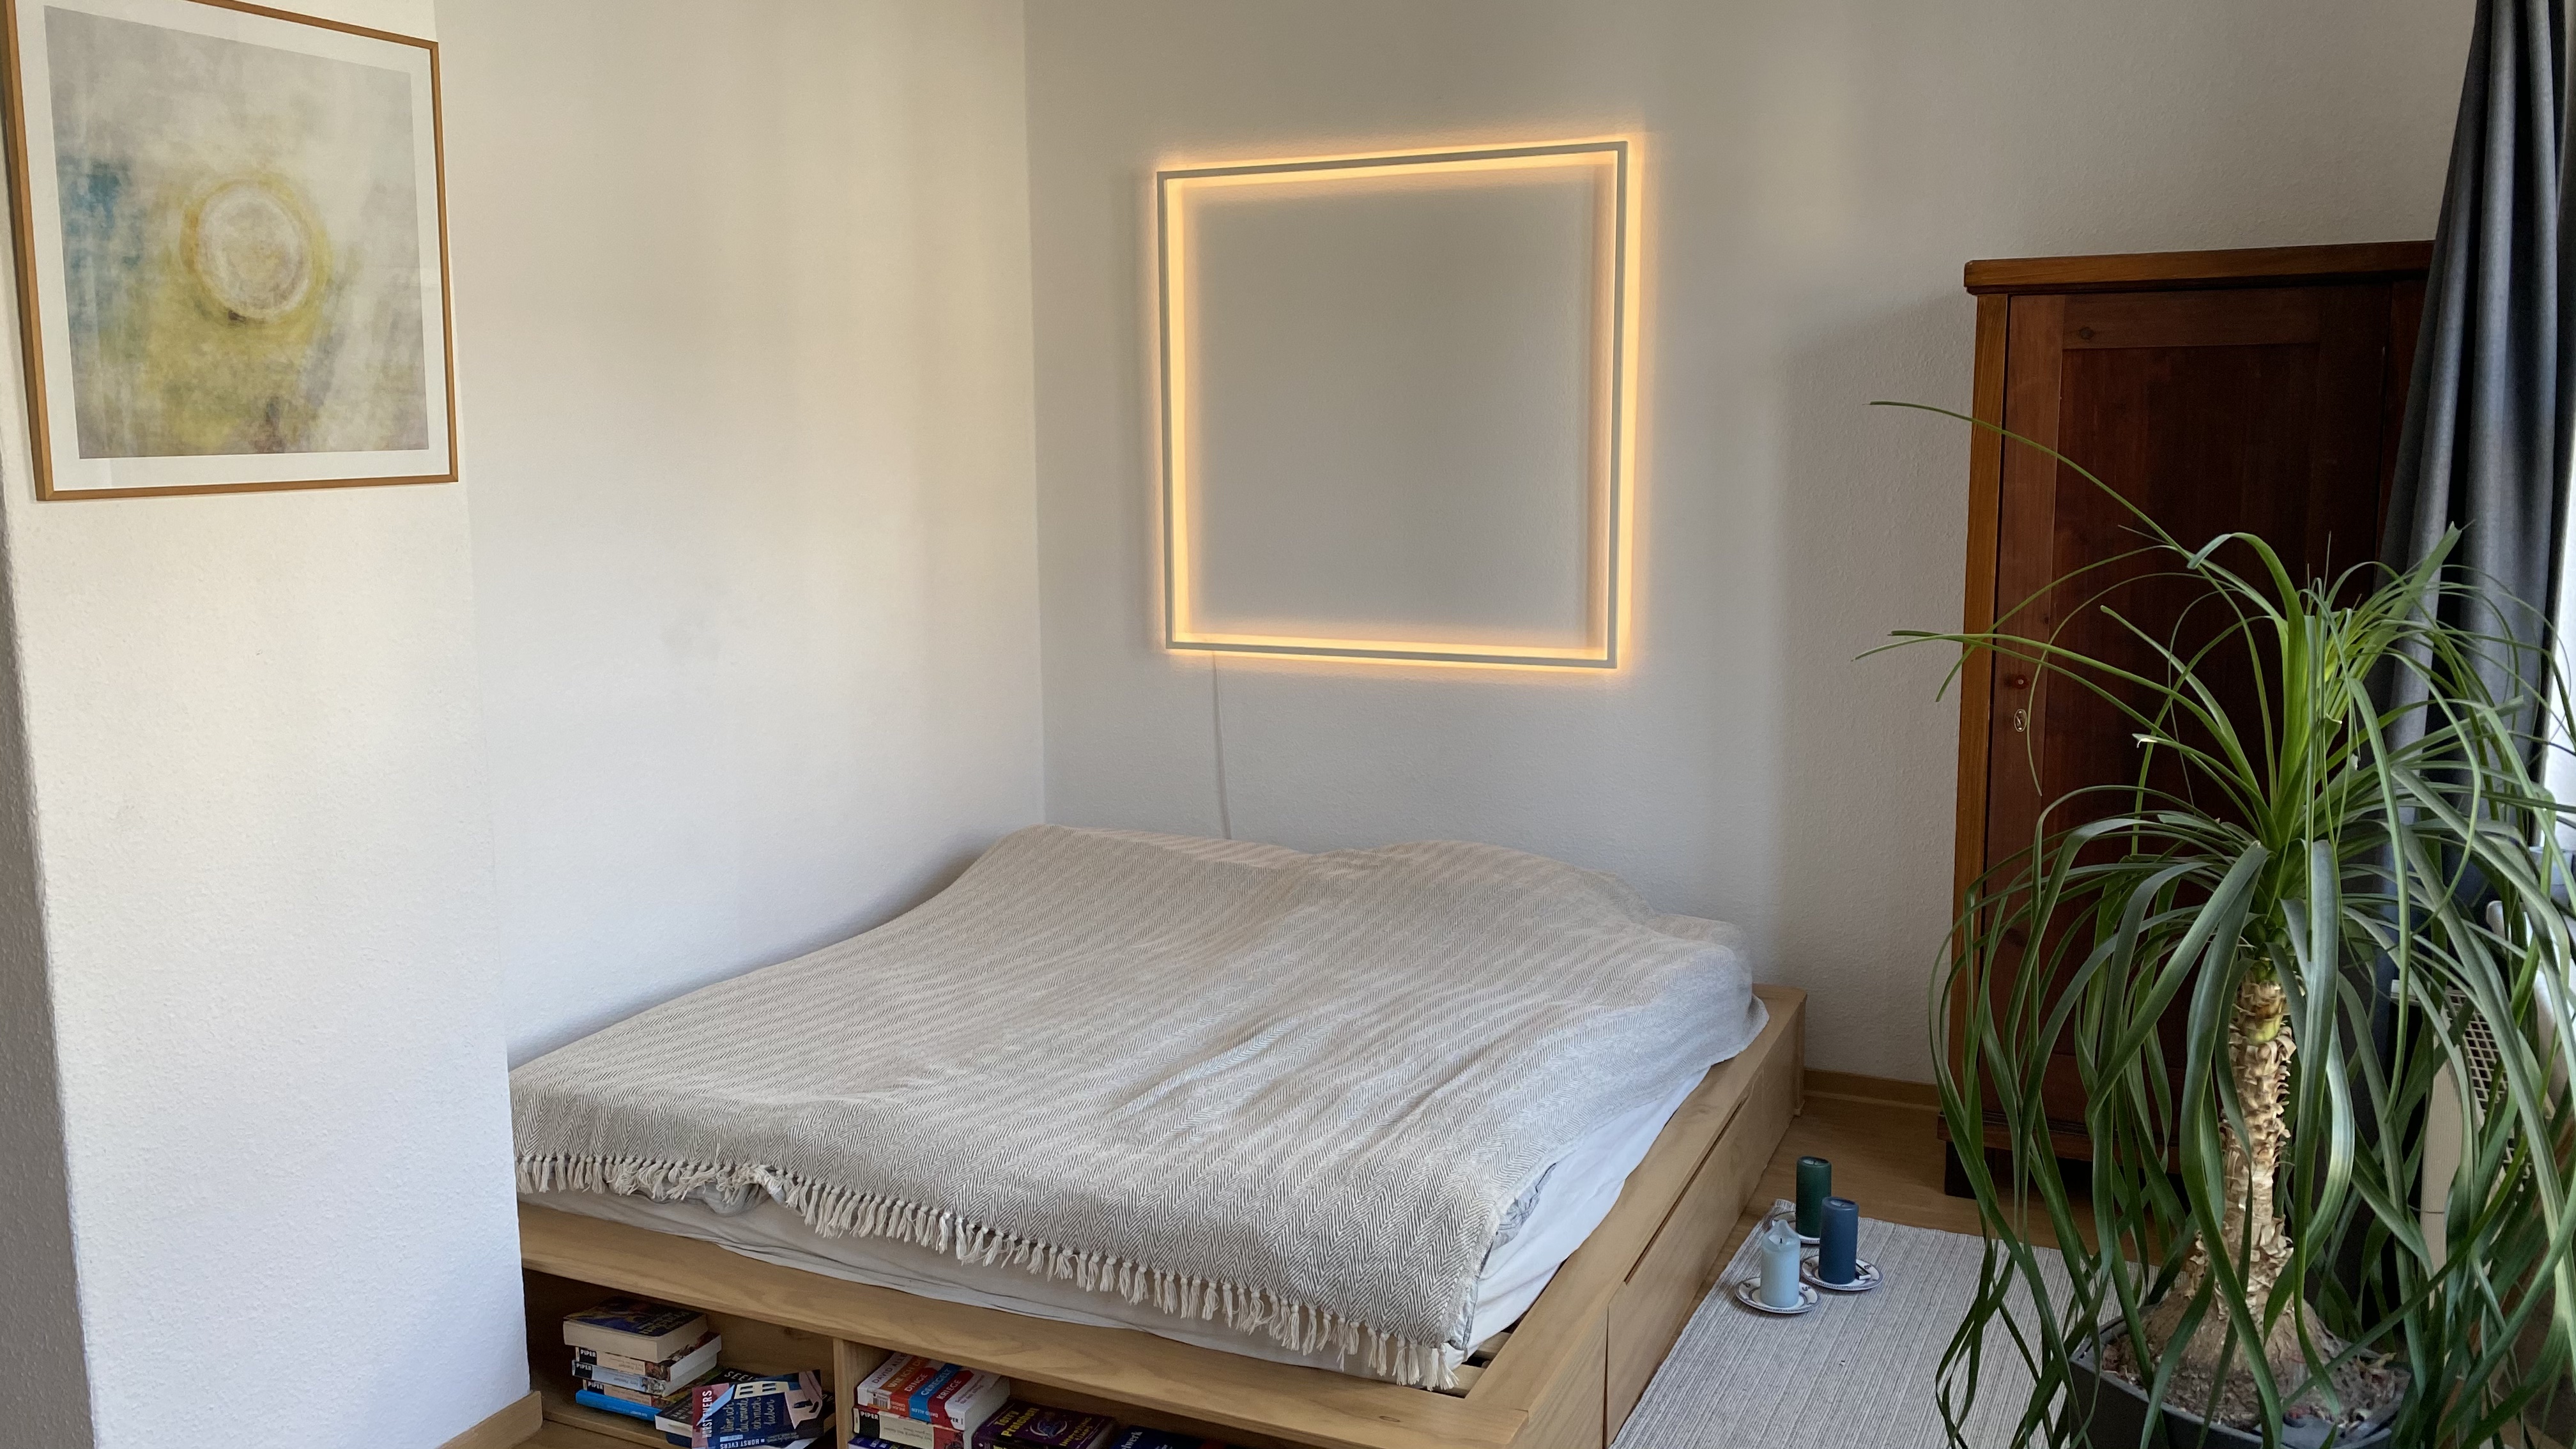
Rectangle halo lamp
prusaprinters
<p>Current Version utilizes 20x20mm u-beams. I will add other dimensions soon. </p><h4><strong>Printing</strong></h4><p>I highly recommend printing all parts in transparent or white PETG or ASA. Especially on the mounting parts, transparent filament looks much nicer.<br/> </p><h4><strong>Construction</strong></h4><p>To cut the u-beams to the desired length at an 45° angle at the end, you will need either a hack saw with some metal cutting blades and a cutting block of some sort or an adjustable chop saw. The power tool will produce much nicer cutting edges, but the manual saw will work just fine.</p><p>After you cut all u-beams to length you could connect all beams using the printed parts. Use superglue to mount the parts in each corner of your rectangle. Make sure the fit is tight and try to avoid gaps between the u-beams.</p><p>If you have bad cutting-edges you could use some filler.</p><p>Now would be the perfect time to paint your lamp, but this is optional.</p><p>After the glue is cured you can insert the LED-strips and connect it to your power supply and LED-controller (optional). </p><h4><strong>Mounting</strong></h4><p>Theres two different spacers and i plan to create more versions to fit your needs.</p><p>For mounting you will need to drill two holes to your wall that are horizontally level, theres no need for exact measurements between these holes. </p><p>Screw the "spacer" part to the wall and slide in the mounting part. There is no need to glue the mounting part to your u-beam.</p><p> </p><h4><strong>Bill of materials</strong></h4><p>These are affiliate links. </p><p><strong>20x20mm alloy u-beam</strong><br/>My local hardware store sells u-beams of 250cm. With two beams you could build a rectangular lamp measuring 124cm*124cm. </p><p><strong>5m LED Stripe</strong><br/>I recommend <a href="https://amzn.to/3eh3k62">these LED strips</a>, high density strips with high <a href="https://en.wikipedia.org/wiki/Color_rendering_index">CRI</a>. They produce warm, pleasant light.</p><p>I would never use RGB strips since their CRI is very low and i can’t stand colored LEDs. Of course this is subject to your preference.</p><p><strong>Power supply</strong><br/>Be sure to buy the appropriate power supply for your LED strip. If you use the one i recomment, you could use <a href="https://amzn.to/2QOL3Vq">this 24v power supply</a>.</p><p><strong>Optional: LED controller</strong><br/>I use<a href="https://amzn.to/3awY7WO"> this controller</a> to dim the LED. It is very nice and does not produce flickering or any other unwanted effects. </p><p><strong>Optional: Diffusor film</strong><br/>At your local camera rental you can get leftover foil that you need to cut to stripes of 3-5cm width. You can just slide it into the u-beam and theres no need to glue it into place.</p><p><strong>Optional: white two wire cable</strong><br/>For better looks i recommend white wires.</p><p><strong>Superglue</strong><br/>Almost any glue will do.</p><p><strong>Optional: Spraypaint</strong><br/>If you do not like the look of the naked alloy or if you need to cover up untidy cutting edges, you could use spraypaint of your choice. </p>
With this file you will be able to print Rectangle halo lamp with your 3D printer. Click on the button and save the file on your computer to work, edit or customize your design. You can also find more 3D designs for printers on Rectangle halo lamp.
