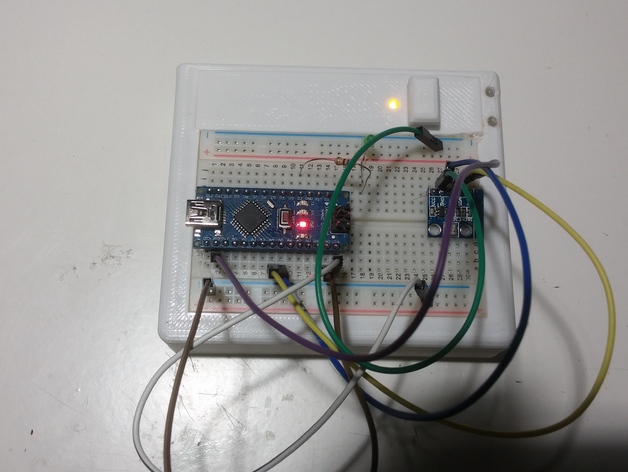
Rechargeable Breadboard
thingiverse
To Build a Cordless Breadboard with Built-In Battery, Follow These Steps: First, Gather Your Materials: You'll Need a Rechargeable Lithium-Ion Battery, a 5V DC-DC Converter, a USB Cable, a Jumper Wire, and a Mini Breadboard. Make Sure to Check Out the Instructables Page for More Details on Each Component. Next, Solder the Battery Connectors onto the Breadboard. You'll Want to Attach the Positive Terminal of the Battery to One Pin and the Negative Terminal to Another. This Will Allow You to Easily Connect and Disconnect the Power Source. Now, Wire Up the DC-DC Converter to the Breadboard. Connect the Input Pin to the Same Pin as the Negative Terminal of the Battery, and the Output Pin to the Other Pin Where the Positive Terminal is Connected. Make Sure the Polarity is Correct to Avoid Damaging Your Components. Connect a Jumper Wire from the Output Pin of the DC-DC Converter to the Power Rails on the Breadboard. This Will Provide a Stable 5V Power Source for Your Projects. Finally, Connect a USB Cable to the Input Pin of the DC-DC Converter and Plug It into a Computer or Wall Adapter. This Will Charge the Rechargeable Battery While You Work on Your Project. Tips and Variations: To Make Your Cordless Breadboard More Portable, Consider Adding a Protective Case or a Power Button. You Can Also Experiment with Different Types of Batteries and DC-DC Converters to Optimize Performance and Efficiency.
With this file you will be able to print Rechargeable Breadboard with your 3D printer. Click on the button and save the file on your computer to work, edit or customize your design. You can also find more 3D designs for printers on Rechargeable Breadboard.
